Use Admin Portal to define the users who can enroll their Windows devices.
Enable Windows enrollment:
1. Log in to Admin Portal.
2. Click Core Services > Policies and either create a new policy or select an existing one.
3. Click Endpoint Policies > Device Enrollment Settings.
4. Select Yes from the “Permit device enrollment” dropdown list.
Other options become available after you select enable this policy. 
5. Select Yes from the “Permit Windows device enrollment” dropdown list.
6. Click Device Management Settings.
7. Select Yes from the “Use Centrify Identity Services for mobile device management” drop-down list.
8. Click Save.
If you have not defined users for this policy set, see How to create a policy set and assign it to users.
Configuring browsers for certificate auto select
Each time users log in to their Windows devices, the web browsers are configured by default to prompt them to accept the certificate. You can change this default browser behavior for Chrome and Internet Explorer (IE) at the Active Directory Group Policy (ADGP) level for relevant users. For Firefox, users can configure it on the browser itself. See user configuration of Firefox.
Internet Explorer
Do the following for IE:
1. Go to the domain controller or local computer Start menu.
2. Search for “group policy” and select Edit group policy. 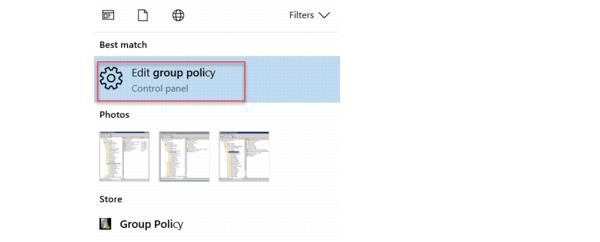
The Local Group Policy Editor window opens.
3. Enable the Site to Zone Assignment List setting.
a. Navigate to User Configuration > Administrative Templates > Windows Components > Internet Explorer > Internet Control Panel > Security Page.
b. Double click Site to Zone Assignment List. 
c. Select the Enabled radio button.
d. Select the Show button. 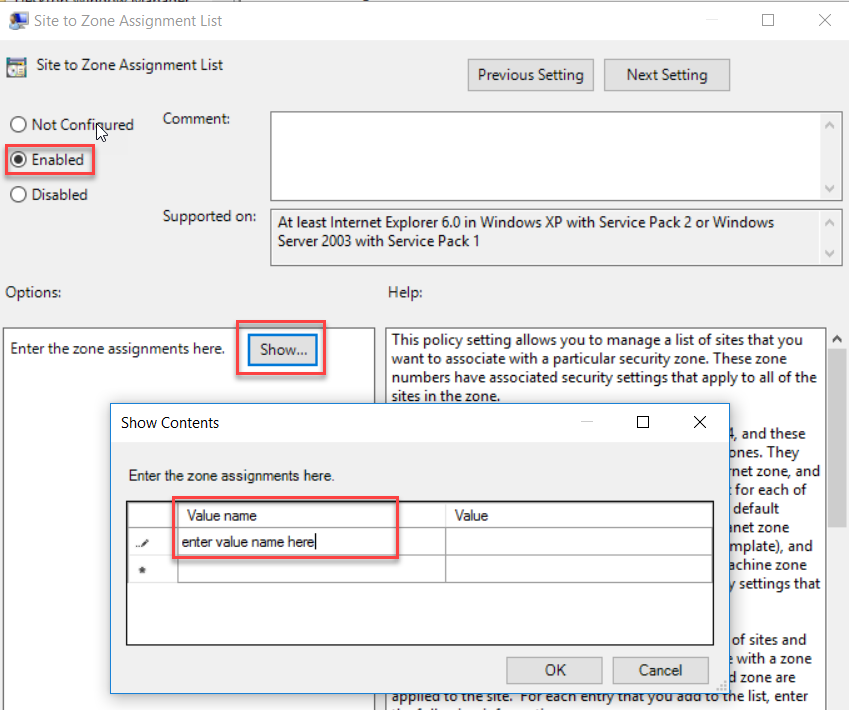
e. Enter the Value name information: cloudzso.centrify.com
f.Select OK/Apply.
4. Enable the Trusted Site Zone setting.
a. Navigate back to …Internet Control Panel > Security Page > Trusted Site Zone > Do not prompt for client certificate selection when no certificates or only certificate exists. 
b. Click the Enable radio button. 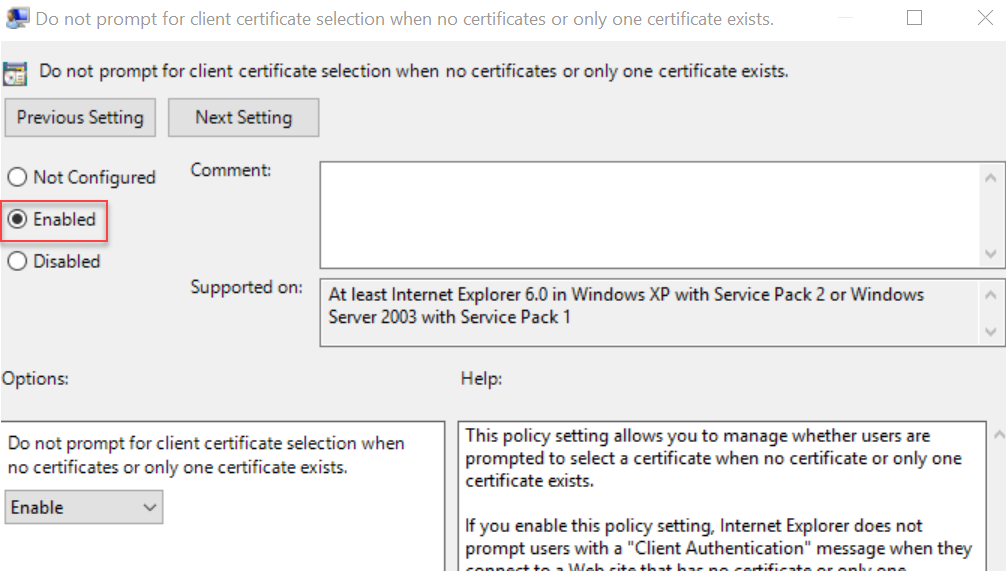
c. Click OK and save your changes.
Chrome
Do the following for Chrome:
1. Download the template from here.
The zip file contains all the necessary files.
2. Install both the ADM and ADMX template to your domain controller.
The Google folder is create.
3. Navigate to the Google folder > Google Chrome > Content Settings > Automatically select client certificates for these sites.
The configuration page opens. 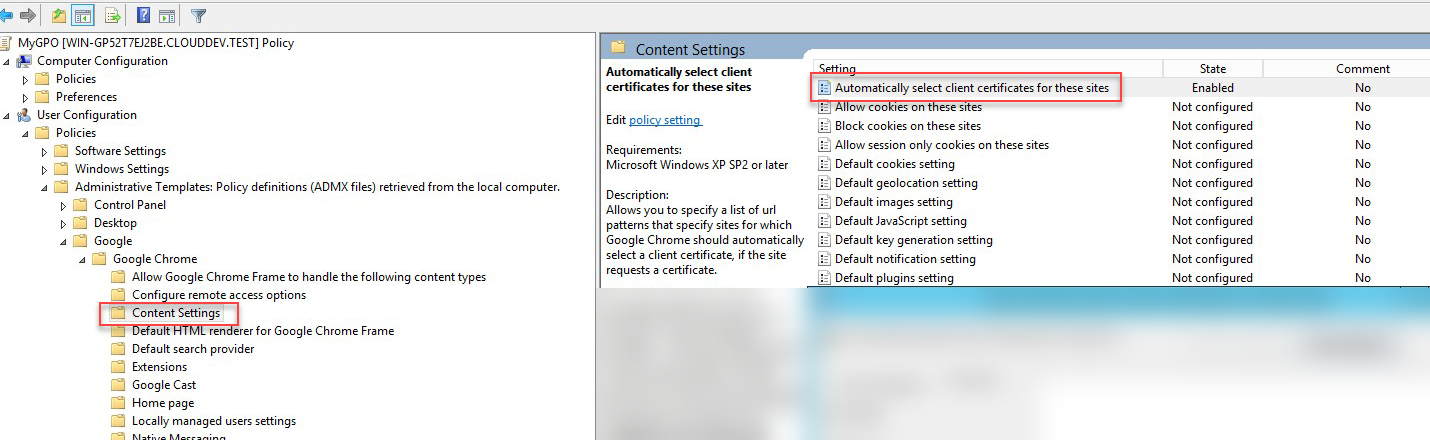
4. Click Show. 
5. Enter the following value (see the next step in this procedure if you need help finding your CN information):
{“pattern”:”https://cloudzso.centrify.com”,”filter”:{“ISSUER”:{“CN”:””}}}
6. You can find the CN information by looking at the user certificate in the Personal store. For example, on your enrolled Windows 10 device:
a. Go to the start menu and search for “certificate”.
b. Select Manager user certificates. 
c. Expand the Personal folder.
d. Select Certificates.
The certificates issued to this user is shown on the right. 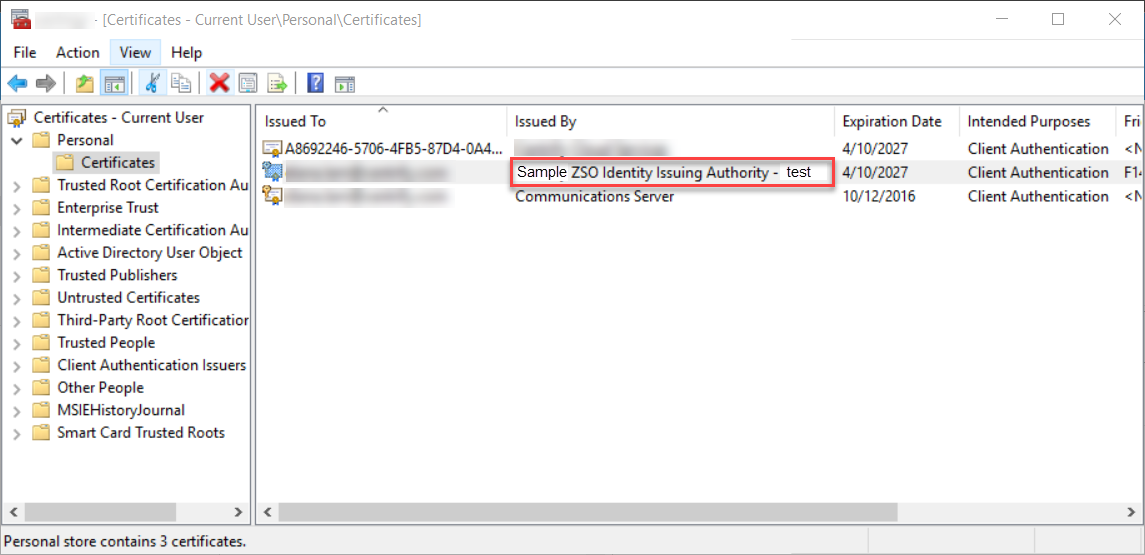
e. Replace with the CN information highlighted in the above image.
7. Save your configuration changes.
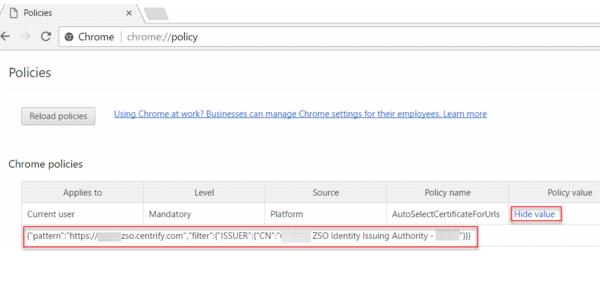
8. Verify the configuration:
a. Open a Chrome browser window.
b. Enter chrome://policy into the URL text box.
c. Verify that the value you configured shows in the Chrome policies table.
If you do not see the value, click the Hide/Show value toggle in the Policy Value column.