
Purpose
HubSpot offers both IdP-initiated SAML SSO (for SSO access through the Practice Protect user portal or Idaptive mobile applications) and SP-initiated SAML SSO (for SSO access directly through the HubSpot web application).
It can be useful to open the web application and Admin Portal simultaneously and have them both open, perhaps side by side. As part of the SSO configuration process, you’ll need to copy and paste settings between the two browser windows.
Prerequisites
- HubSpot Enterprise Subscription
- Administrator Access in Practice Protect
- An active HubSpot account with administrator rights for your organization.
- A signed certificate. You can either download one from Admin Portal or use your organization’s trusted certificate.
- HubSpot login should have exact login names in Practice Protect.
- If the user already has PP login, ensure that the HubSpot login is exactly the same as the PP login name. Rename the HubSpot login if necessary so it will be exactly the same as the PP login.
Instruction
1. Login to Practice Protect and switch to Admin portal.
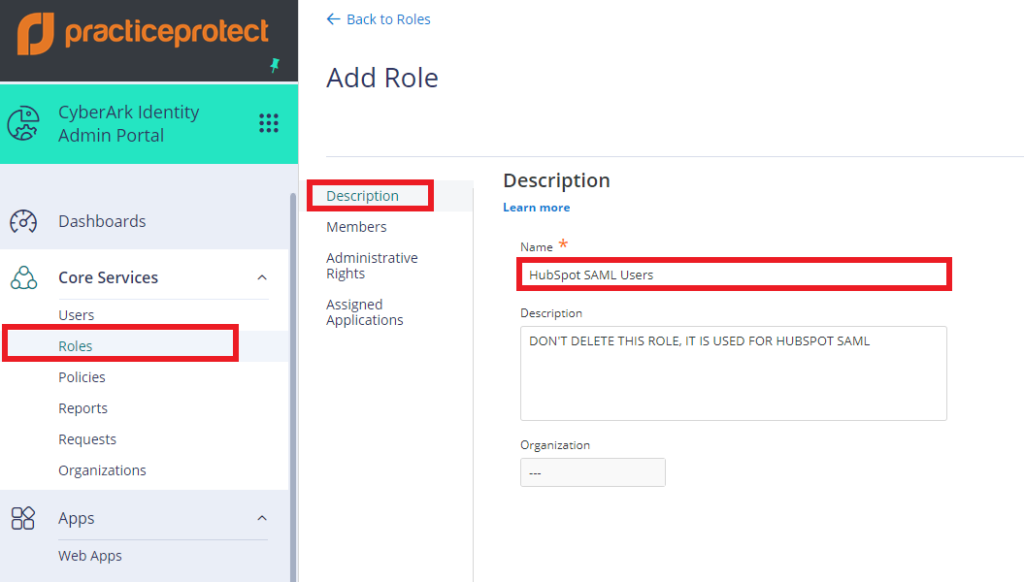
2. Go to Roles > Add Role > Under Description, enter the name of the Role on the Name field i.e. “HubSpot SAML Users”.
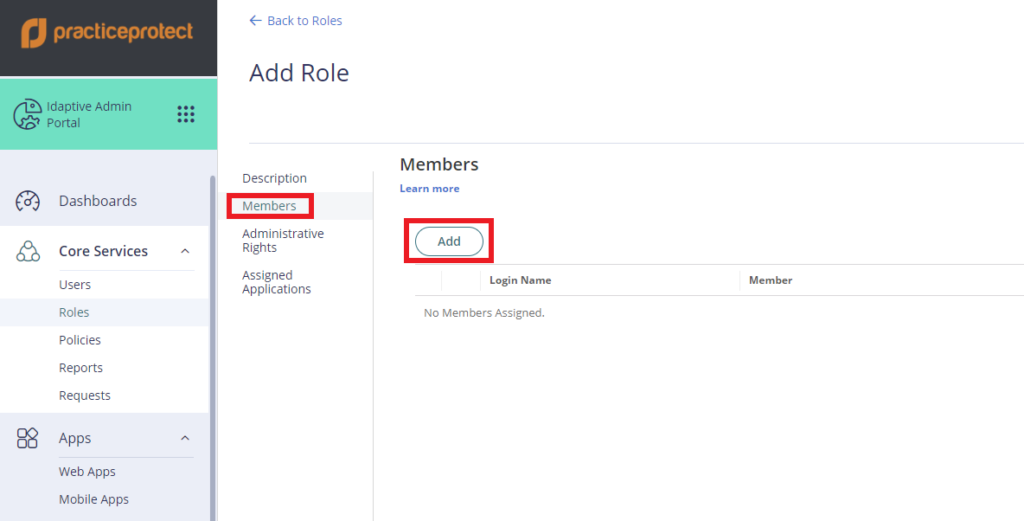
3. Click on Members > Click Add > Add the HubSpot users and Click Save.
**Please ensure that the login name in PPO is exactly the same as their respective HubSpot login.
4. Go to Apps > Web Apps > Click on Add Web Apps > Go to Custom > Select SAML then click Add. On Add Web App window, Click Yes to add this application. Click Close.

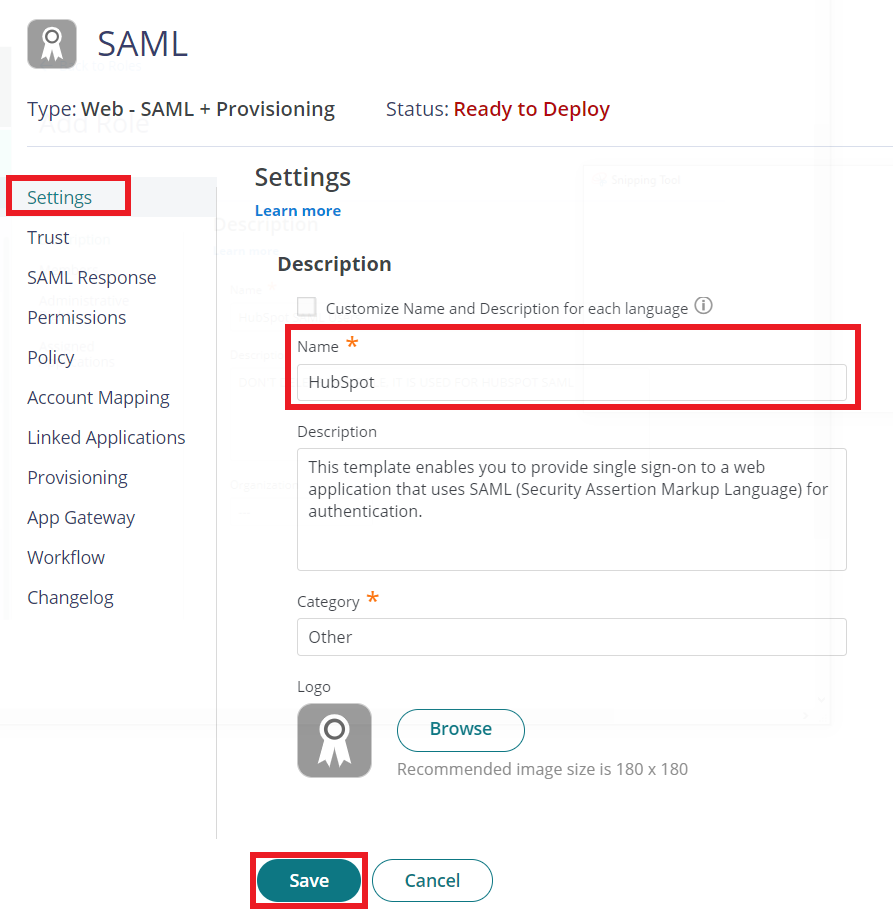
5. The application that you just added opens to the Settings page. Set Name to “HubSpot” then click Save.
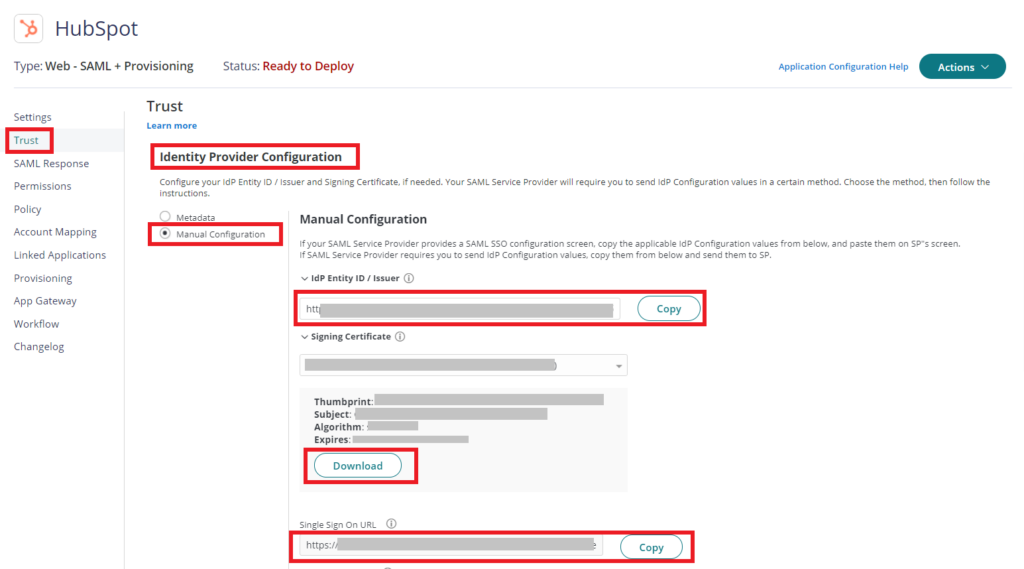
6. Click on Trust > On Identity Provider Configuration select Manual Configuration > Click on Signing Certificate and click Download. This will download the certificate on your local PC which you will need on the succeeding instructions. Copy the Issuer and Sign-in page URL on a notepad. You will also need this details on the succeeding instructions.
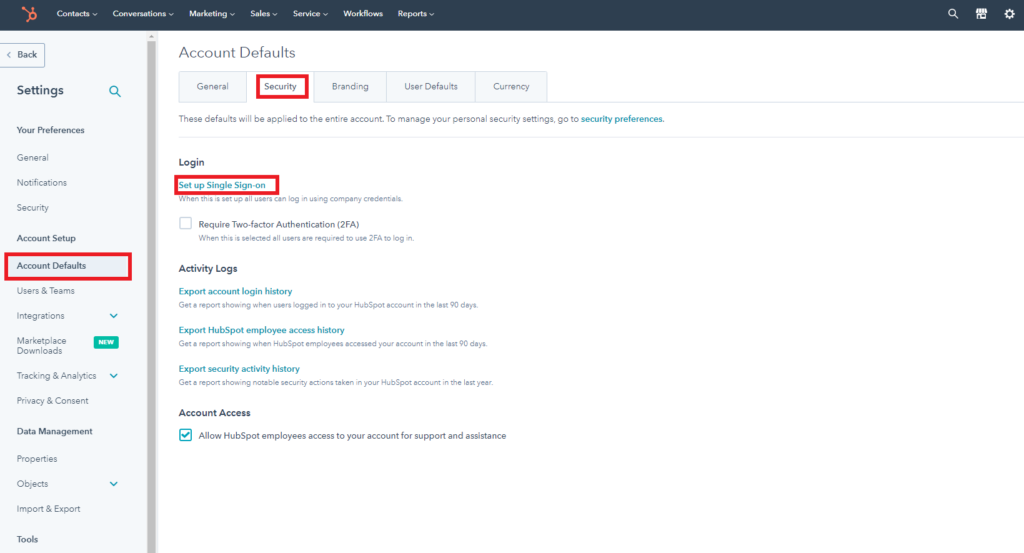
7. Go to HubSpot and login with the admin account, Go to Account Defaults > On Security click Set up Single Sign-on.
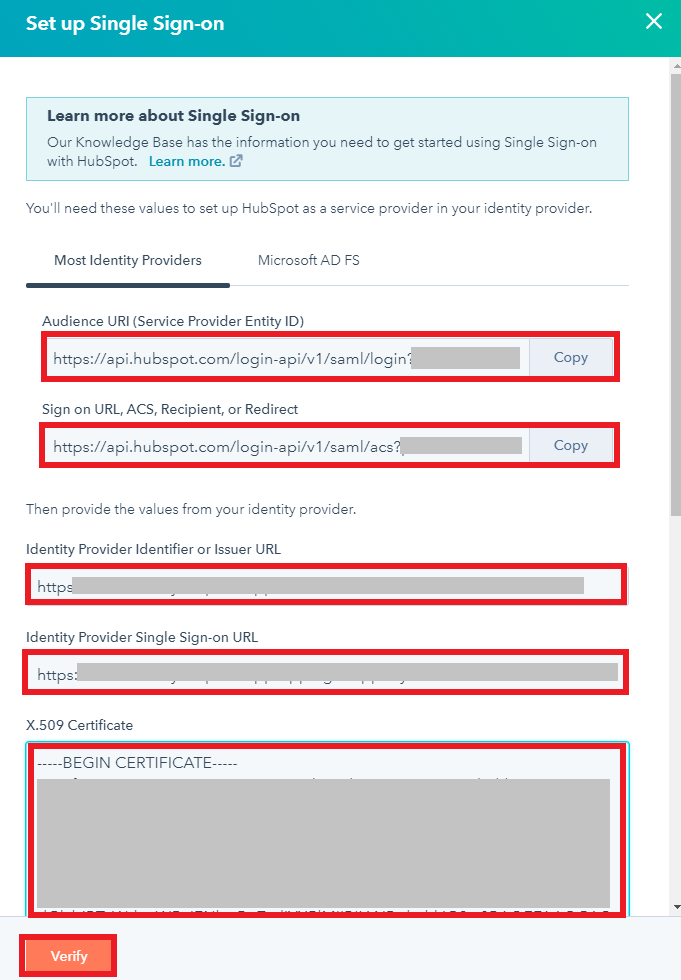
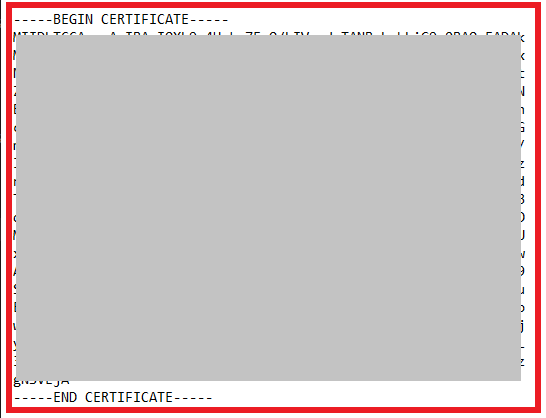
8. Copy Audience URI (Service Provider Entity ID) and Sign on URL,ACS,Recipient, or Redirect URL on a notepad. You will also need this details on the succeeding instructions. Then add the IdP entity ID/ Issuer and Single Sign On URL from step 6 to the Identity Provider Identifier or Issuer URL and Identity Provider Single Sign-on URL respectively. Open the Certificate downloaded in step 6 in any text editor and copy all the body then paste it under X.509 Certificate . Don’t click Verify now as it will fail, we will come back to this step later.
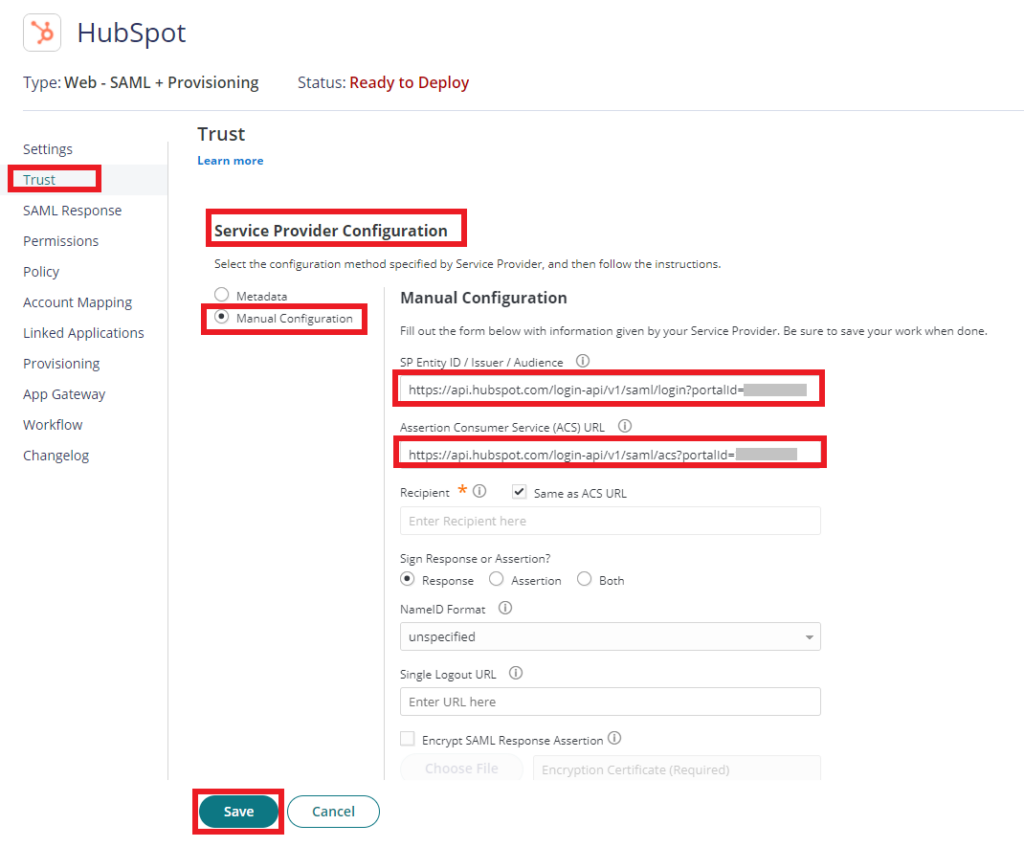
9. Go back to Practice Protect. HubSpot Application > Trust >Scroll down to Service Provider Configuration select Manual Configuration, add Audience URI (Service Provider Entity ID) and Sign on URL,ACS,Recipient, or Redirect URL you copied in step 8 to SP Entity ID / Issuer / Audience and Assertion Consumer Service (ACS) URL respectively and then click Save.
8. Click on Permissions > Click Add > Select the Role created on step 2 i.e. “HubSpot SAML Users”. Click Save.
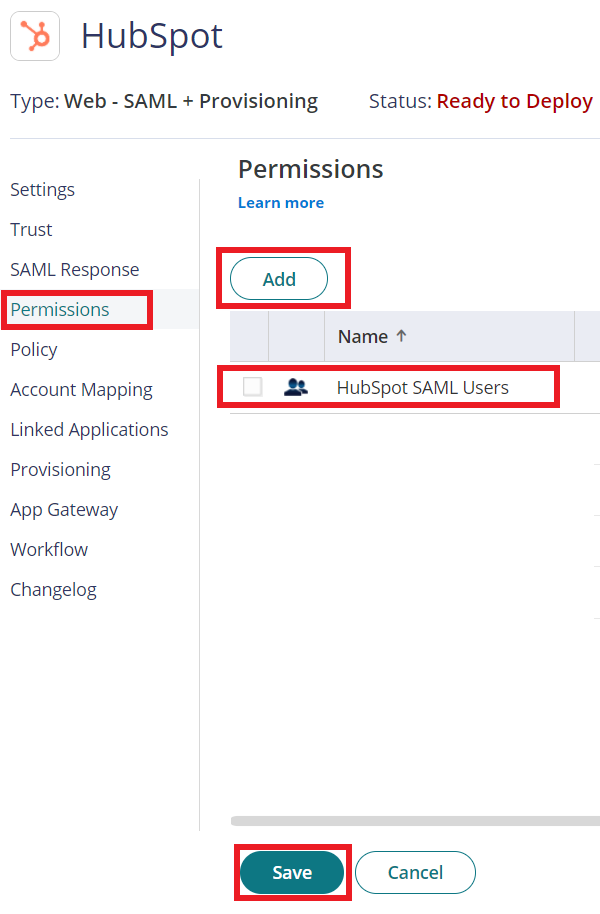
9. The status of the application will change from Ready to Deploy into Deployed. This means that the newly added app will now appear on the user portal for all users that are members of the role (i.e. “HubSpot”)
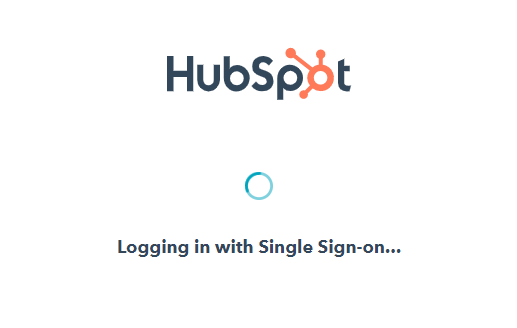
10. Go back to step 8 and click Verify. It will Test the logging with Single Sign-on
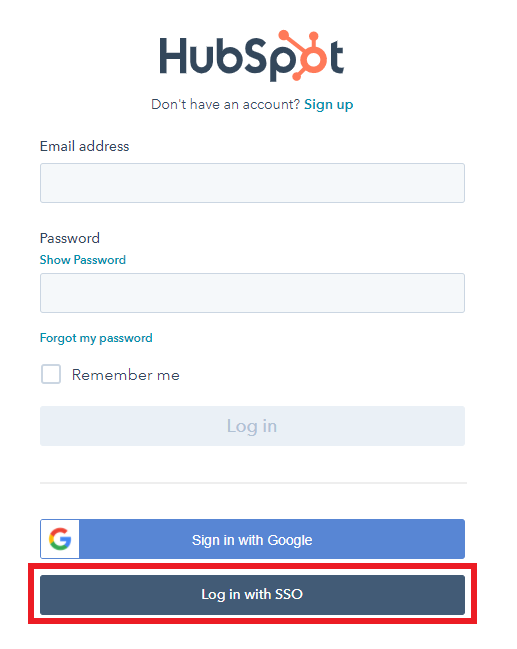
11. Go to HubSpot login page and click Login in with SSO, enter your Email and click Log in.

11. You will be redirected to the Practice Protect login page. Enter your Practice Protect credentials.

12. Once authentication is successful, you should be able to access your HubSpot application.