Purpose
iManage does offer Single Sign On which is SAML in most of Identity Provider (ex. Practice Protect) so user will be able to securely login and authenticate it through their Web and Desktop application. This serves as a guide to set it up accordingly.
Prerequisites
- Administrator Access in Practice Protect
- At least one administrator user account with OS Type of Virtual in iManage
- Note: if you do not configure at least one virtual user account in all libraries, and your SAML SSO authentication is improperly configured or your IdP certificate expires, all users could be blocked from signing in to iManage.
- Confirm these administrative users can sign in to Work 10 Web using the explicit login URL: https://<domain>/login/imanagework.html
- iManage Work version should be at least v10.4.0 and up
- iMange login should have exact login names in Practice Protect
Instruction
- Login to your respective Practice Protect and switch to Admin portal.
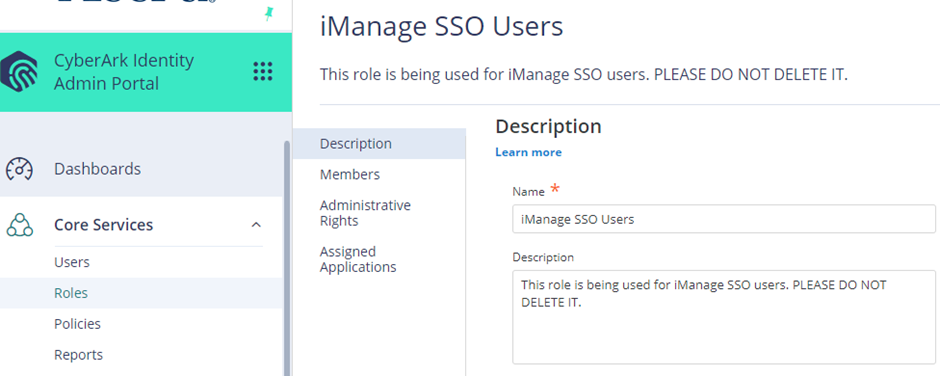
- Go to Roles > Add Role > Under Description, enter the name of the Role on the Name field i.e. “iManage SSO Users”.
- Click on Members > Click Add > Find and add the iManage users and Click Save.

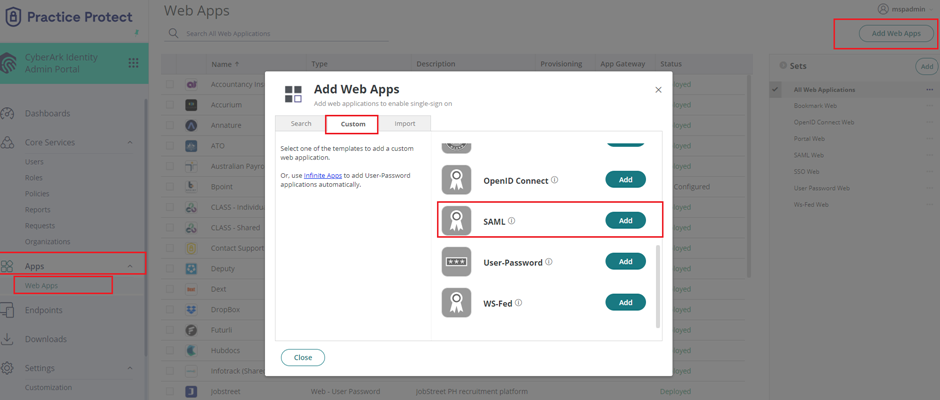
- Go to Apps > Web Apps > Click on Add Web Apps > Go to Custom > Select SAML then click Add. On Add Web App window, Click Yes to add this application. Click Close.
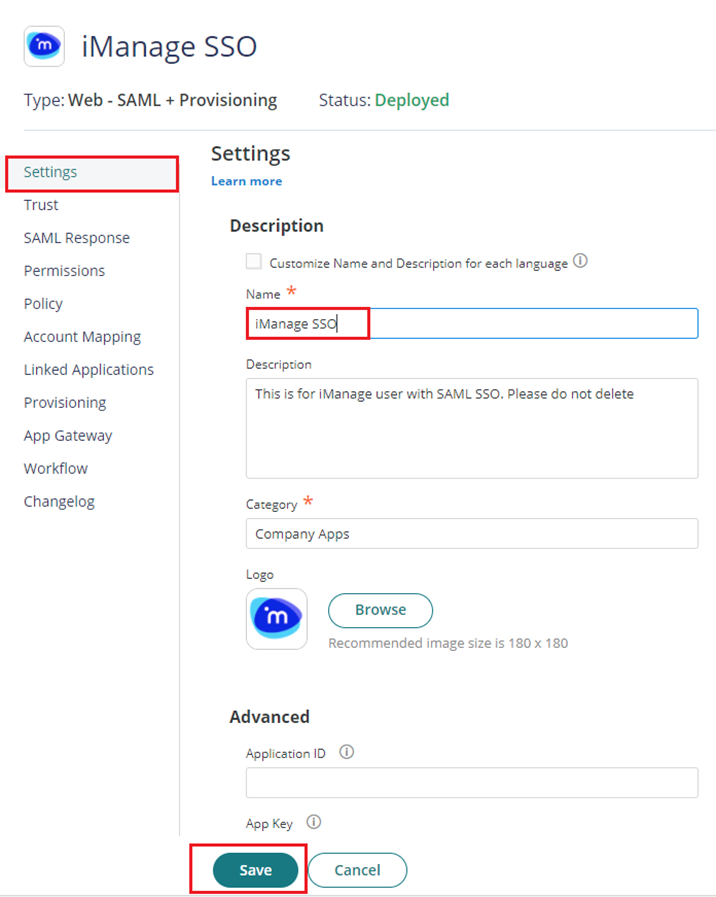
- The application that you just added opens to the Settings page. Set Name to “iManage SSO” then click Save.
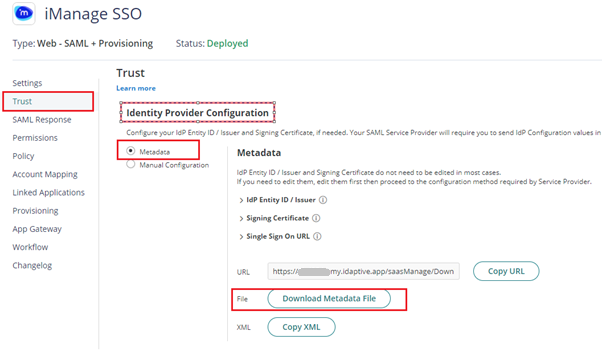
- Click on Trust > On Identity Provider Configuration select Metadata > Click on Download Metadata File button. This will download the metadata file on your local PC which you will need on the succeeding instructions.
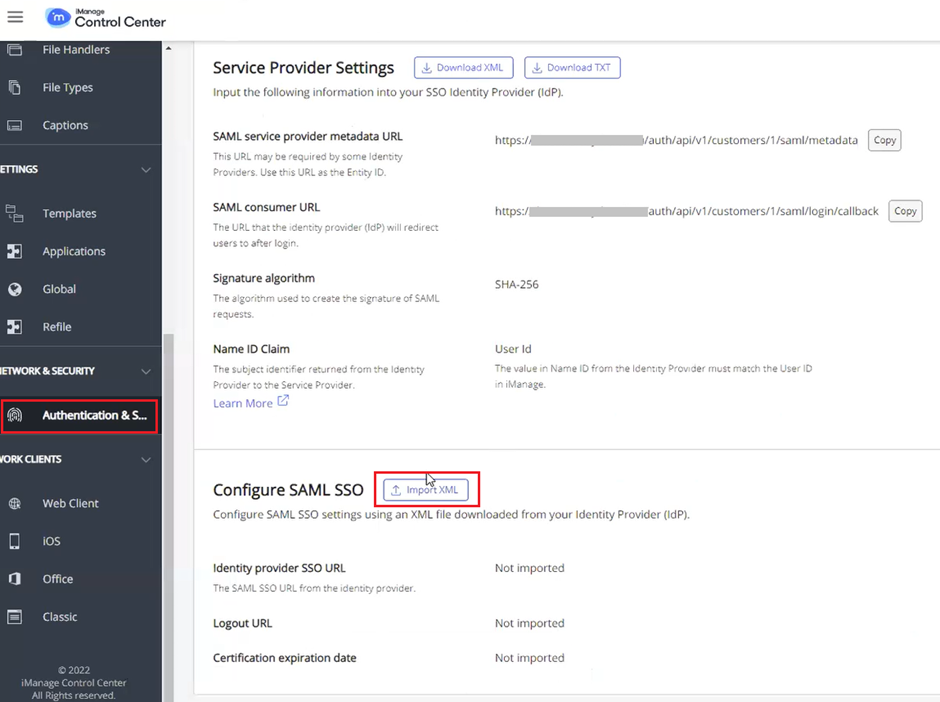
- Login to iManage Control Center with an admin account. Go to NETWORK & SECURITY > Authentication & SSO. On the bottom part section under Configure SAML SSO, Click on Import XML button. Then a pop window will show up.
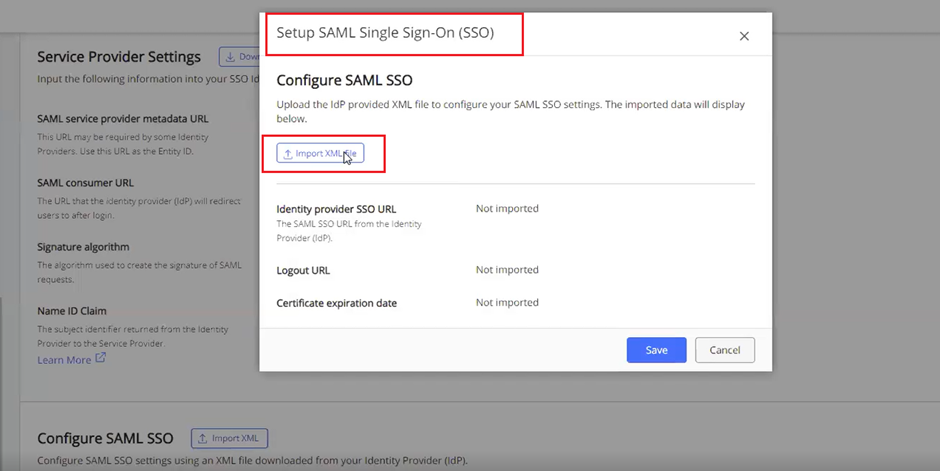
- On Setup SAML Single Sign-On (SSO) window, click on the Import XML file button. Then locate the metadata file we downloaded on Step 6 and select it. Once imported details for Identity provider SSO URL, Logout URL and certificate expiration date should be automatically supplied. Then hit the Save button.
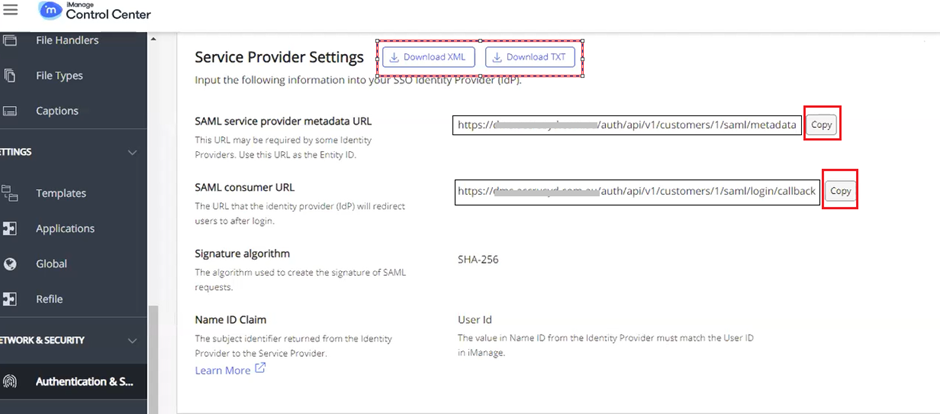
- Copy the SAML service provider metadata URL and the SAML consumer URL and store it somewhere like Notepad as we will need that on the succeeding steps.
Note: You can also use and download the TEXT or XML file.
- Go back to the Practice Protect Admin Portal > Apps section > Web Apps then find and click iManage SSO app. Select Trust > On Service Provide Configuration, choose Manual Configuration. Paste the SAML service provide metadata URL and SAML consumer URL that you copied on Step 9 into the SP Entity ID/Issuer/Audience and Assertion Consumer Service (ACS) URL respectively. On the following configuration, Select Both for the Sign Response or Assertion? And leave the rest as it is then hit the Save button.
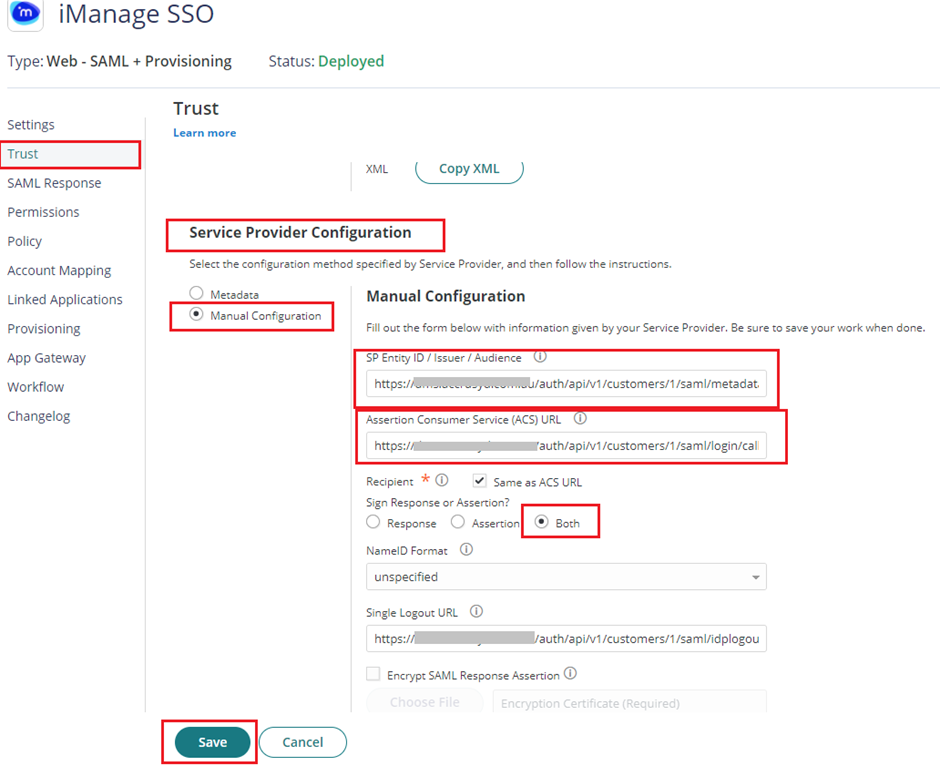
Note: If you want to add the Single Logout URL, you can find that details on the TXT file if you downloaded from Step 9. On that txt file look for SAML service provider SLO URL.
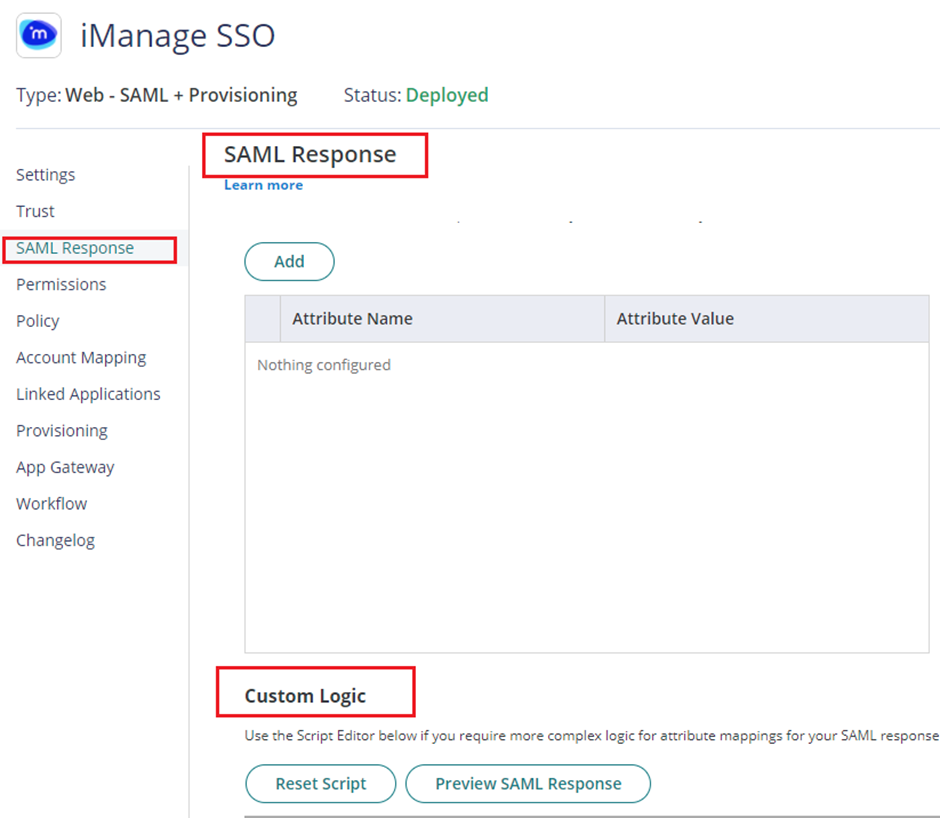
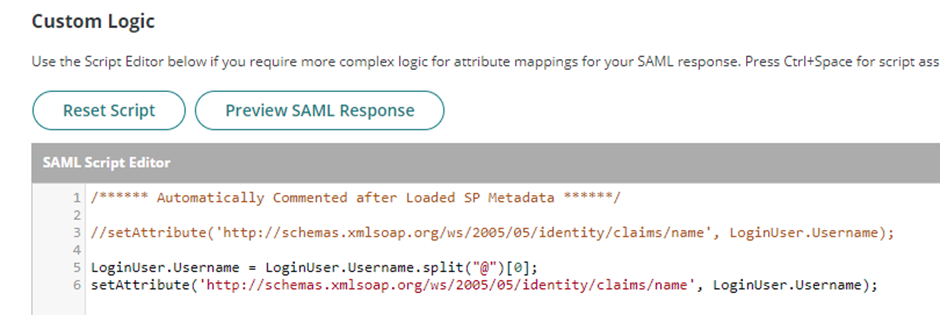
- On the SAML Response, under Custom Logic, add the following script below on the SAML Script Editor and make sure to hit the Save button to apply.
Note: Below is the script that you need to use if you’re using short username to login to iManage (ex. iManage username is “johndoe” and Practice Protect username is “johndoe@domain.com”).
LoginUser.Username = LoginUser.Username.split(“@”)[0];
setAttribute(‘http://schemas.xmlsoap.org/ws/2005/05/identity/claims/name’, LoginUser.Username);
Note: If you are using email address to login to iManage, use the below script instead
setAttribute(‘http://schemas.xmlsoap.org/ws/2005/05/identity/claims/name’, LoginUser.Username);
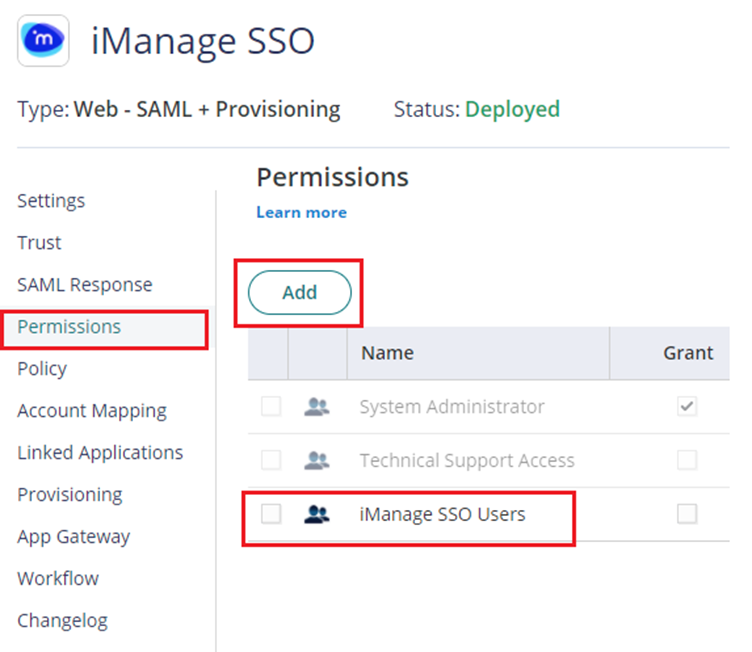
- Click on Permissions > Click Add > Select the Role created on Step 2 i.e. “iManage SSO Users”. Click Save.
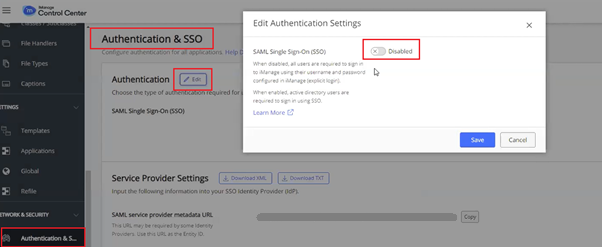
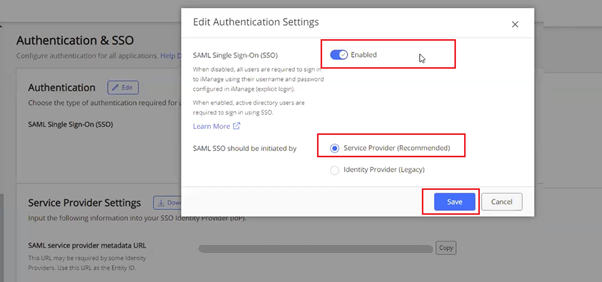
- Go back to iManage Control Center > Network & Security > Authentication & SSO. On Authentication section, click on Edit button. With the Edit Authentication Settings popup, Enable or Switch On the SAML Single Sign-ON (SSO).
- After enabling, another option will show up. Select Service Provider (Recommended) on SAML SSO should be initiated by. Then hit Save button to apply.
- To verify that SSO is enabled, On the browser, go to your respective iManage login page, it should redirect you automatically to Practice Protect to login and then authenticate with your Practice Protect credentials.