
Purpose
With Practice Protect as your identity provider (IdP), you can choose single-sign-on (SSO) access to Text Magic web app with IdP-initiated SAML SSO (direct access through the Portal) or SP-initiated SAML SSO (for SSO access directly through the web app URL) or both. Providing both methods gives you and your users maximum flexibility and added security.
Single Sign On allows you to login to Text Magic using your Practice Protect credentials.
Pre-requisites
- Enterprise/Business subscription on Text Magic
- Administrator Access in Practice Protect
- At least one Administrator Access in Text Magic
- Username/Email for regular users should have the exact login names in Practice Protect.
Instructions
1. Login to your respective Practice Protect and switch to Admin portal.
2. Go to Roles > Add Role > Under Description, enter the name of the Role on the Name field i.e. “Text Magic SSO Users”.
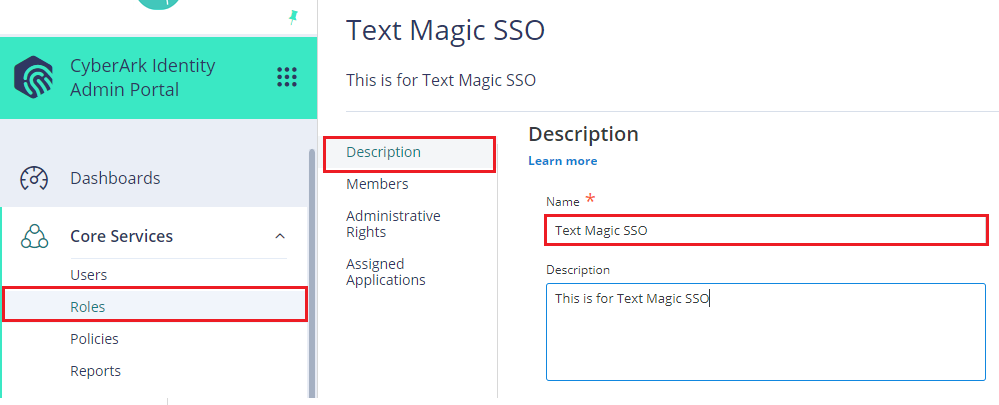
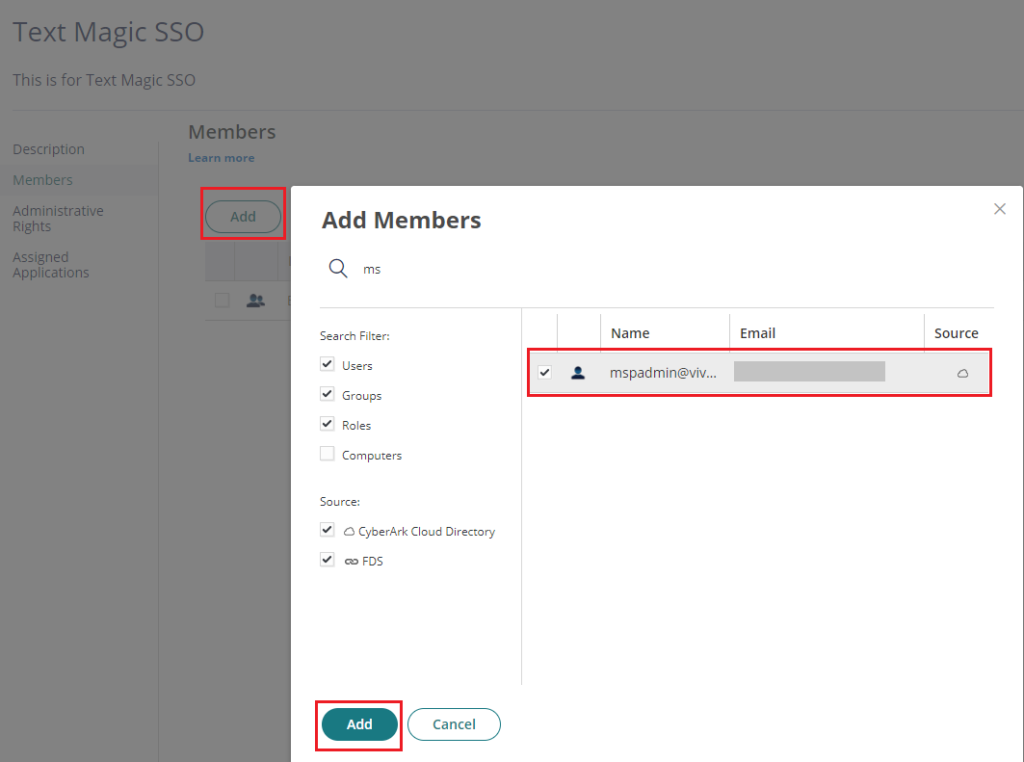
3. Click on Members, then click Add. Search and add the users that has access to it and Click Save.
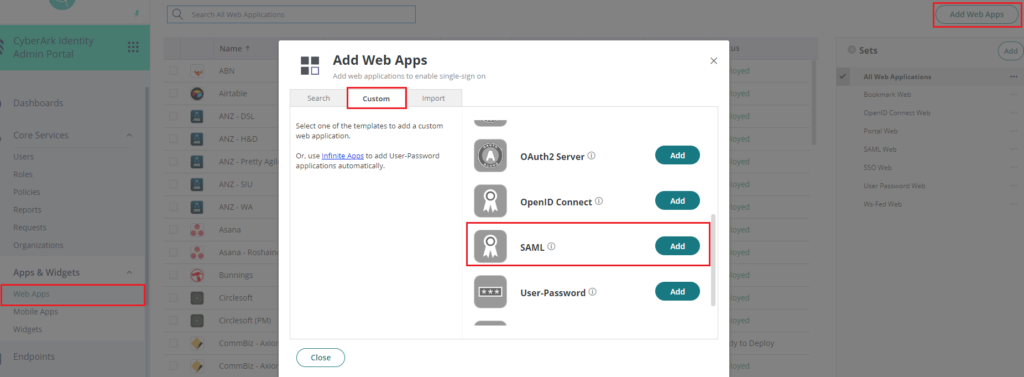
4. Go to Apps & Widgets > Web Apps. Click on Add Web Apps, go to Custom > Select SAML then click Add. On Add Web App window, Click Yes to add this application. Click Close.
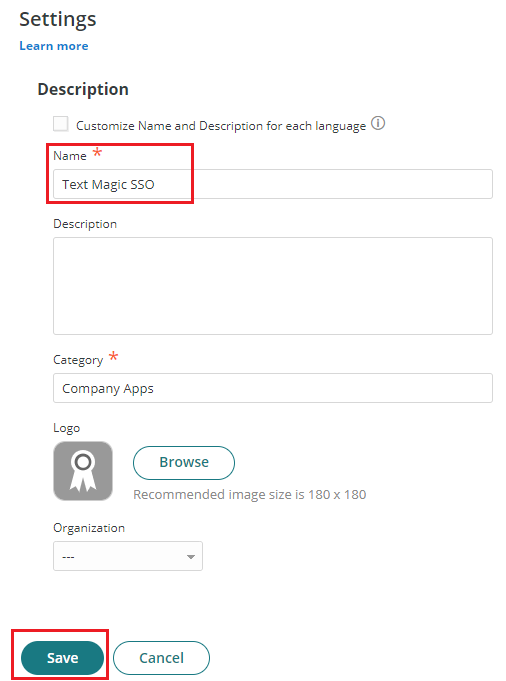
5. The application that you just added opens to the Settings page. Set Name to Text Magic SSO then click Save.
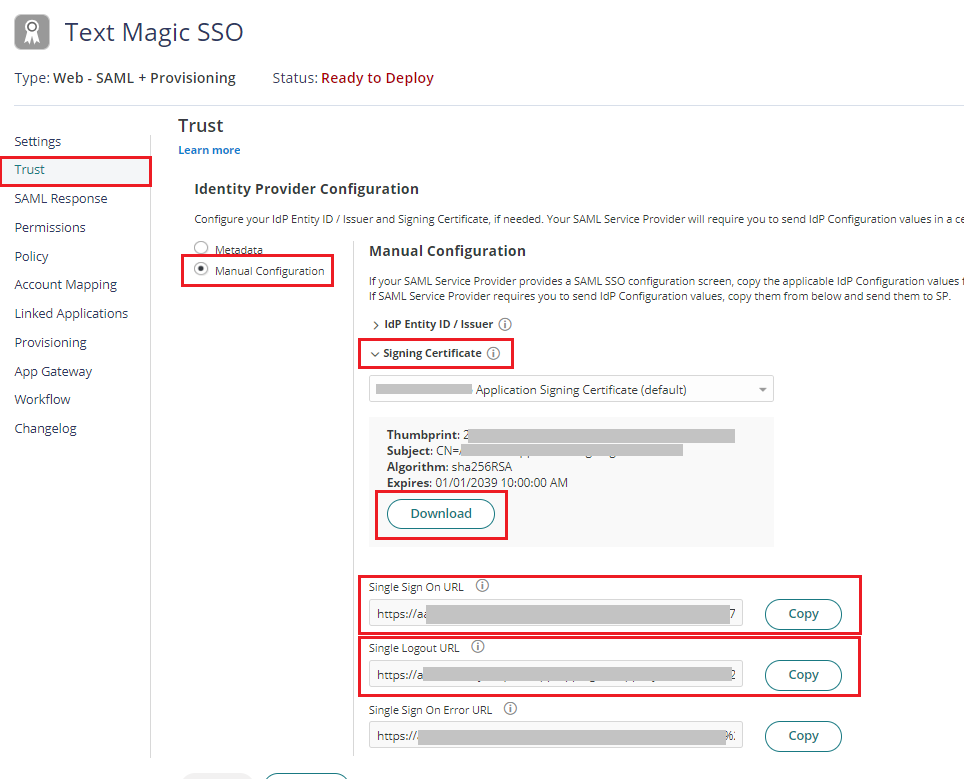
6. Click on Trust > On Identity Provider Configuration select Manual Configuration > Click on Signing Certificate and click Download. This will download the certificate on your local PC which you will need on the succeeding instructions. Copy the IdP Entity ID/Issuer, Single Sign On URL and Single Logout URL (optional) on a notepad. You will also need this details on the succeeding instructions.
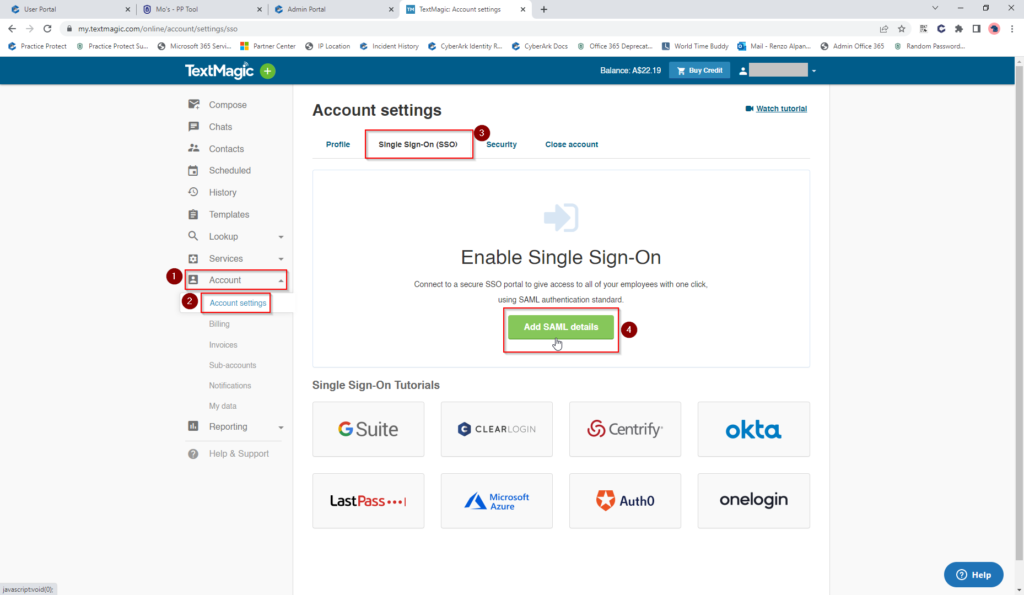
7. Open a new tab on your browser and login to Text Magic with an Admin account. Go to Account > Account Settings > Single Sign-On (SSO). Click on Add SAML details
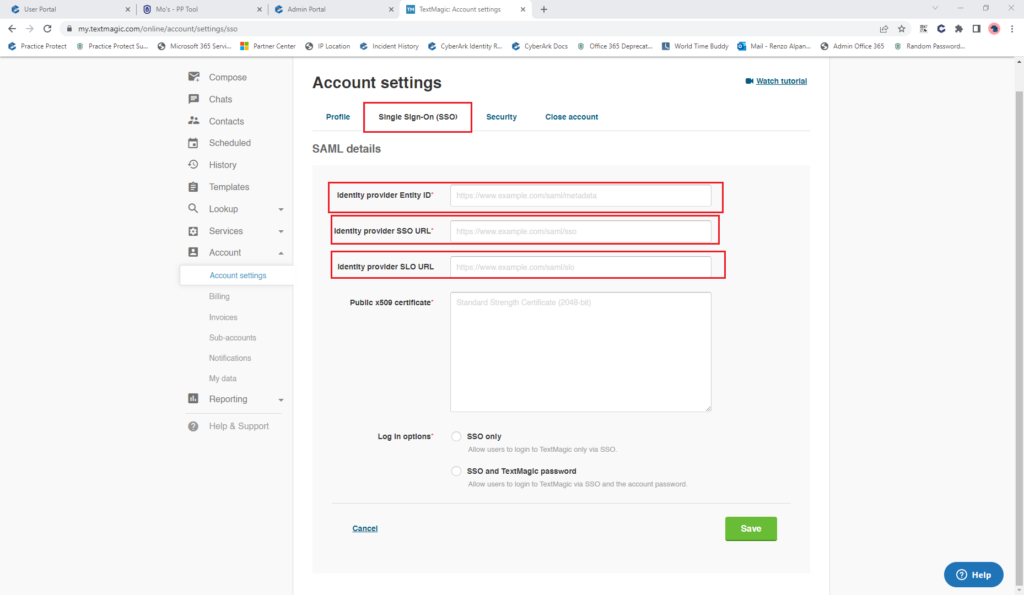
8. Copy the IdP Entity ID/Issuer, Single Sign On URL and Single Logout URL from the notepad earlier and paste it on the respective fields on Text Magic SAML details
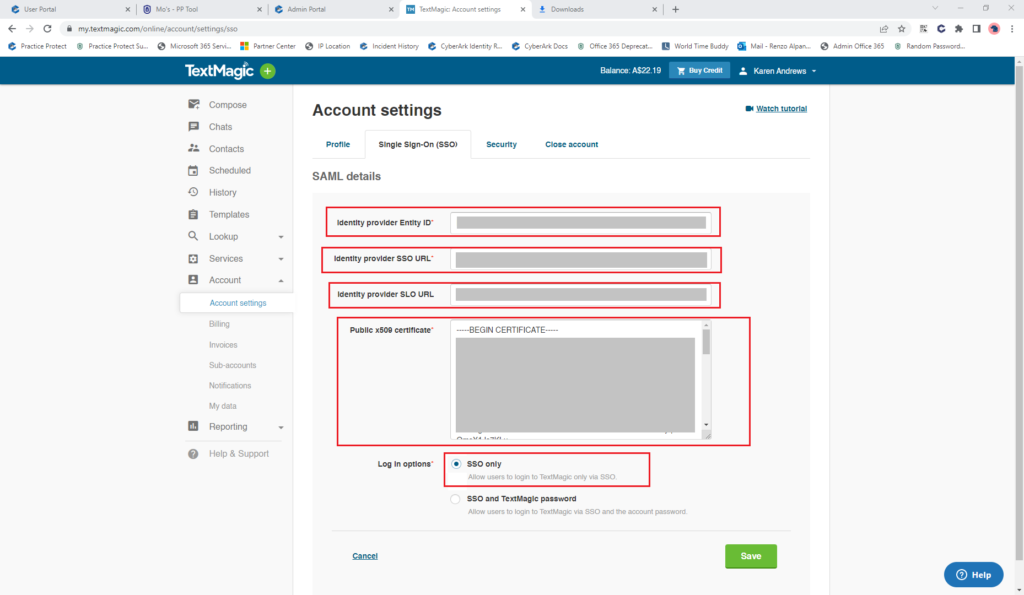
9. Open the Certificate downloaded in Step 6 in any text editor and copy all the body then paste it under X.509 Certificate and on the Log in Options select SSO Only. Don’t Save it yet.
Note: Selecting SSO only will enforced users to login with their IdP credentials (PP).
10. Go back to Text Magic app configuration in Practice Protect. On Trust tab, scroll down to Service Provider Configuration > Manual Configuration.
11. Fill out the required form fields with the following details:
- SP Entity ID/ Issuer / Audience – https://my.textmagic.com/saml/metadata
- Assertion Consumer Service (ACS) URL – https://my.textmagic.com/saml/acs
- Same as ACS URL – tick the checkbox
- Sign Response or Assertion? Select Both
- NameID Format – Select emailAddress on the dropdown list
- Single Logout URL – https://my.textmagic.com/logout
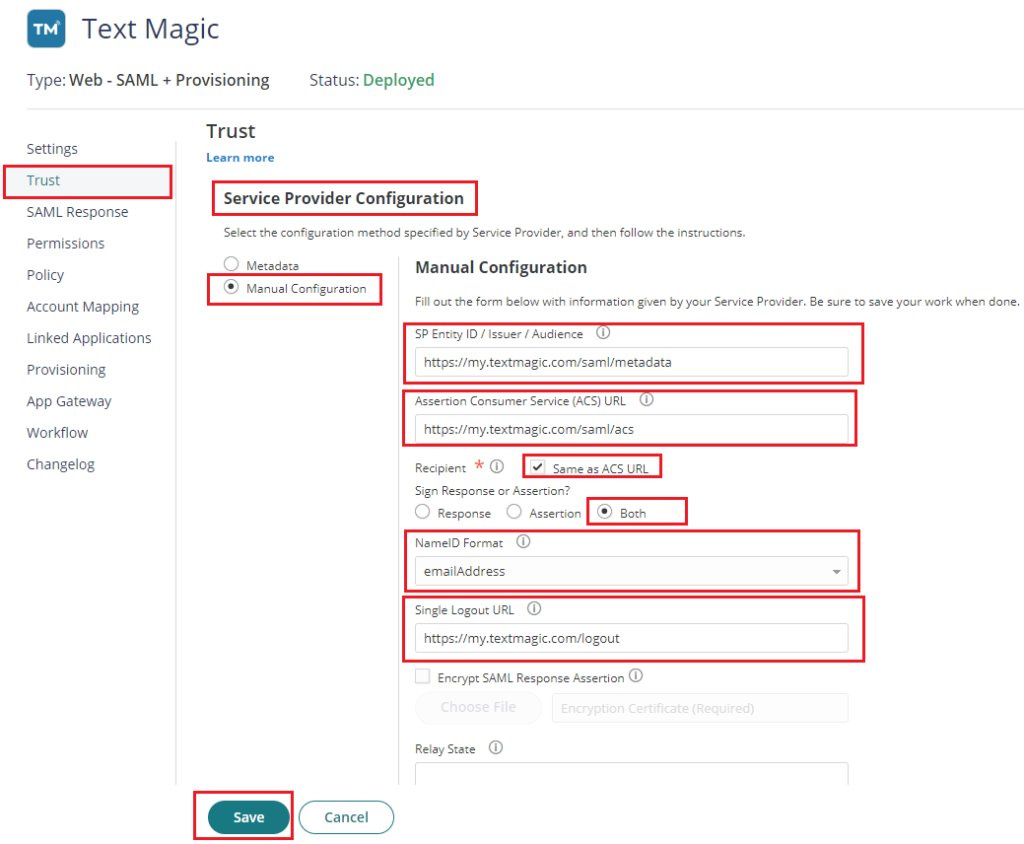
12. Hit Save.
13. On the Permissions tab, Click Add > Select the Role created on Step 2 i.e. “Text Magic SSO Users”. Click Save.
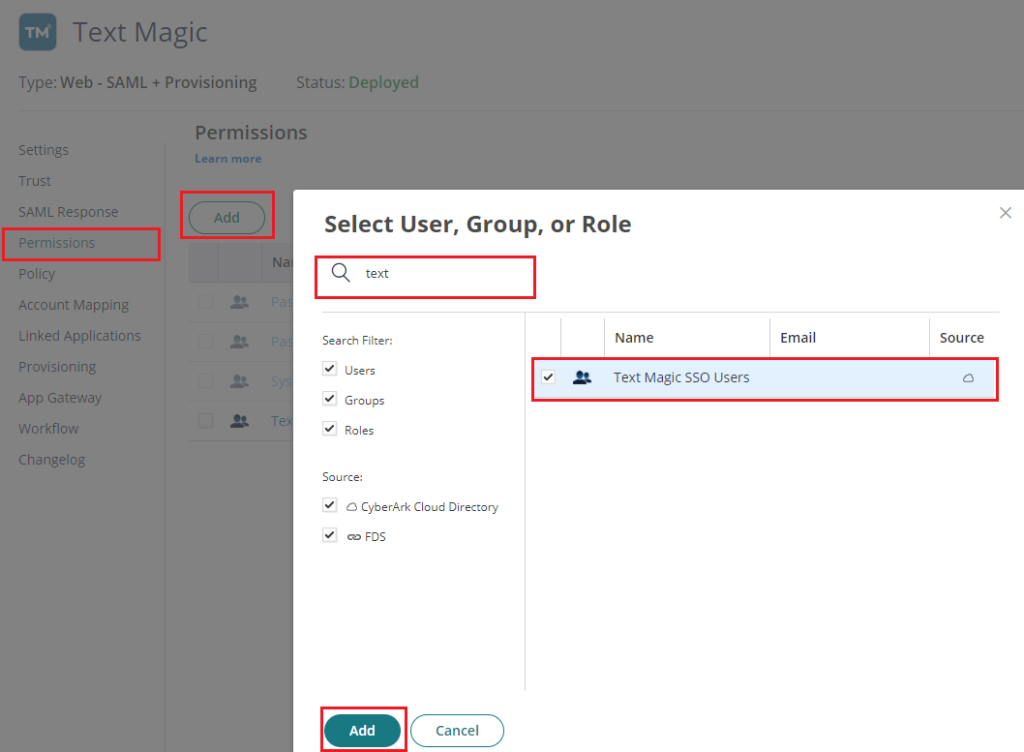
14. The status of the application will change from Ready to Deploy into Deployed. This means that the newly added app will now appear on the user portal for all users that are members of the role (i.e. “Text Magic SSO Users”).
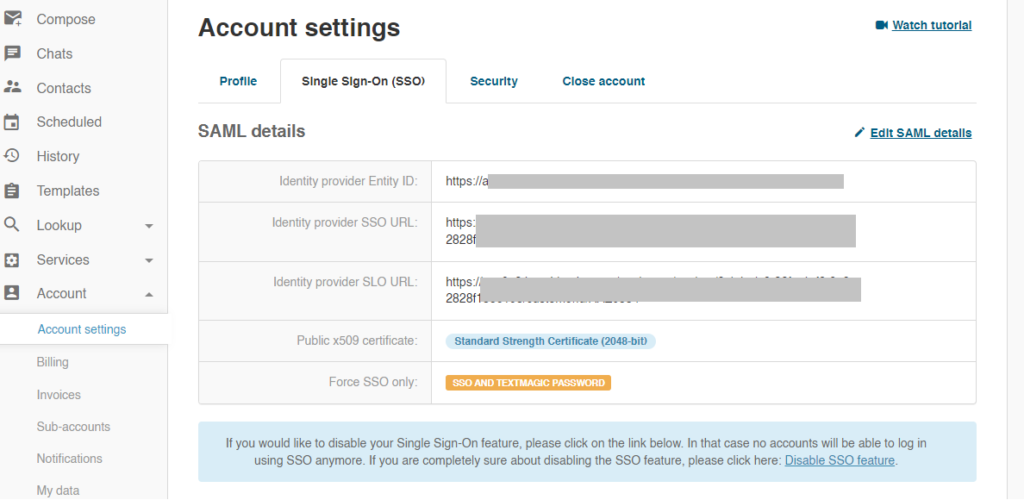
15. Go back to Text Magic app > SAML Details and hit Save to apply the SSO configuration set on the previous steps. This gives a preview of the details that is set.
16. Sign in manually on Text Magic Custom SSO login, enter your Username/Email, and click Login with Custom SSO.
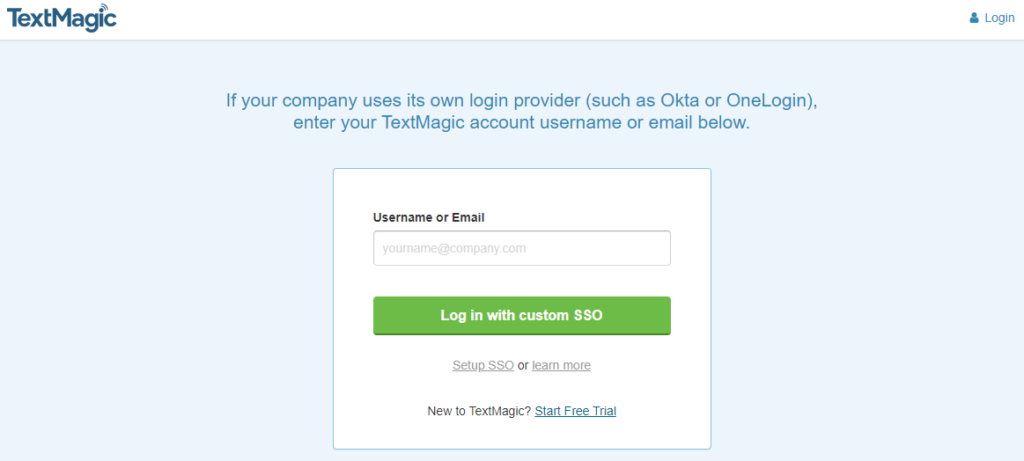
17. You will be redirected to the Practice Protect login page. Enter your Practice Protect credentials.
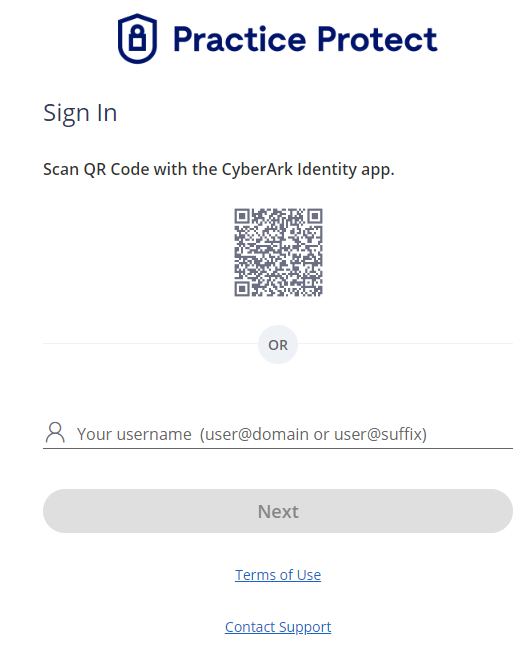
18. Once authentication is successful, you should be able to access Text Magic
Disable Text Magic SSO
1. Login to Text Magic with an Admin account. Go to Account > Account Settings > Single Sign-On (SSO).
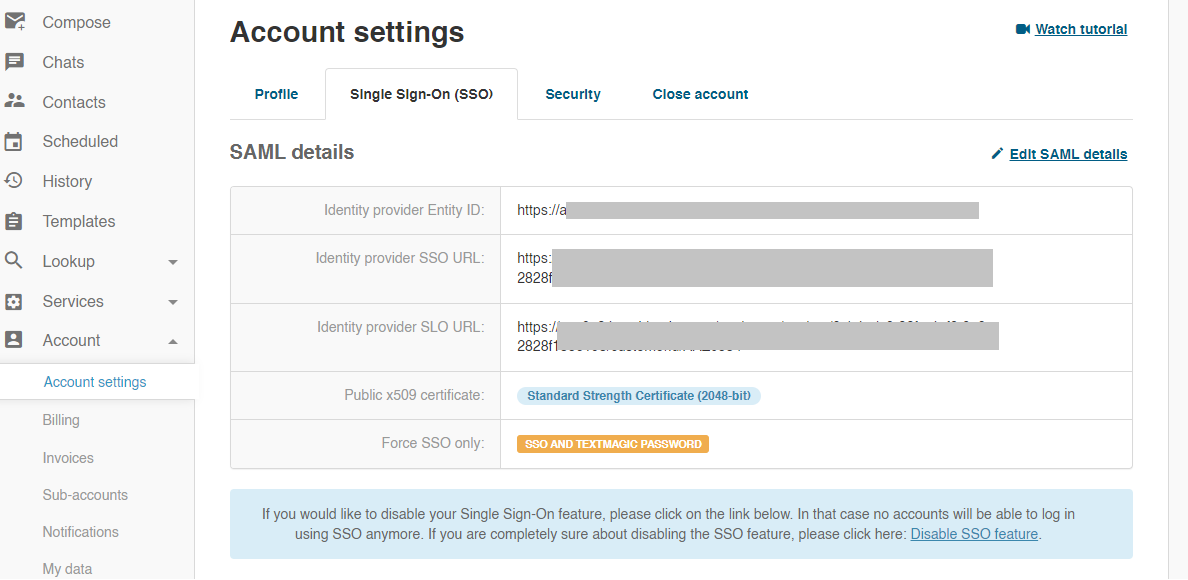
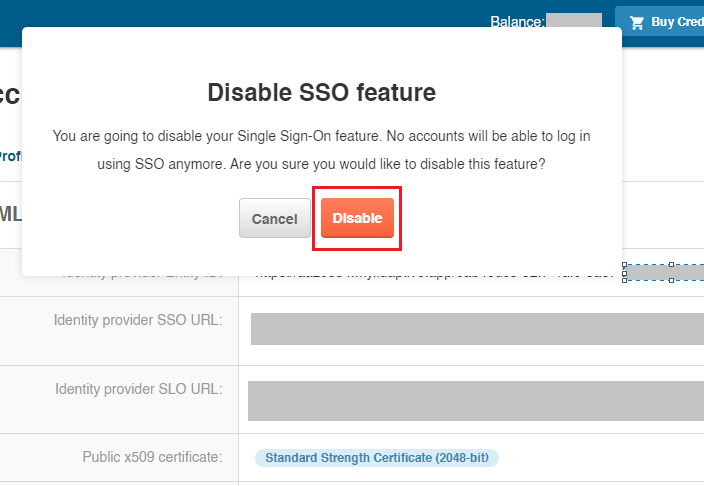
2. Right below the SAML details, find and click the link Disable SSO feature. A prompt for confirmation will show on the top of the page.

3. Hit Disable. This should disable the SSO right away and users should be able to login with normal set of credentials and directly through Text Magic.
4. To clean up the app in Practice Protect, login to the platform and switch to the Admin Portal.
5. Go to Apps & Widgets > Web Apps then find Text Magic SSO app. Tick the checkbox and click on Actions dropdown above it and press Delete
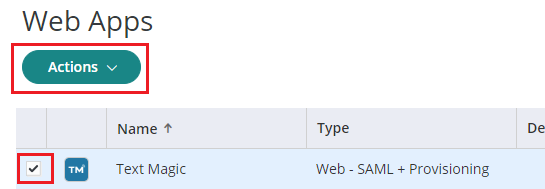
6. Press Delete and Yes for confirmation.
7. This should removed the app from their Practice Protect.