Purpose
Validate offers single sign-on via SAML integration with Practice Protect. This provides a seamless login experience to Validate using SP-initiated SAML only.
Validate is a cloud based app with no local desktop or mobile version.
Practice Protect will configure this on your behalf. Please send us an email at support@practiceprotect.com
Pre-requisites
- All Validate Users should have a matching Practice Protect account with the same username.
- Admin Access to Practice Protect
Instructions
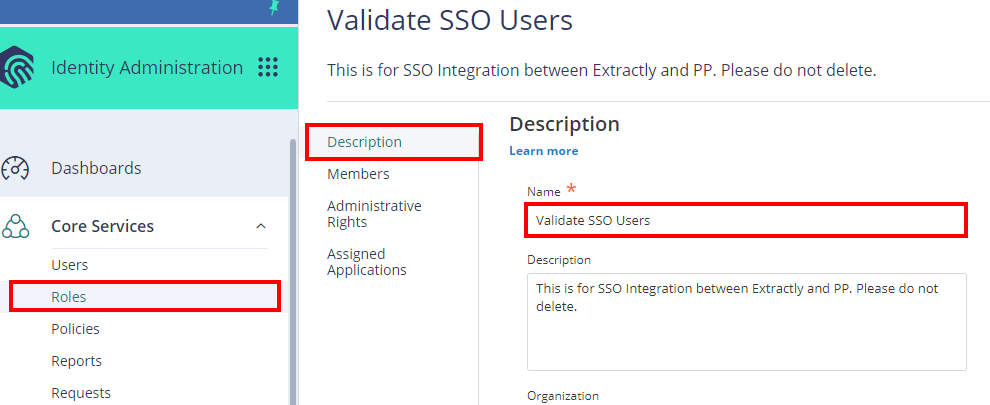
- Login to your Practice Protect and switch to Admin portal
(e.g. yourdomain.practiceprotect.app) - On Core Services, select Roles then Add Roles. Create a role and set the name as Validate SSO Users. Then select Save.
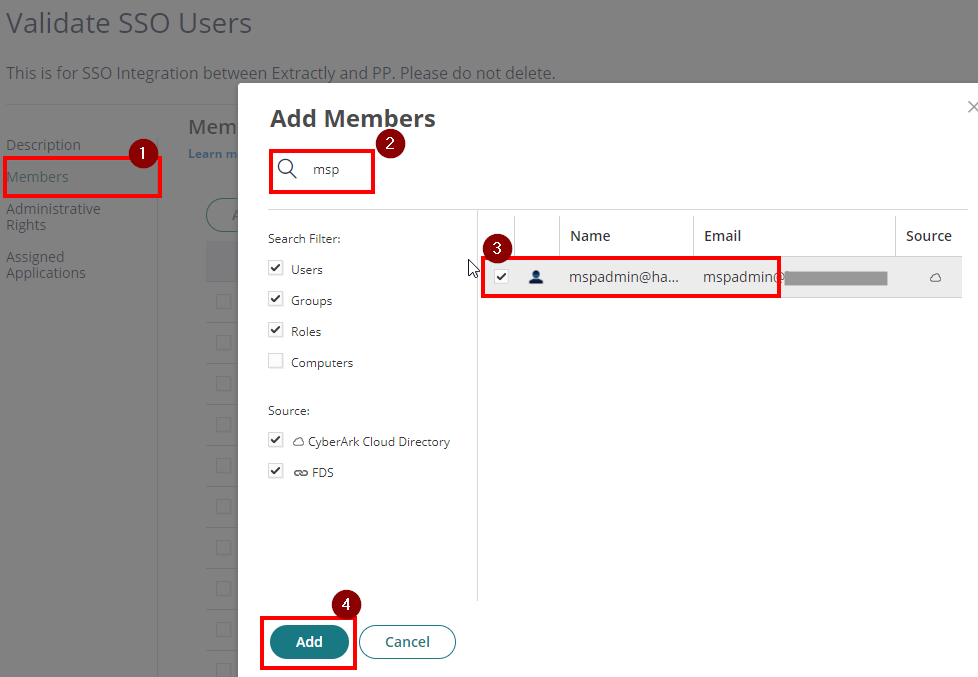
- With the newly created role, click on Members then select Add. Add each user that will have access to the app. Then Save.
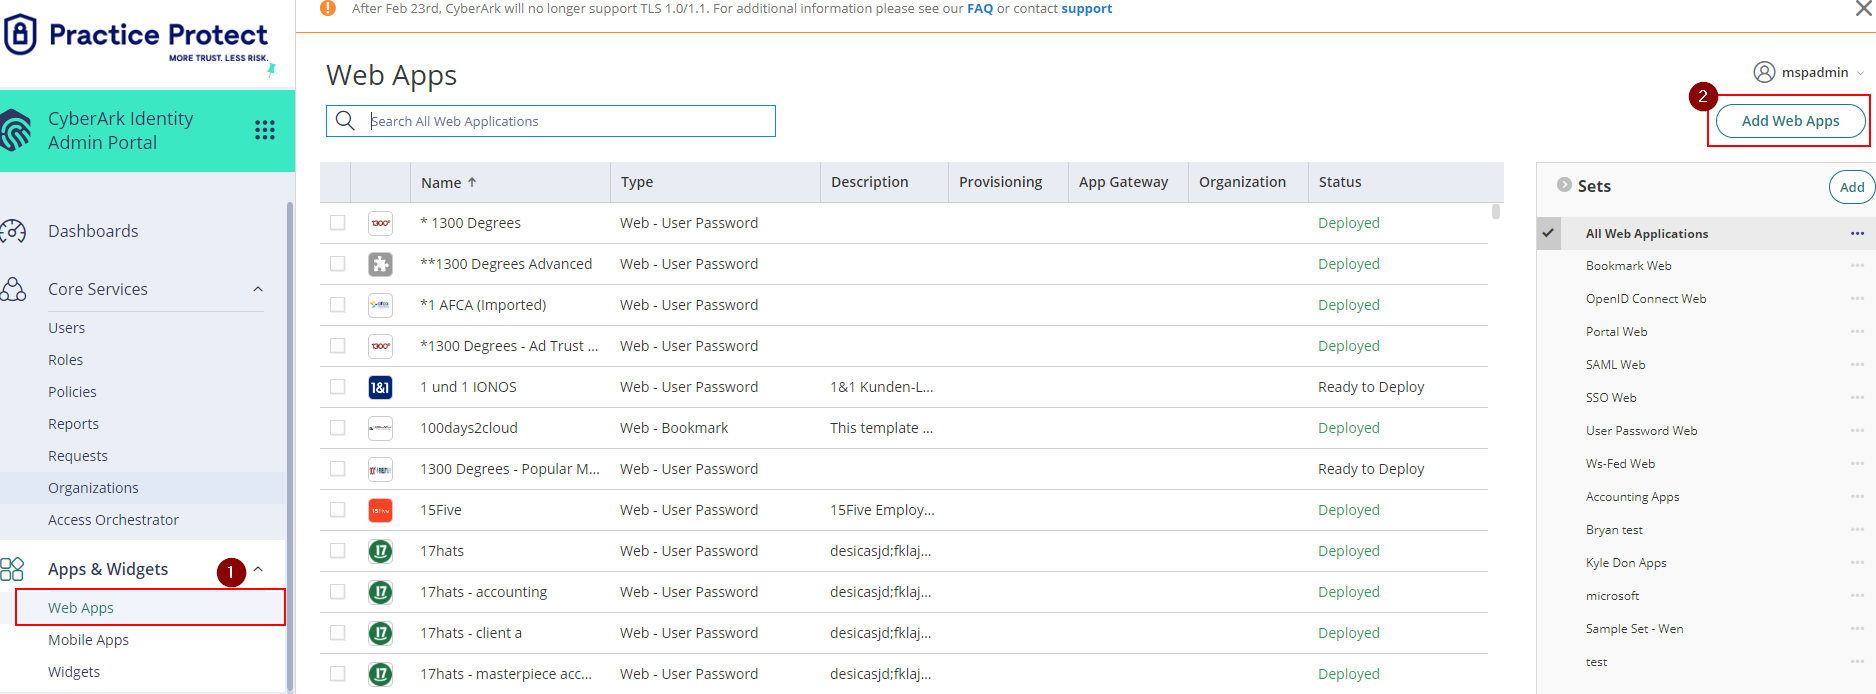
- Under Apps & Widgets, select Web Apps then select Add Web Apps.
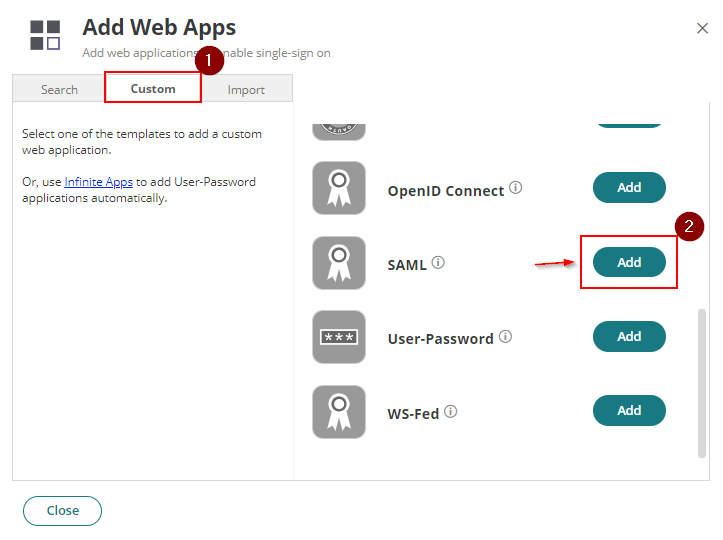
- Select Custom then next to SAML select Add
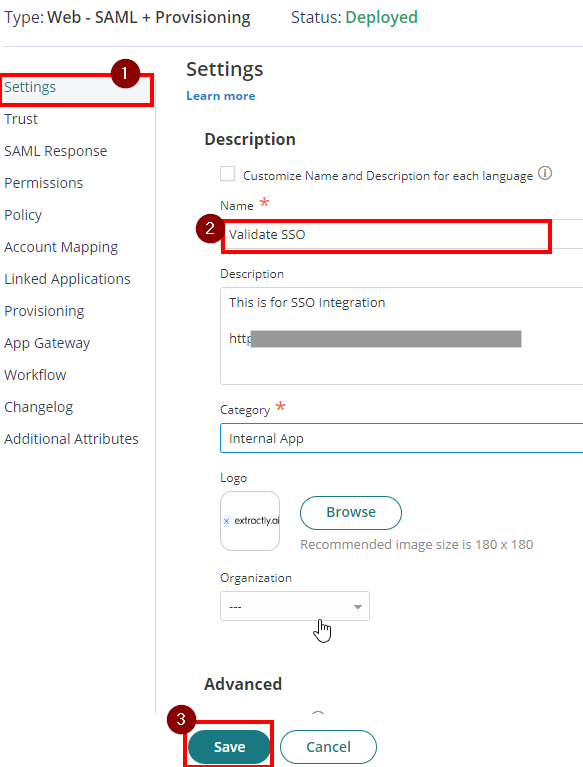
- Set the name as Validate SSO then select Save
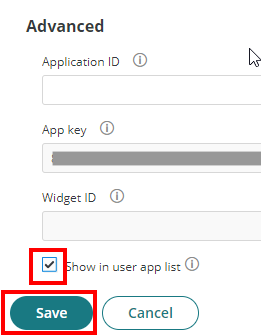
- Scroll down and go to Advanced. Uncheck the box for Show in user app list. Then, select Save.
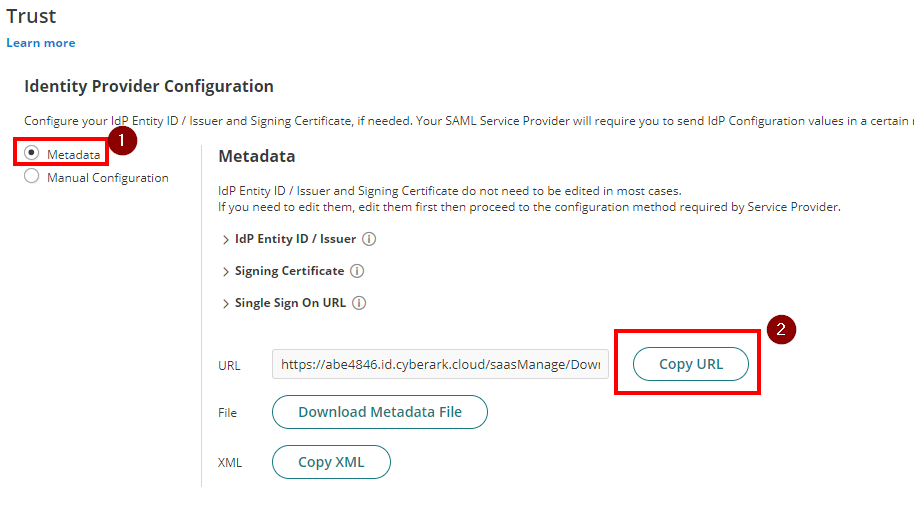
- Click on Trust > under Identity Provider Configuration select Metadata. Click on Copy URL. This is needed for a later step.
- Submit a ticket to Extractly AI support via info@extractly.ai to request they complete steps required from their side. See sample email below:
- Once Extractly AI has responded, return to Practice Protect and open the Validate app configuration page.
- Proceed to Trust > Service Provider Configuration > Choose Manual Configuration.
- Copy the SP Entity URL and ACS URL provided by Extractly AI and paste it on the relevant text fields.
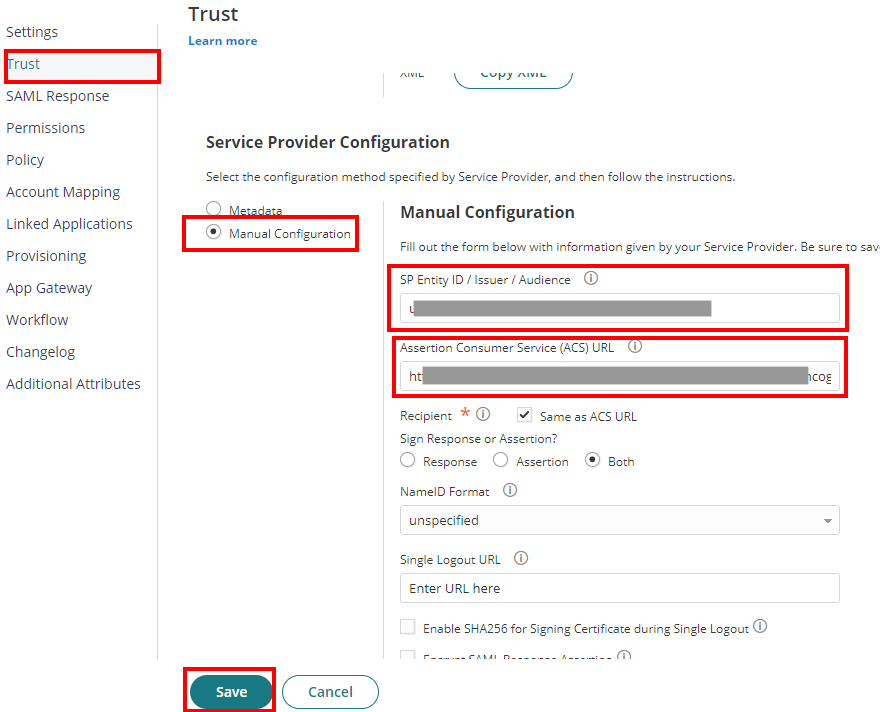
- Click Save.
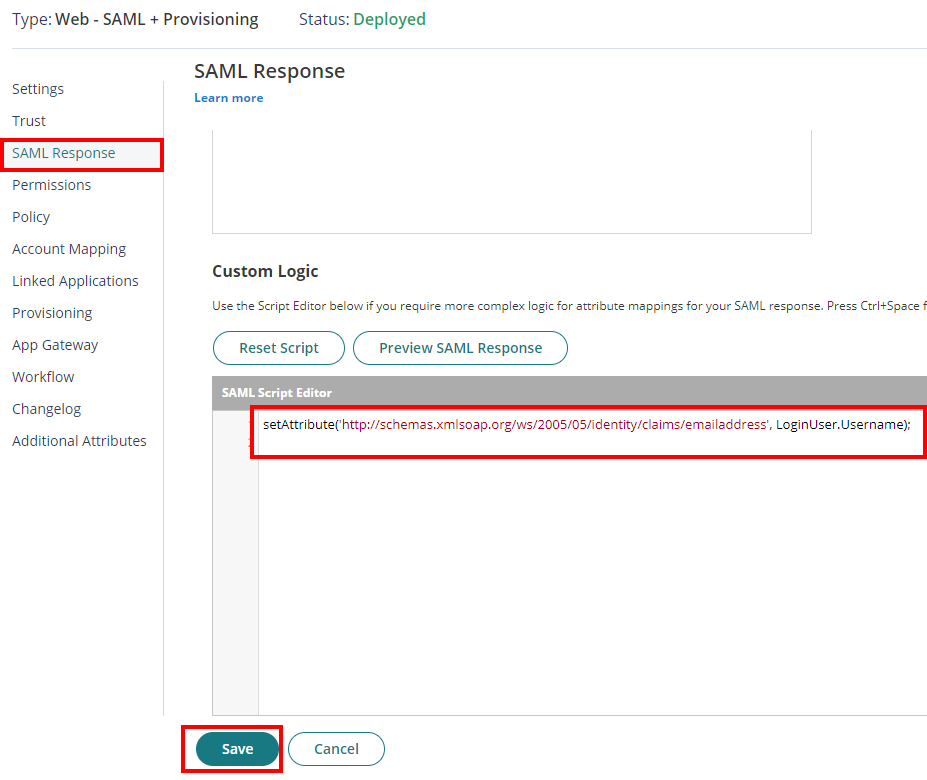
- Go to SAML Response. Paste the following script under the Custom Logic section.
- Hit Save.
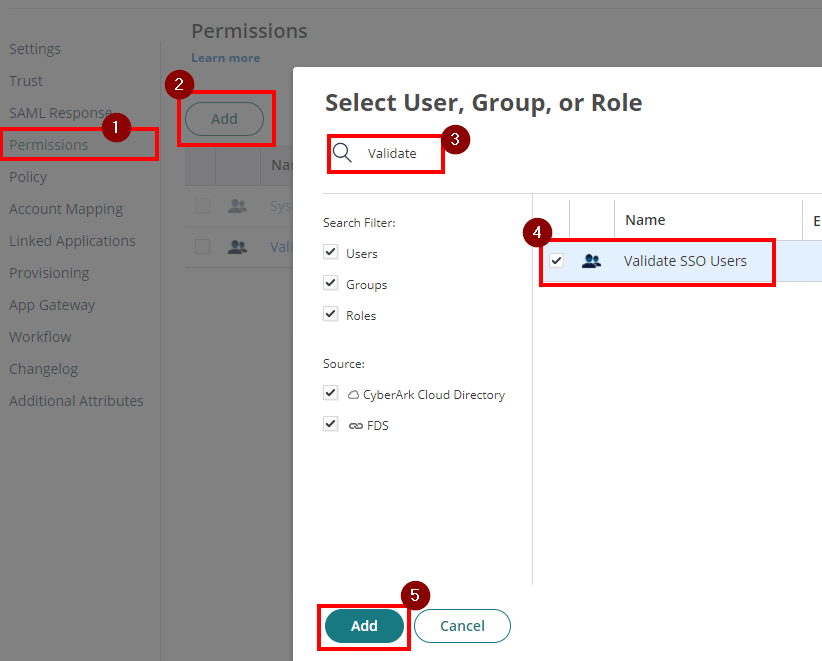
- On Permissions section, click Add. Select the role created from Step 2 (e.g. Validate SSO Users)
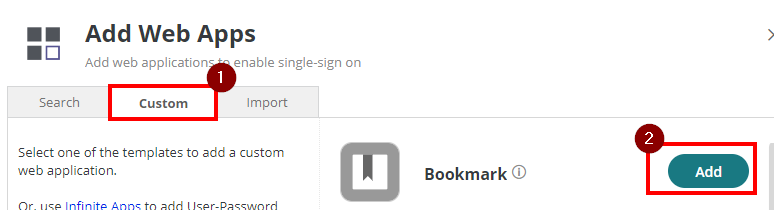
- Return to the Web Apps section and select Add Web Apps. Under Custom, add a Bookmark.
- This will open up the Bookmark configuration page. Copy the Login URL provided by Extractly AI and paste it to the URL field.
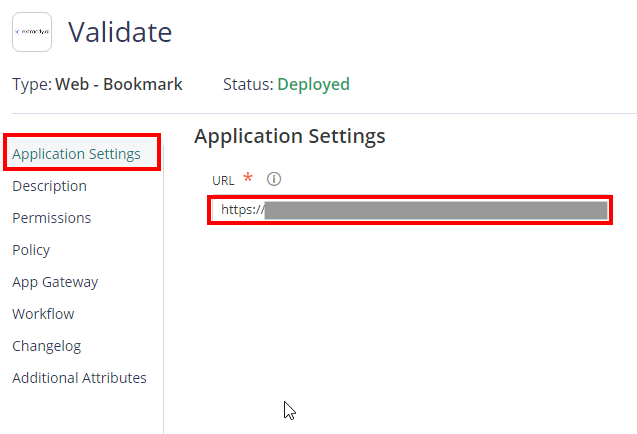
- Under Description, set the app name as Validate and select Save.
- Add the role we created in an earlier step to the permissions page (e.g. Validate SSO Users) and click Save.

- Extractly AI support needs to enable the integration as the final step. You will need to contact their support team & advise you are ready for them to turn the integration on.
- Once the integration has been enabled, you can use the Validate tile on your Practice Protect User Portal to launch the web page & select the sign in button. This will then automatically sign you into the Validate application.