Purpose
The connector is a multi-purpose service that enables secure communication between your internal network server and the Practice Protect Identity Service.
If you want to integrate Practice Protect with your on-premises Active Directory or LDAP directory for user authentication or to connect to the on-premises applications like SAP NetWeaver / SharePoint / etc. without the need for VPN, a Practice Protect supplied software program called the Practice Protect (CyberArk) Connector needs to be installed inside the on-premises environment. The Practice Protect (CyberArk) Connector is a simple Windows service that runs behind a customer’s firewall to provide real-time authentication, policy, and access to user profiles without synchronizing data to the cloud.
At least one connector should be installed on your network inside of the firewall. The connector provides the link between your internal Active Directory forest and the Practice Protect identity service. In most cases, it is better to install two connectors in a production environment to support fail-over and load balancing only if multiple servers are available.
For each tenant, a unique PKI Certificate is issued from the Practice Protect to the Practice Protect (CyberArk) Connector during registration. All communications between the Practice Protect and the Practice Protect (CyberArk) Connector are encrypted and mutually authenticated for each tenant using these unique certificates.
This process below guide is to be done by an IT personnel who has deep knowledge of the on-premises infrastructure specifically with Active Directory. The process includes installation, configuration, and verification of the cloud connector.
Prerequisites
• Practice Protect Account with Admin Access
• Domain Admin Account in the On-premise Environment
• Admin Access to the AD server
• User Principal Name should be exactly the same as the Primary Email Address (i.e. john.doe@youremaildomain.com) not john.doe@youremaildomain.local.
• If you are using the name@domain.local as your UPN, Please work with your IT to change this accordingly. You may follow this guide from Microsoft on how to change this in Active Directory.
Instructions
1. Login to Practice Protect on any preferred browser (ex. Chrome, Firefox, Edge).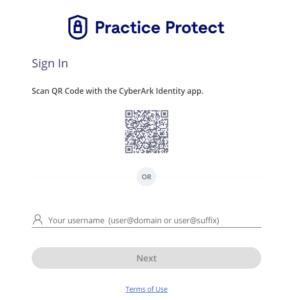
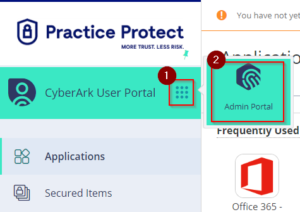
3. Click the drawer menu, and click Admin Portal to switch.
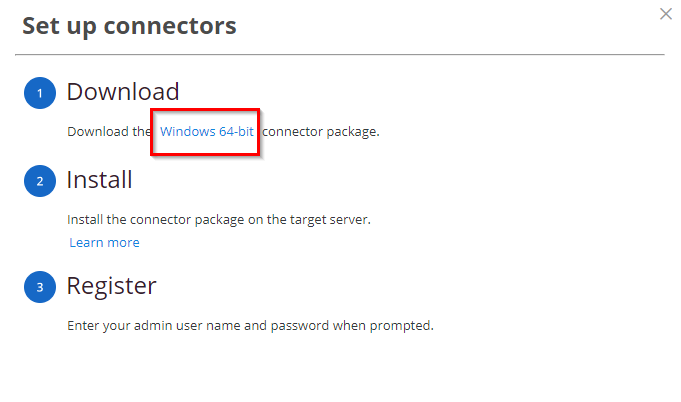
4. On Settings, go to Network, then select CyberArk Identity Connectors. Click Set up connectors

5. To download the package, click on Windows 64-bit or directly download it through this link.
6. Locate the file that you downloaded and extract it. If the User Account Control warning is displayed, click Yes to continue. Run the file CyberArk-Identity_Management-Suite-win64.exe 
7. On the Welcome page, click Next.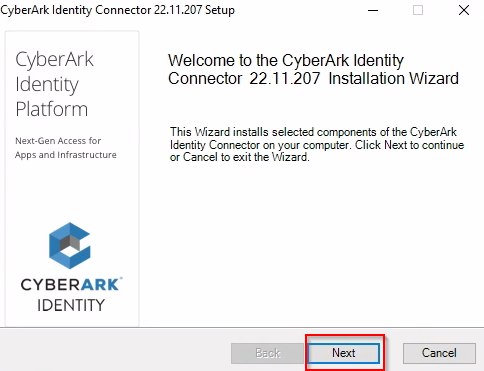
8. Select the “I accept the terms in the license agreement” option, then click Next.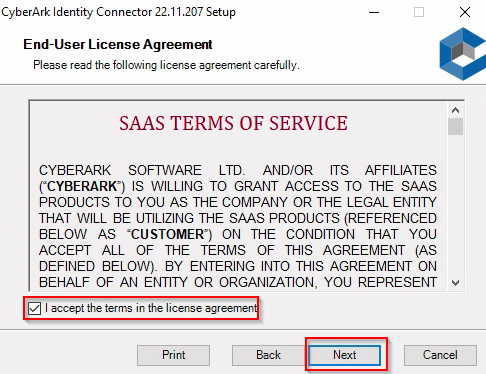
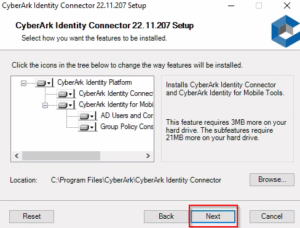
9. Select the components to install and verify the location for installation or click Browse to select a different location, then click Next.
By default, all components are selected. You must install the CyberArk connector to prepare for multi-factor authentication. The other components are optional but might be required for other features or services.
10. Click Install. If necessary, close any open applications to complete the installation.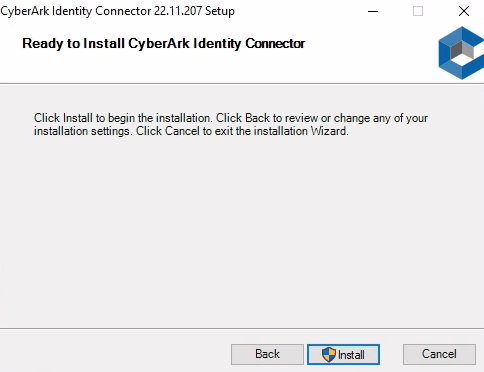
11. Click Finish to open the connector configuration wizard.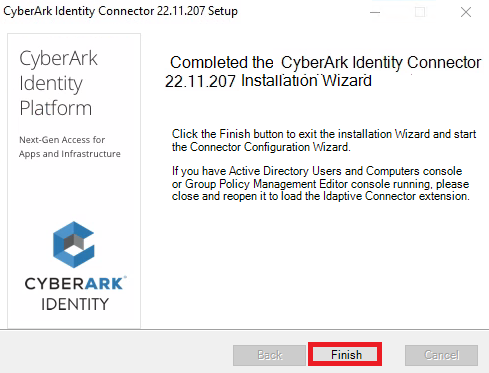
1. By default, the configuration wizard is displayed immediately after the connector is installed.
2. On the Welcome page, click Next.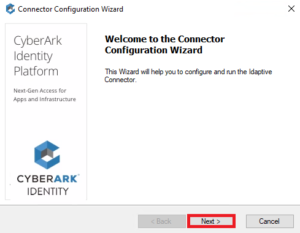
3. Enter the username and password using your Admin account in Practice Protect, then click Next.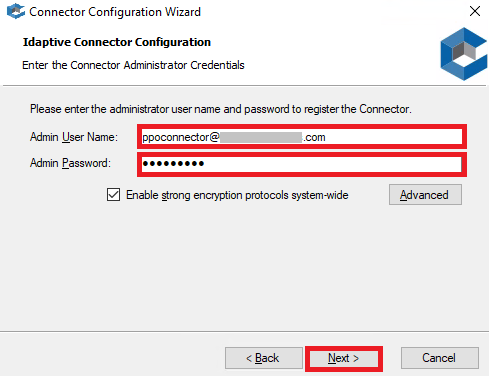
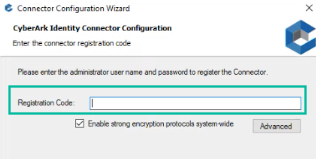
4. This will ask you for a Registration Code. To get the code follow the steps below:
- Return to Practice Protect > Admin Portal > go to Settings > Network > CyberArk Identity Connectors > Click Set up Connector then click Generate code and copy the code.
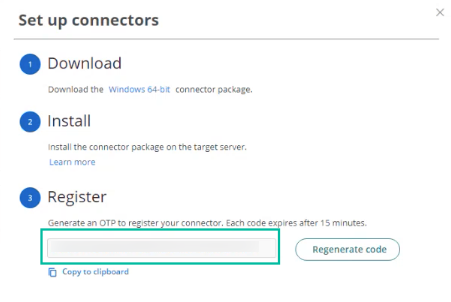
- Paste the generated code in the Registration Code text box in the Connector Configuration wizard. Note: The registration code expires after 15 minutes. Once expires, generate another one.
5. Click Next unless you are using a web proxy server to connect to Practice Protect (CyberArk) services.
If you are using a web proxy service, type the IP address, select the port, and specify the user name and password to use.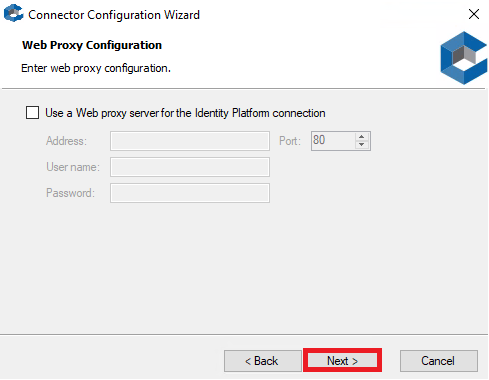
6. On the Setup Properties Page, enter the Domain and click Next.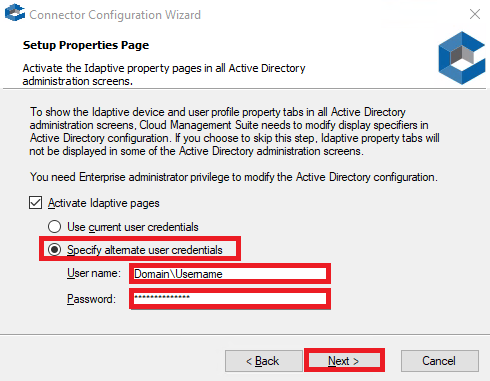
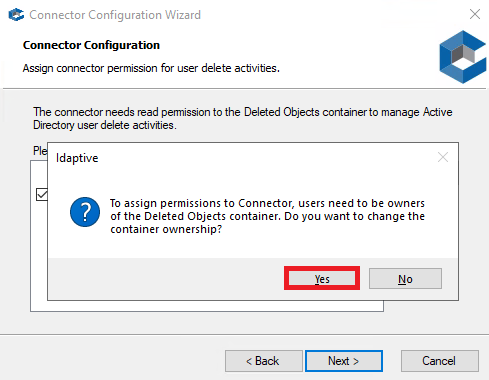
7. On Connector Configuration, select the domain and click Next. If the Assign Permissions warning is displayed, click Yes to continue.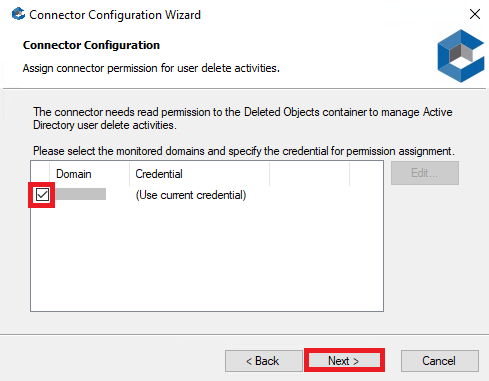
8. The configuration wizard performs several tests to ensure connectivity. If all of the tests are successful, click Next.
As the final step, the connector registers your customer-specific identifier with the Practice Protect (CyberArk) identity platform, then runs in the background as a Windows service. The customer-specific identifier defines the default URL you should use. If you have access to more than one customer-specific URL, you can change the URL to use in the Practice Protect (CyberArk) Agent for Windows Configuration panel.
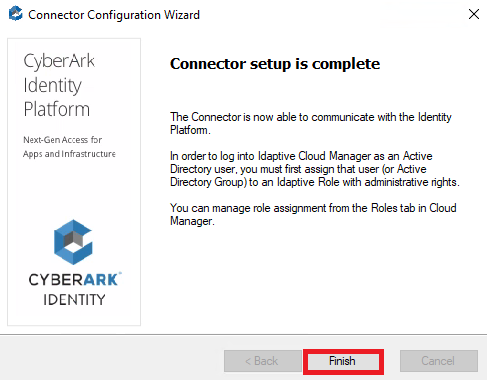
9. Click Finish to complete the configuration. The Connector Configuration Wizard will open
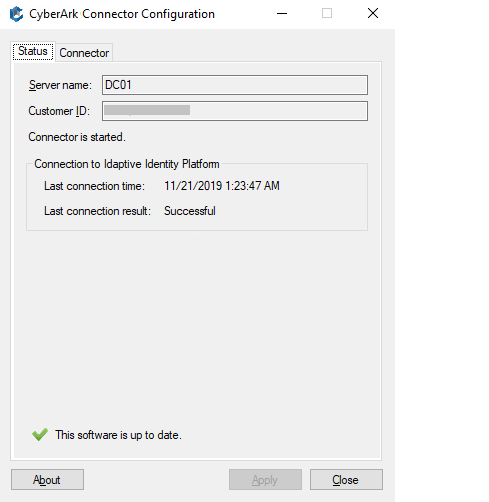
10. This now displays the status of the connection and your customer-specific identifier.
11. Click the Connector tab to view or change any of the default settings.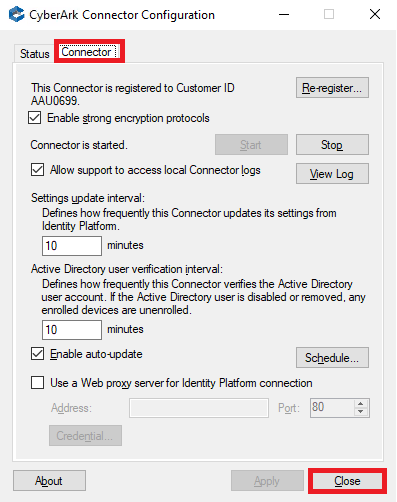
12. Click Close.
1. Return to the Practice Protect Admin Portal and go to the Settings
3. Click Network, then click CyberArk Identity Connectors. There should be information that shows that the connector is Active and communicates with Practice Protect.
4. To verify that the Web Server is enabled, select the currently active connector. Then on the Actions dropdown menu, pick Modify to show the connector configuration.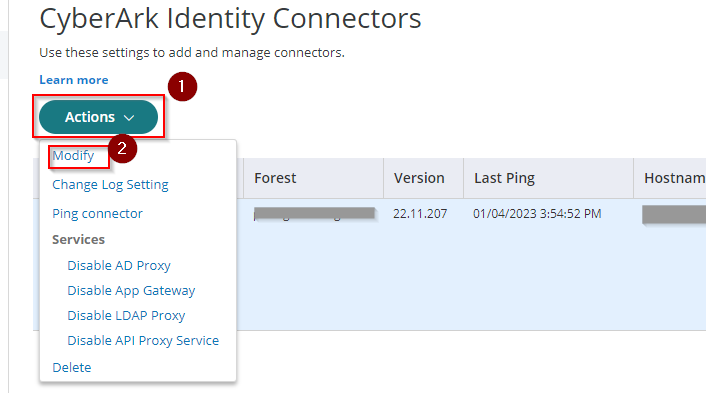
5. On CyberArk Identity Connector Configuration, click IWA Service and check “Enable Web Server” is selected.
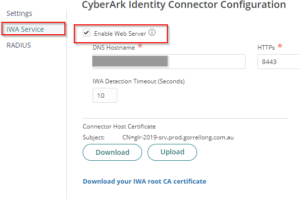
**This option enables integrated Windows authentication for communication with Practice Protect (CyberArk) agents. Integrated Windows authentication is required for multi-factor authentication.
Integrated Windows authentication (IWA) requires you to have a port available for secure HTTP (HTTPS) communication and a trusted certificate for mutual authentication between the connector and the authentication server. To configure integrated Windows authentication an HTTPS-enabled port.
Note: If the steps above aren’t possible, reach out to Practice Protect to verify the status of the connector. IWA can also be turned off as well as a security policy in the platform

