
This guide covers how to add and remove applications from a role. Assigning applications to roles ensures that only authorized users have access to specific applications.
To add applications to a role on the Roles page
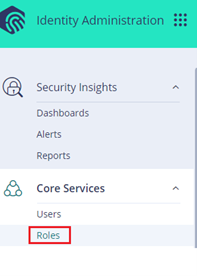
- In the Admin Portal, click Roles.
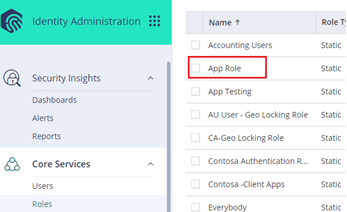
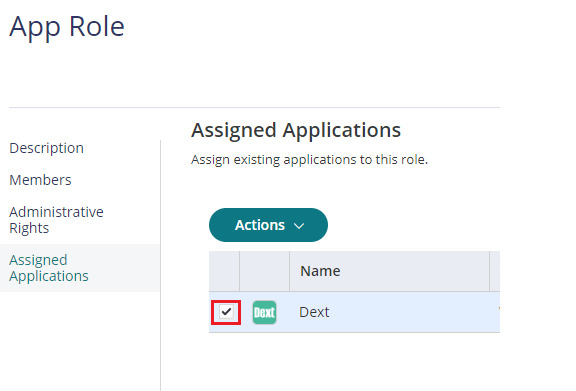
- Select the role.
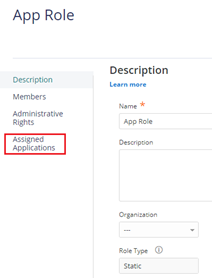
- Click Assigned Applications.
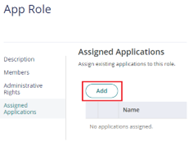
- Click Add.
- The Add Applications pop-up window shows all applications listed on the Apps page. Type a few characters of the required application’s name in the Search Applications field.

- To add an application, click the check box and click Add.
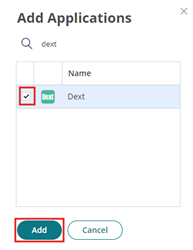
- You can select multiple applications.
- To add more applications, click the Add button again, then search for the required applications, and click Add.
- Click Save.
To remove applications assigned to a role on the Roles page
- In Admin Portal, click Roles.
- Click the role.
- Click Assigned Applications.
- Click the check box for the applications you want to remove.
 5. From the Actions drop-down menu, click Delete
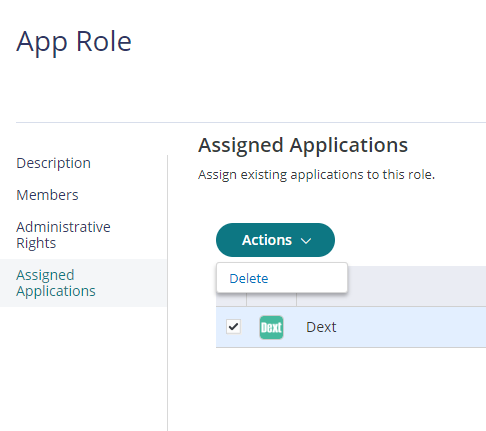
6. Click Save