Purpose
This article provides guidance on setting up an alternative authentication method using a browser-based authenticator for users who are not permitted to use mobile phones as part of company policy.
The browser extension-based authenticator offers a secure, web-based option for completing multi-factor authentication (MFA) without relying on a personal or company-issued mobile device.
This guide outlines how to configure and use the authenticator for:
-
Practice Protect,
-
Microsoft 365, where browser-based authentication methods are permitted by policy,
- Google.
This approach ensures users can remain compliant with organisational security requirements while maintaining secure access to required systems.
Prerequisites
- A supported web browser (Microsoft Edge, Google Chrome, or Mozilla Firefox).
-
The Authenticator browser extension is added to your browser through the links below:
-
Chrome: Get the extension here
-
Edge: Get the extension here
-
Firefox: Get the extension here
NOTE: You can also deploy the Authenticator extension centrally via Microsoft Intune for managed devices. This allows IT administrators to automatically install the extension on users’ browsers without requiring individual action.
-
Instructions
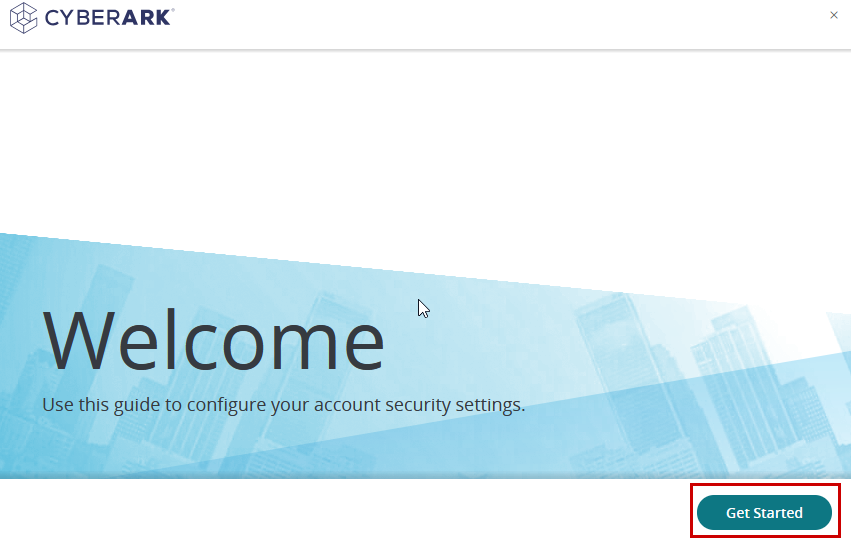
- On the Welcome page, click Get Started.
- Enter your phone number and click Save.
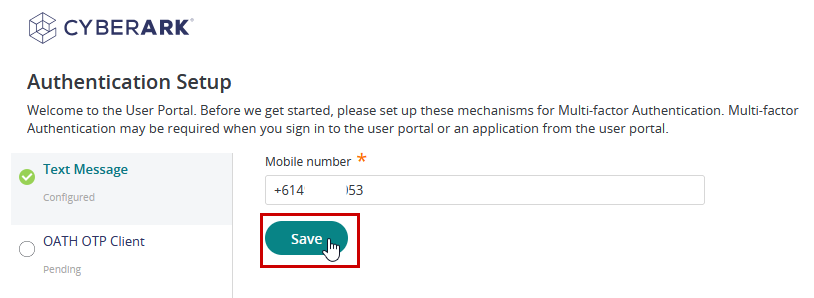
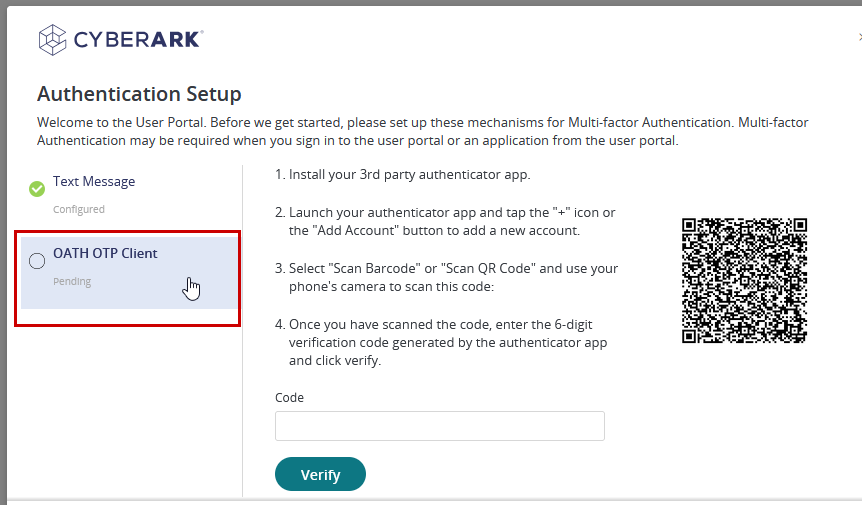
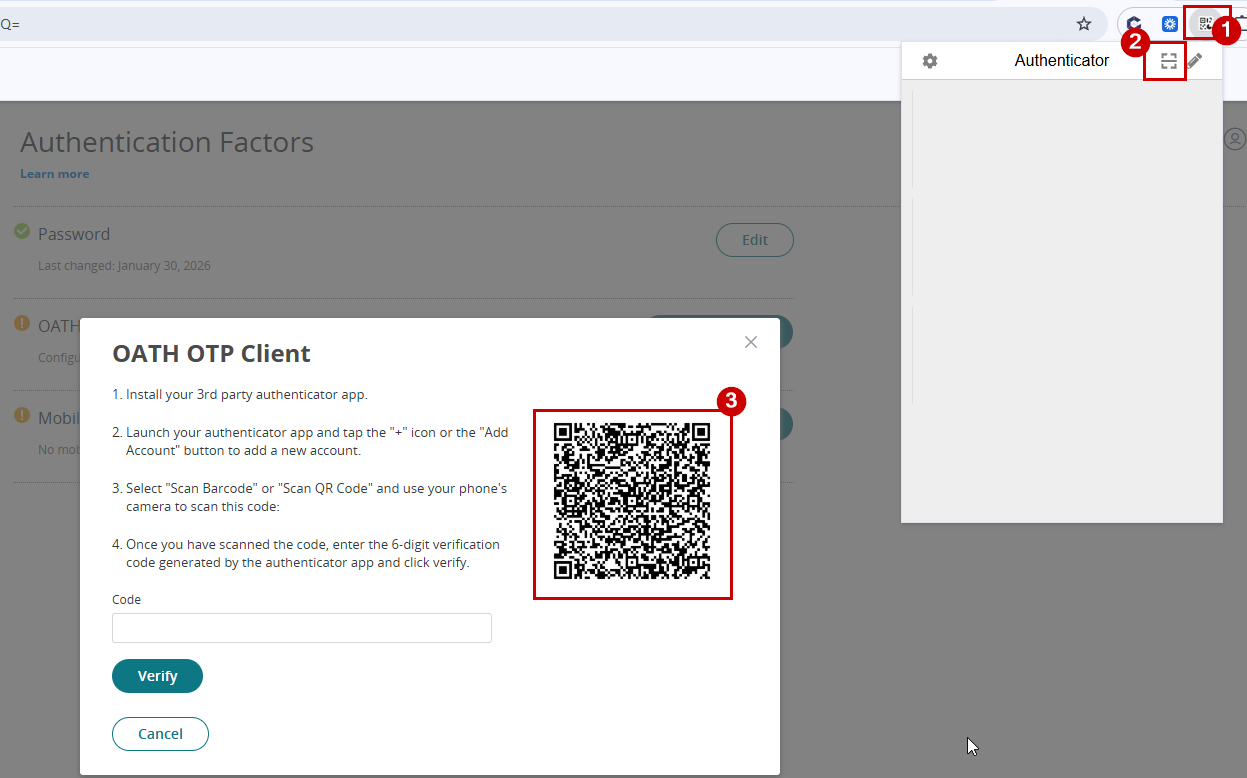
- After saving your phone number, click on OATH OTP Client to continue.
-
You will see a QR code and an input field for the verification code. Open your web-based authenticator app, tap the Scan QR icon, and scan the QR code displayed on the screen.
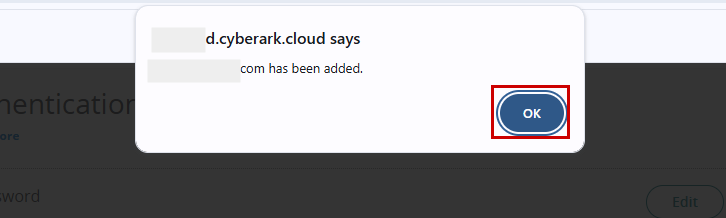
- You will receive a confirmation message once the code is successfully captured. Hit OK
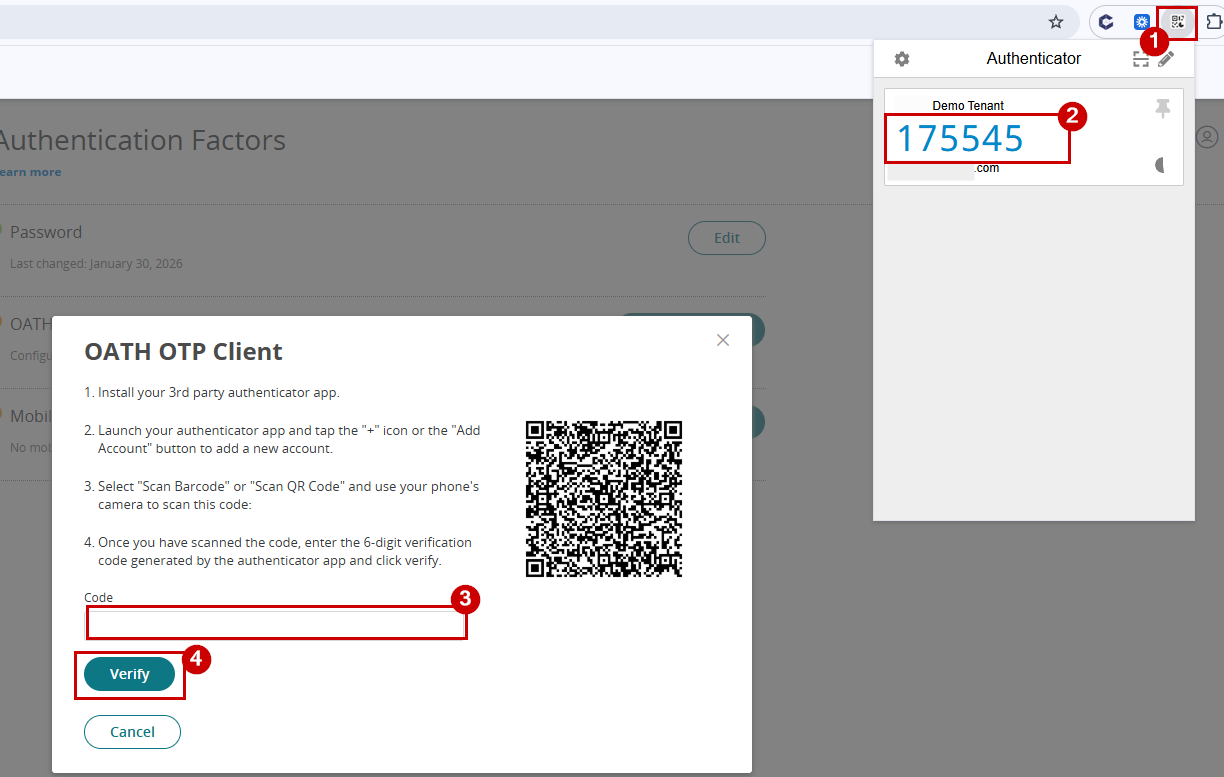
- Open web based authenticator app again, copy the code, paste it into the text field, and click Verify.
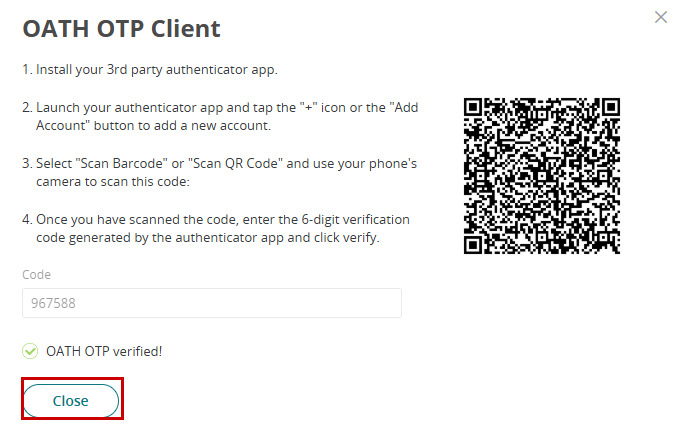
-
Once the code is entered and successfully verified, you will see a confirmation message stating OATH OTP verified. Click Close.
-
You can now use the web-based authenticator when signing in with MFA. Please note that if you previously set up OATH OTP on your phone, this configuration will replace it and the phone-based OTP will no longer be usable
- In your portal, navigate to the Account tab in the left-hand menu.
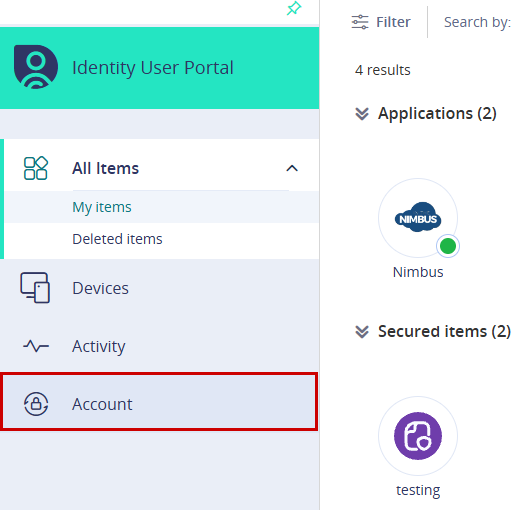
- Click Show QR Code next to OATH OTP Client under Authentication Factors.
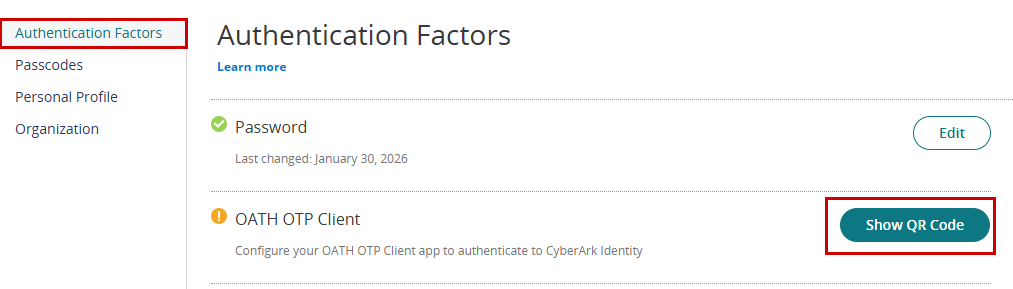
- A pop-up window will appear displaying the QR code and an input field where you need to enter the verification code.
- Open your web-based authenticator app, tap the Scan QR icon, and scan the QR code displayed on the screen.
- You will receive a confirmation message once the code is successfully captured. Hit OK
- Open web based authenticator app again, copy the code, paste it into the text field, and click Verify.
-
Once the code is entered and successfully verified, you will see a confirmation message stating OATH OTP verified. Click Close.
-
You can now use the web-based authenticator when signing in with MFA. Please note that if you previously set up OATH OTP on your phone, this configuration will replace it and the phone-based OTP will no longer be usable
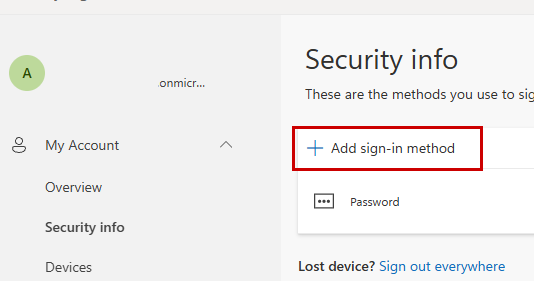
- Visit the MFA setup page and sign in using your Microsoft login
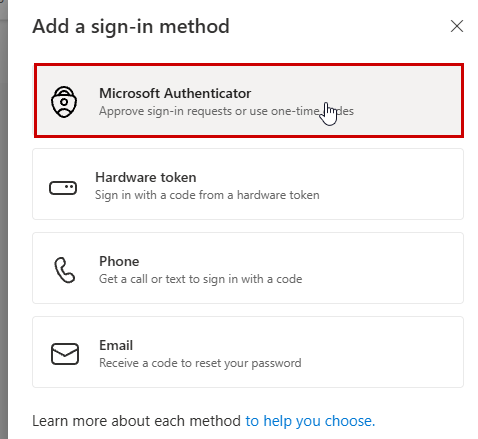
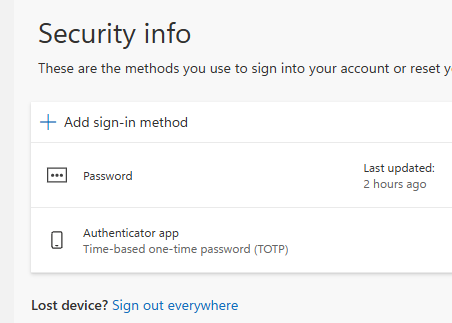
- In Security info, click Add sign-in method
- Choose Microsoft Authenticator
- Click on Set up a different authentication app.
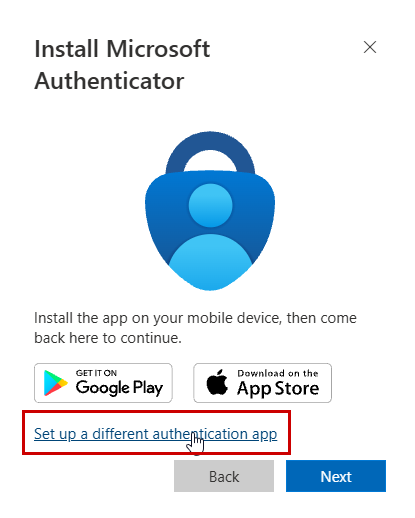
Note: If you are setting up MFA in Microsoft 365 and do not see an option to add or configure a different authentication app, this likely means that your organization does not allow the use of browser-based authenticators. In this case, please contact your IT department for guidance on approved authentication methods. - Click Next.
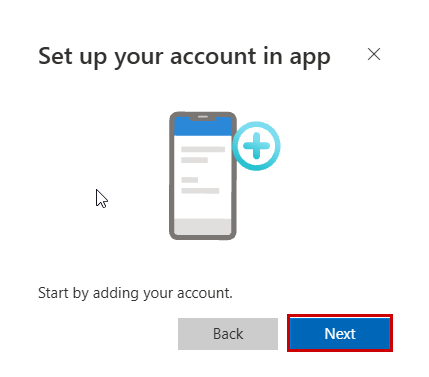
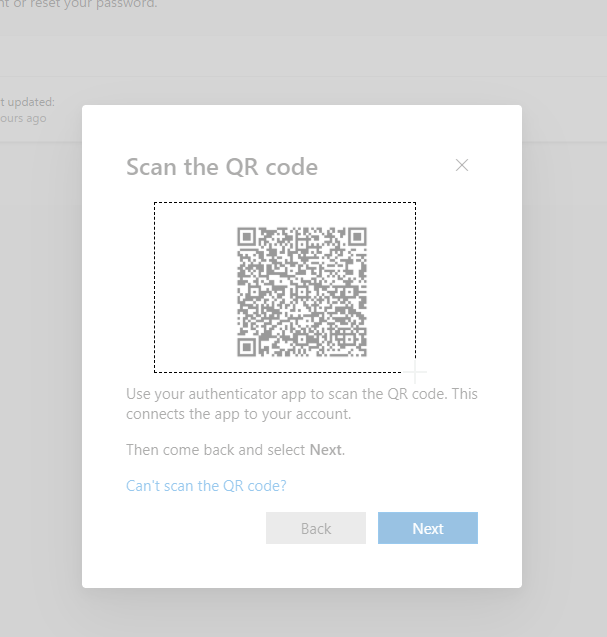
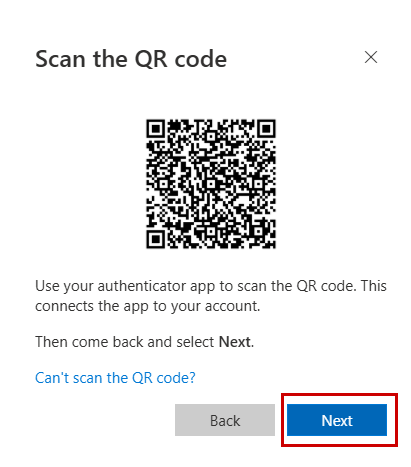
- A QR code will appear on the screen. Open your Authenticator in the browser and click Scan QR Code to add your account.
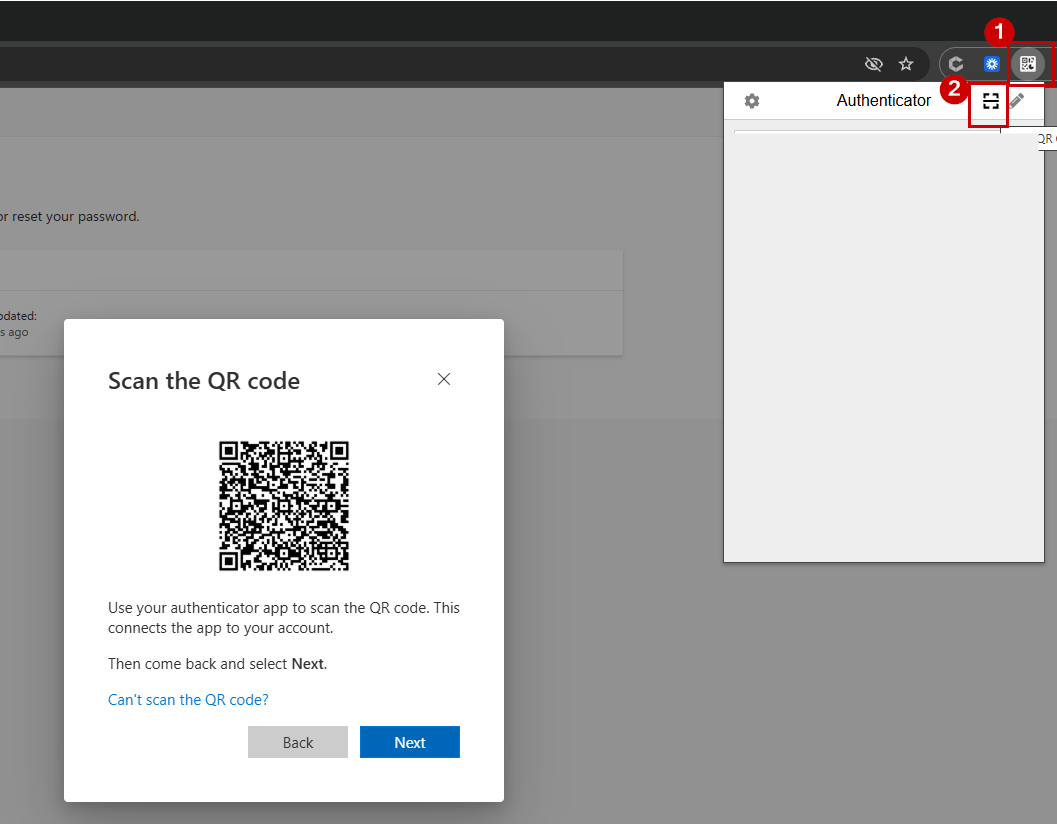
- Scan the QR code displayed on your screen using your Authenticator.
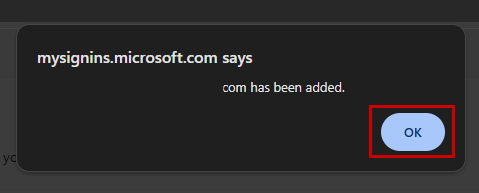
- Once successful, a pop-up message will confirm that the account has been added. Click OK
- Click Next.
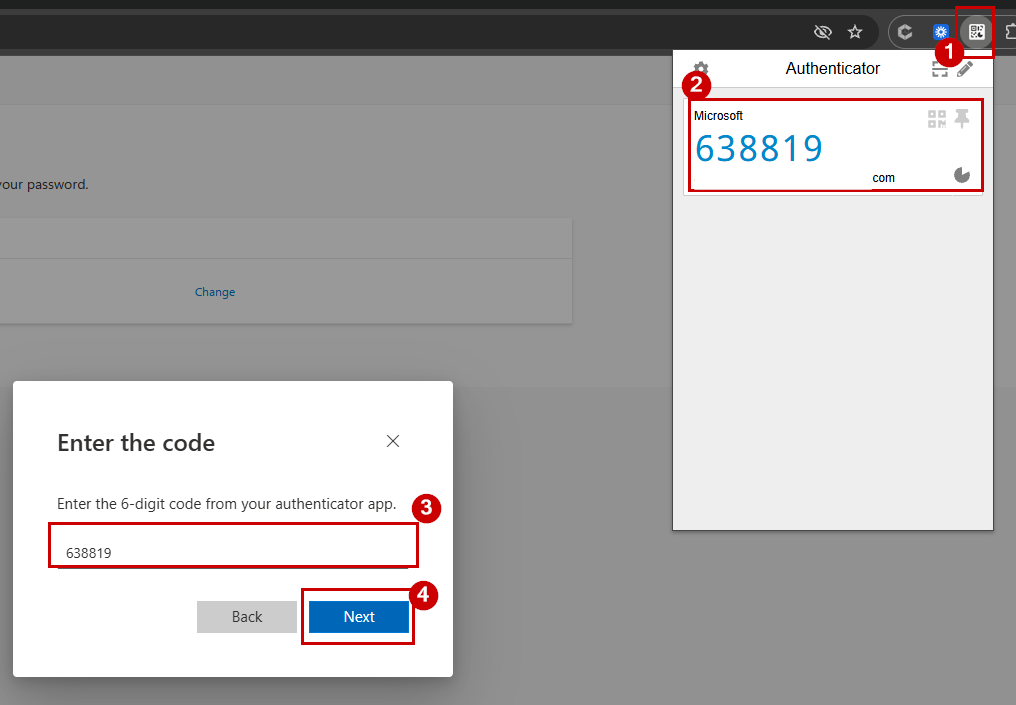
- You will be asked to enter the 6-digit code from your Authenticator. Open your Authenticator, copy the code, paste it into the text field, and click Next.
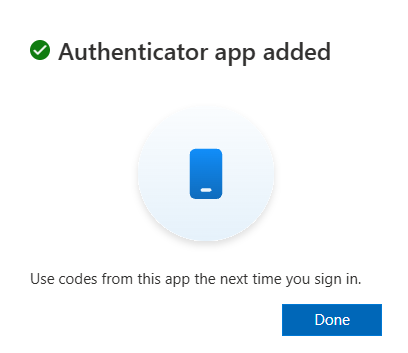
- After verification, a pop-up will confirm that your Authenticator app has been added. Click Done. You can now use this app to complete MFA when signing in to Microsoft 365.
Note: If you want to use a mobile Authenticator in the future, it won’t automatically sync with your browser app. You’ll need to export your account from the browser Authenticator and import it into the mobile app.
- Sign in to your Google Account. (i.e., Gmail)
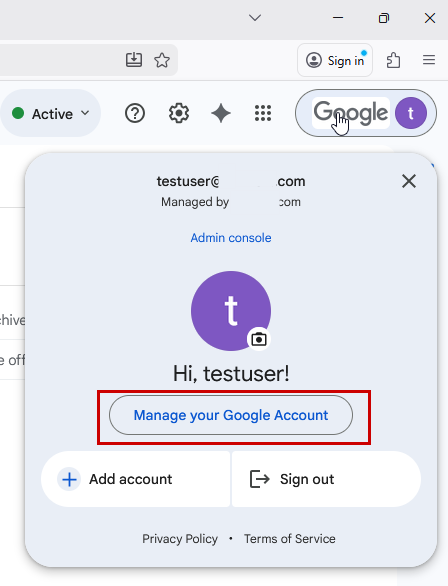
- Click on your profile icon in the top right corner, then select Manage your Google Account. This will open a new tab in your browser.
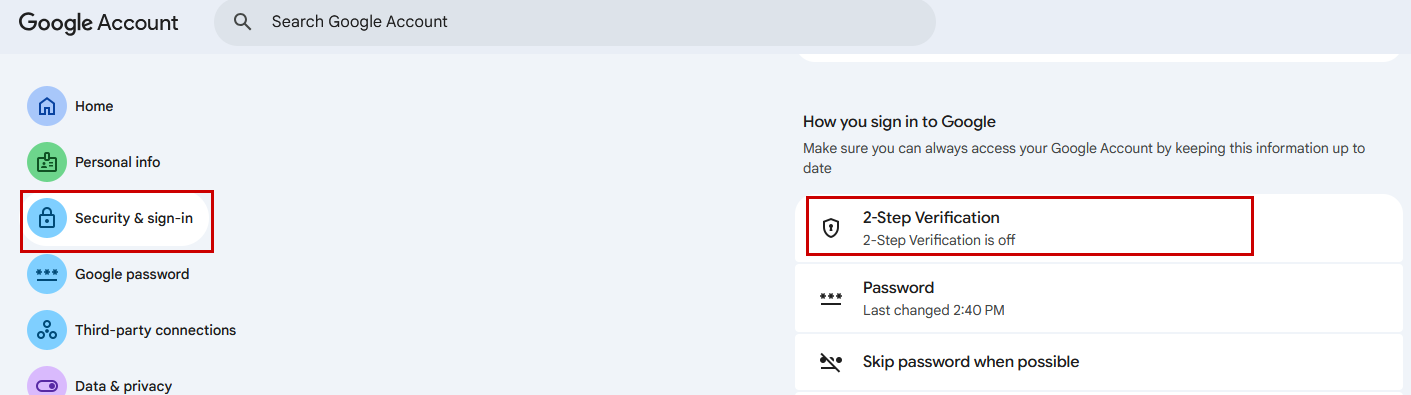
- Click on 2-Step Verification under Security & sign-in. NOTE: If you can’t see this option, it means 2-Step Verification is not enabled for your firm. Please contact your IT team for assistance.
-
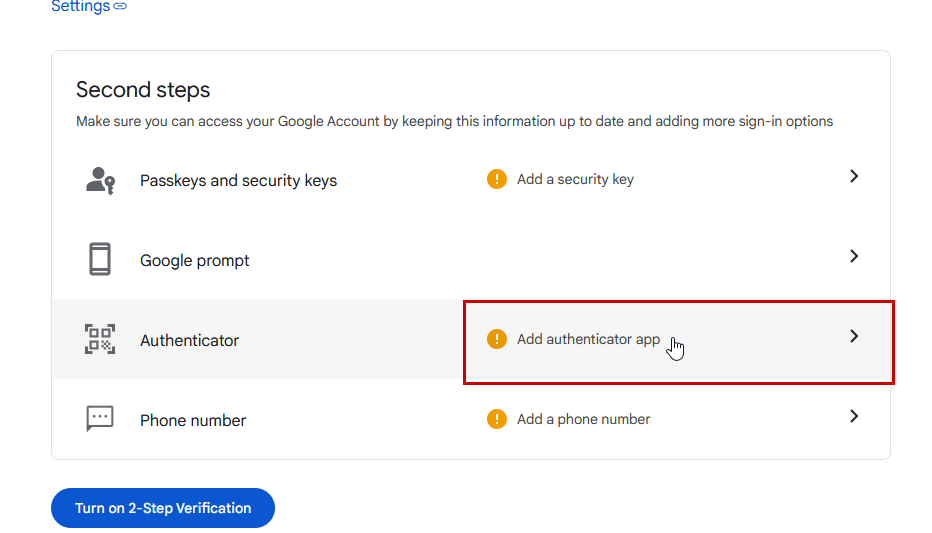
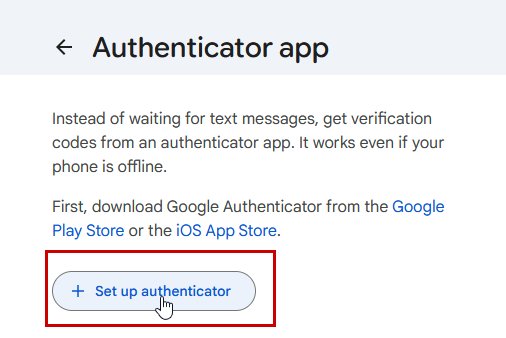
- Click + Setup up authenticator
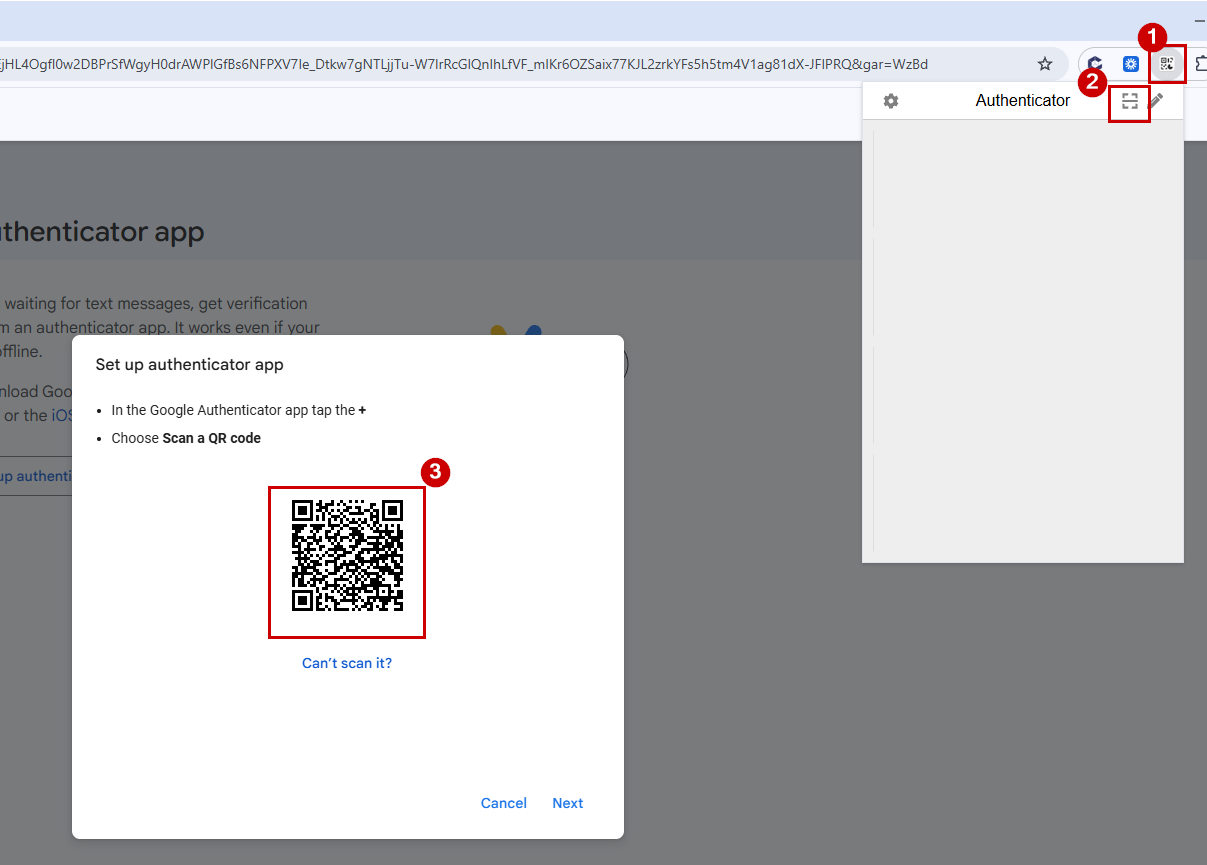
- A pop-up window will appear displaying the QR code. Open your web-based authenticator app, tap the Scan QR icon, and scan the QR code displayed on the screen.
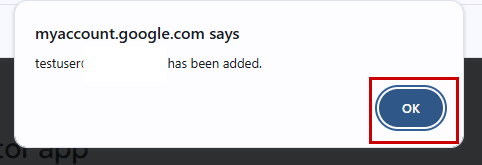
- You will receive a confirmation message once the code is successfully captured. Hit OK
- Click Next.
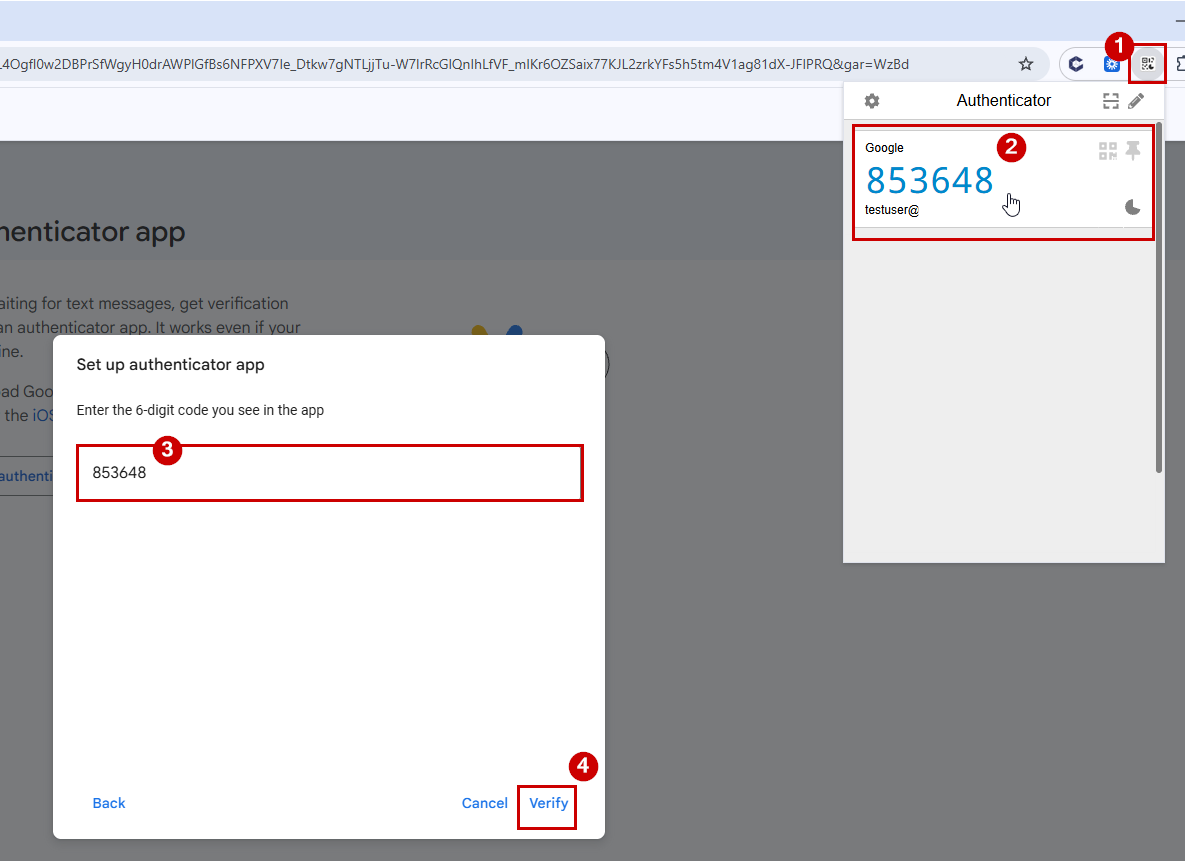
- You will be asked to enter the 6-digit code from your Authenticator. Open your Authenticator, copy the code, paste it into the text field, and click Verify.
- After verification, a pop-up will confirm that your Authenticator app has been setup.
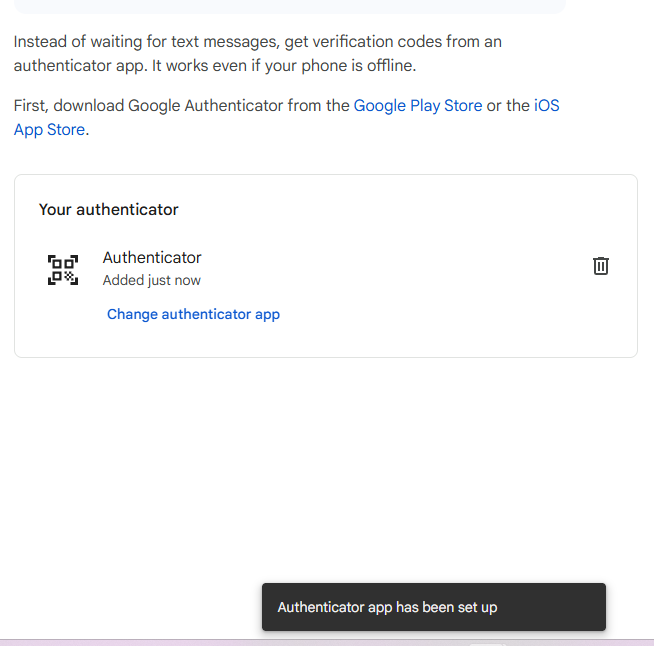
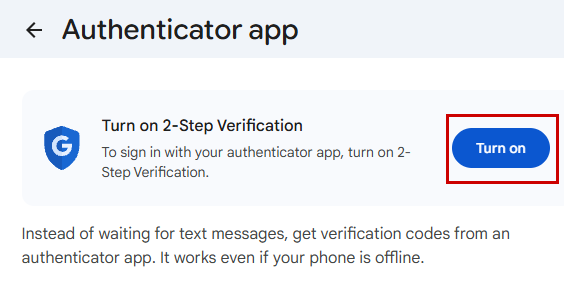
- On the same page, click Turn on.
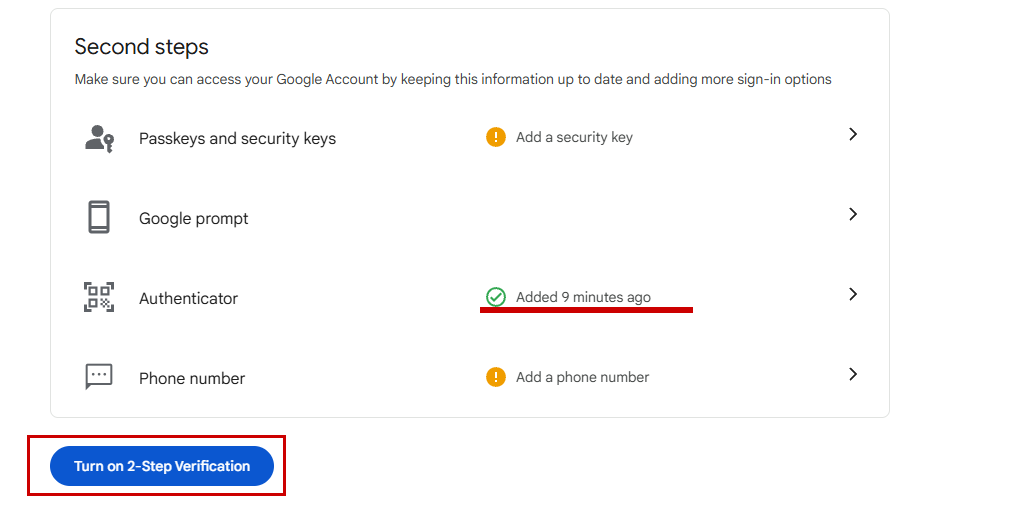
- You’ll see that the Authenticator have a checked icon and that it is now added.
- Click on Turn on 2-Step Verification.
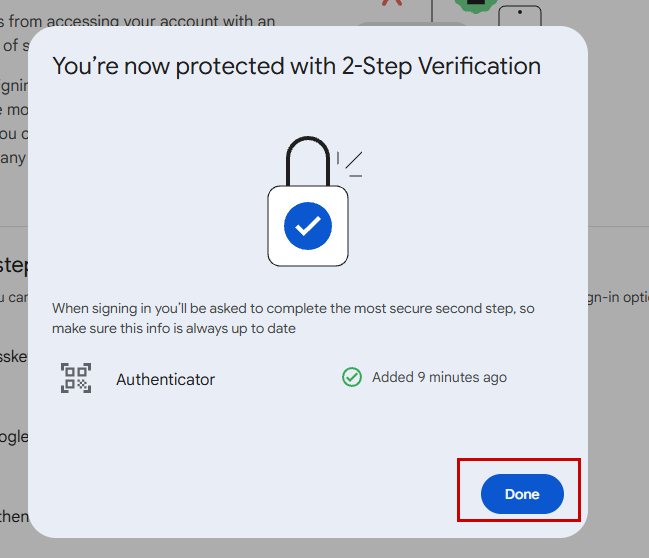
- A pop-up will appear confirming that you are now protected with 2-Step Verification. You can now use the web-based authenticator to sign in to your Google account. Click Done to close.