To add a username and password for specific application or to an end-user, you may follow the steps accordingly.
Ensure that the application is already deployed to the users before doing the steps below.
Individual Application Account
For applications where each has an individual username and password, please follow the steps below. Otherwise please jump to Shared Application Account
- Login to the Admin Portal.
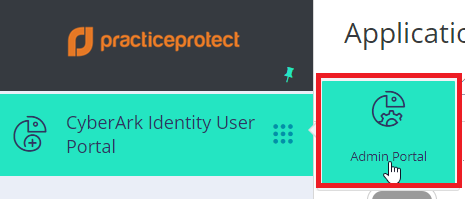
- Under Core Services > click on Users.

- Select a User by clicking on the aligned row.
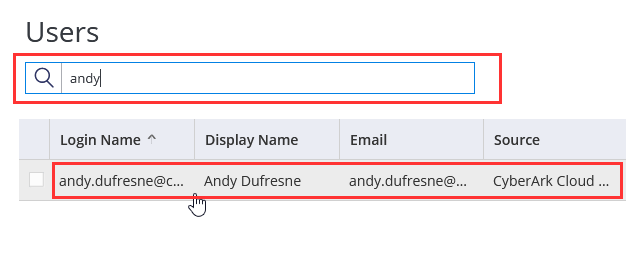 NOTE: Do not click on the checkbox found beside the Login Name as you will not be able to go to the user settings.
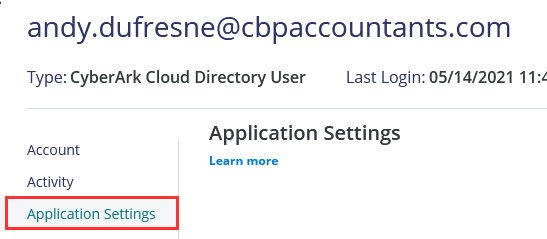
 - In the Navigation Menu, click on Application Settings.
- Once you are in the Application Settings, you will have the list of apps that already have its credentials. In this section, you can either Update or Add an application’s username and password for the user.
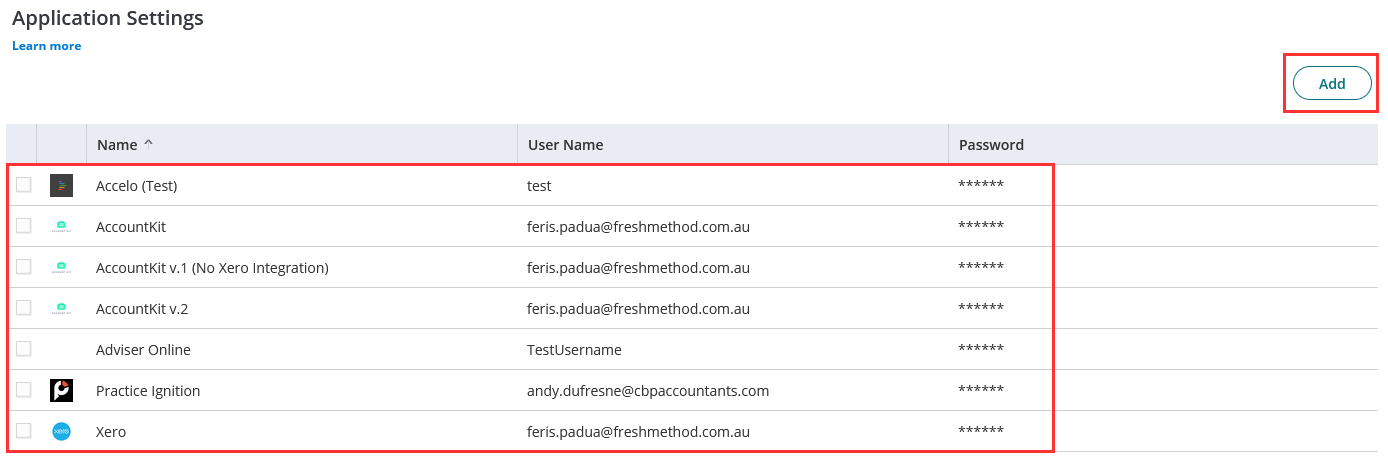
To Update, click on one of the apps in the list.To Add, click on the Add button found in the upper right corner of the page, and from there you will choose an application in which you can search and select.
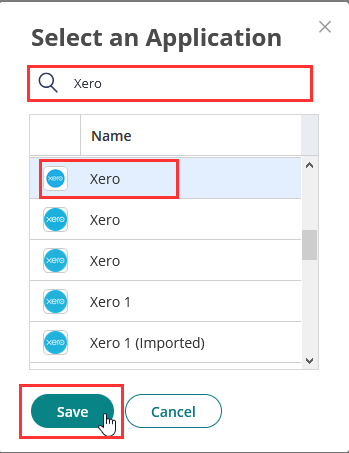
- Either updating or adding, you will be prompted to input the required fields.
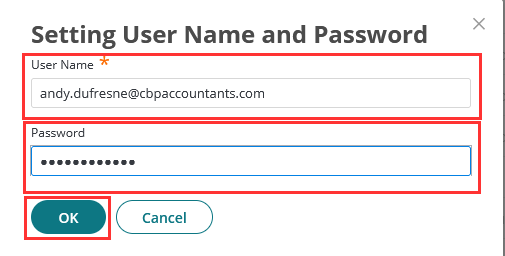 Once done, click OK.
Username and password for the application is now configured for individual settings.
Shared Application Account
For applications that all users shares the same username and password, please follow the steps below.
- Login to the Admin portal.

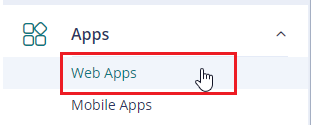
- Under Apps > click on Web Apps.
- Search and select the app by clicking on the aligned row.
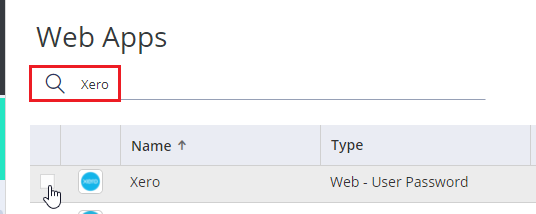
NOTE: Do not click on the checkbox found beside the Name as you will not be able to go to the application settings. - In the Navigation Menu, click on Account Mapping

and tick on All users share one name. - Input the details for the required fields.
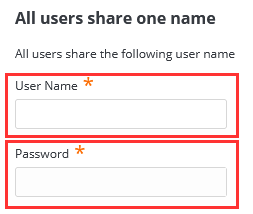
- In the bottom part of the page, click Save.
Username and password is now configured for the shared app.
