Overview
If you are using Microsoft Azure Active Directory (AAD) to store and manage your user information, you can configure Practice Protect Identity to recognize it as a directory service and see the users as managed domain users. You can then add your AAD users to roles and grant permissions to access applications. Your users can then log in to Practice Protect Identity with their AAD accounts and launch assigned applications.
To add AAD as a directory source, you need to register an application in your Azure account with appropriate access to the Microsoft Graph API. You can then authenticate using the Azure application’s Application ID, Directory ID, and Client Secret.
Considerations
In this deployment method the core attributes of the user accounts are controlled in AzureAD/Office 365 including passwords. As AzureAD is the point of truth we are also unable to do Email Protection (Federation) in this deployment as it would cause an authentication loop. That’s why its recommended that this deployment method is only done in an instance where your AzureAD/Office 365 is managed by an IT professional and you have either Azure Active Directory Security Defaults Enabled or Azure Active Directory Conditional Access Configured with GEO Blocking.
Migration
If you have a current deployment of Practice Protect and would like to switch over to AzureAD Source Identity please reach out to the support team to plan a migration. As each Source Directory creates its own user source and existing user accounts cannot be linked to new directories, incorrect migration can lead to duplicate accounts. support@practiceprotect.com
Instructions
Register an Azure application
- Login to Azure AD Portal with an Administrator Account. https://portal.azure.com (Note this is the same Administrator Account as Office 365)
- In the Search bar search for Azure Active Directory and Click.

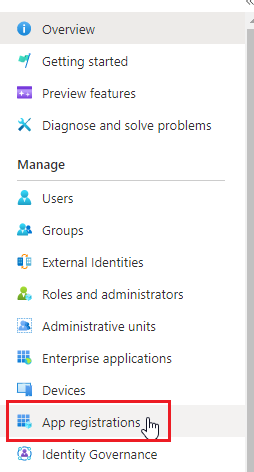
- Click on App Registrations.
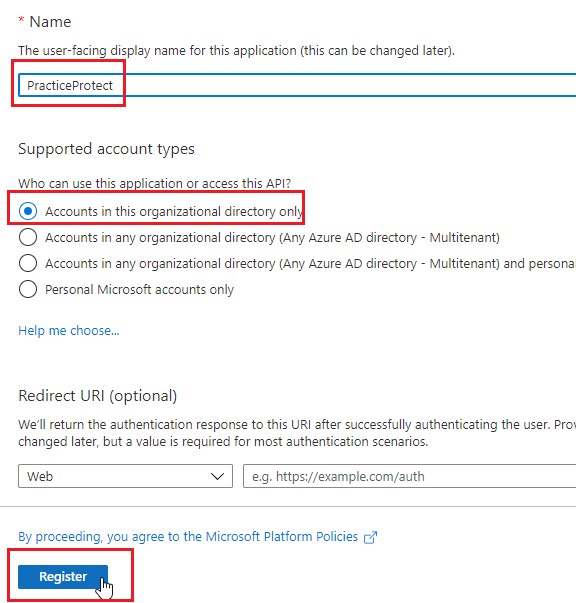
- Click New Registration.

- Set the Name “Practice Protect” leave all other settings default and click Register.
- Go to API permissions, then click Add a permission.
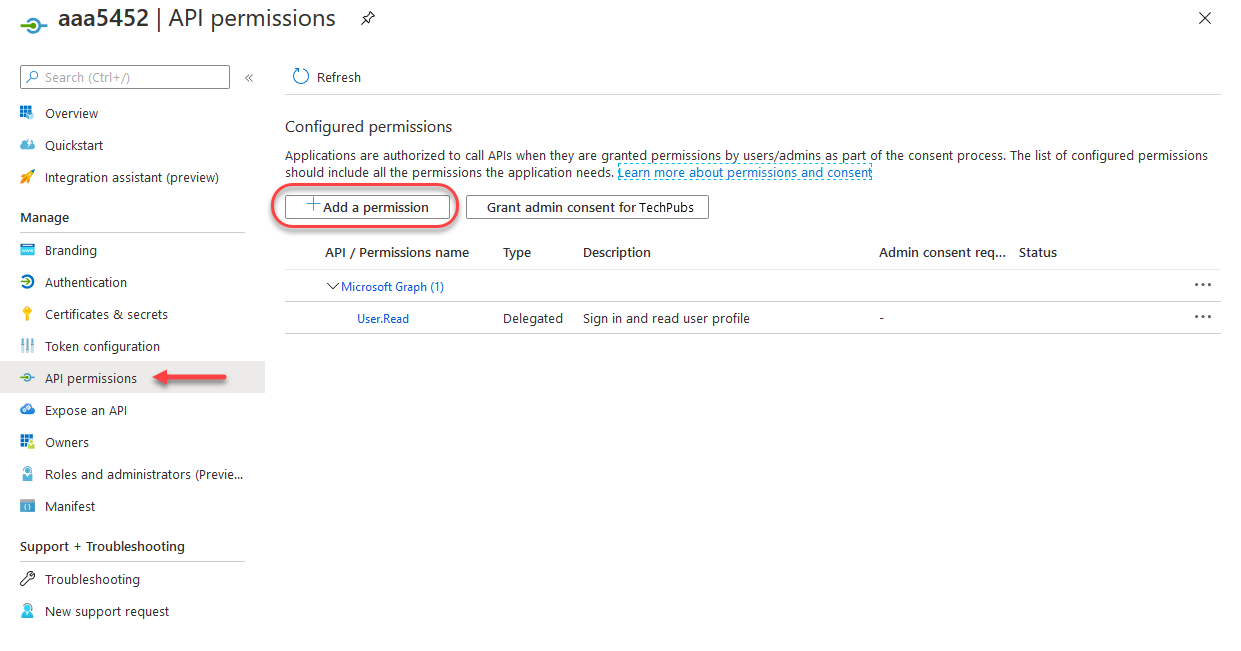
- Click Microsoft Graph
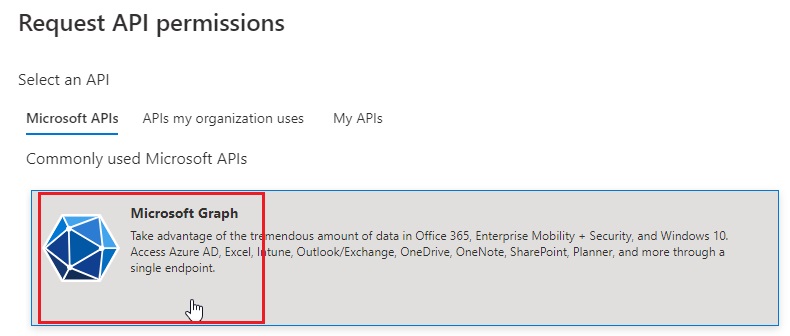
- Click Application permissions.

-
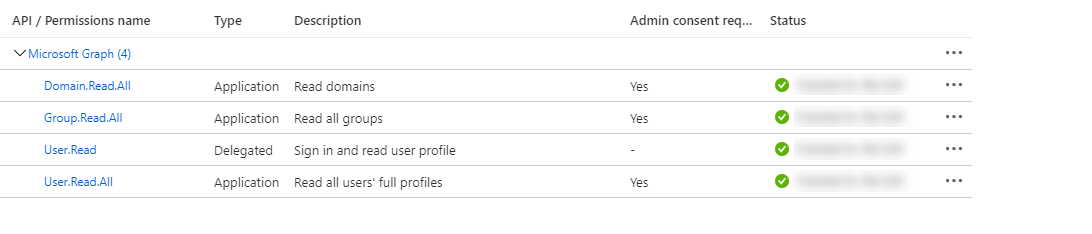
Scroll down the permissions list and select the following permissions, then click Add permissions.
-
Domain.Read.All
-
Group.Read.All
-
User.Read.All
-
- Click Grant admin consent for <your company>.
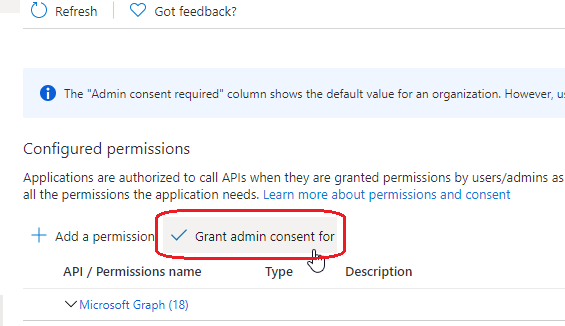
- Click Yes on the confirmation prompt.
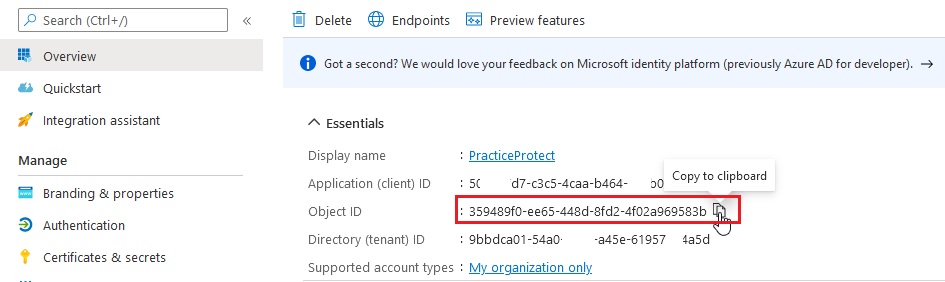
- Go back to the overview Next to ObjectID click copy.
- Open PowerShell. Run the the following commands to connect to AzureAD and Set the Date Variables.
Connect-AzureAD
$StartDate = Get-Date
$EndDate = $startDate.AddYears(100)
 Then run the following command to generate a secret. Note – change the ObjectID to match that o set 12. New-AzureADApplicationPasswordCredential -ObjectId 359489f0-ee65-448d-8fd2-4f02a969583b -StartDate $startDate -EndDate $endDate
 Copy the Value Output to your clipboard/notepad. This is needed in the next steps.
 - Return to the overview page for the registered application; you will need the information there for the following steps
Add the Azure Active Directory in the Admin Portal
- Open a new browser tab and log in to the Admin Portal as a member of the system administrator role.
- Go to Settings > Users > Directory Services, then click Add Azure Active Directory.
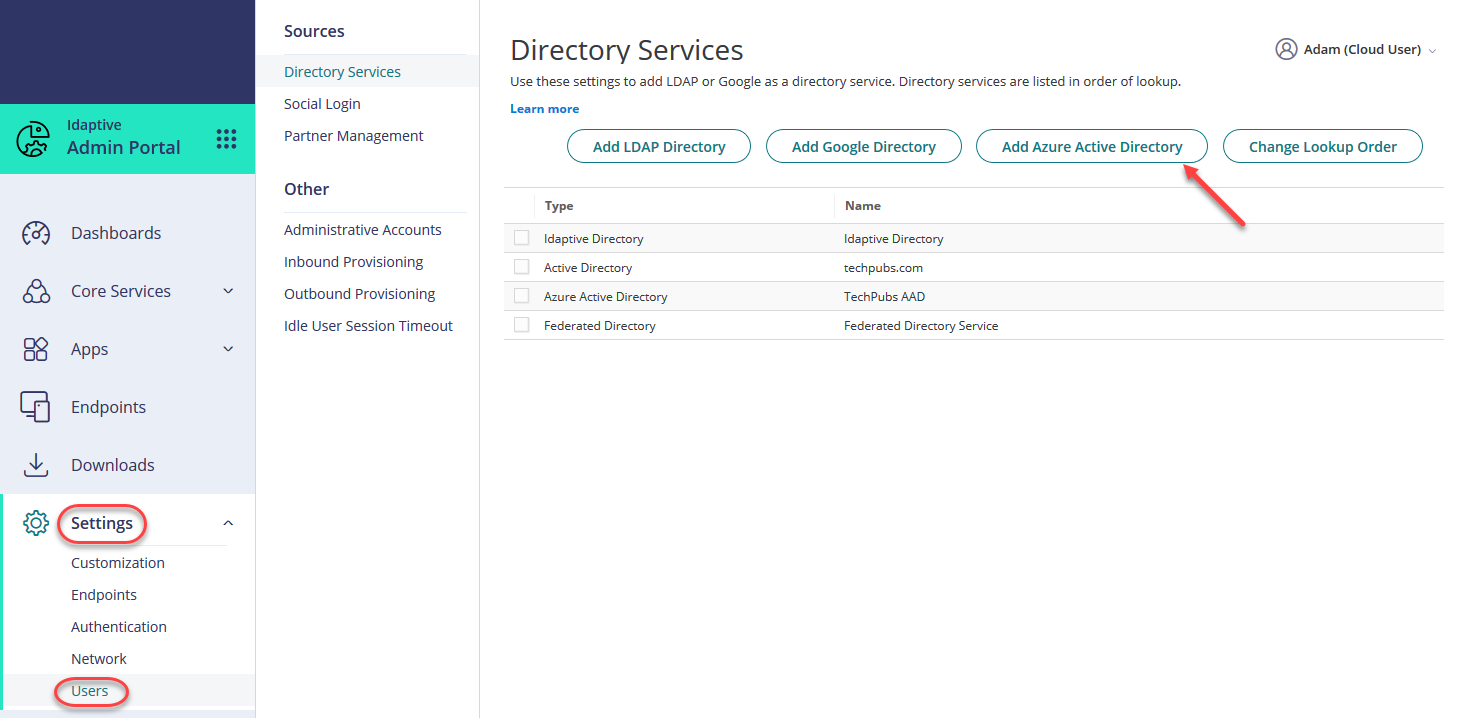
- The Azure Active Directory Service window appears
- Enter a name for the Azure Active Directory.
-
Copy the following values from the overview page of your registered app in the Azure portal and paste them into the Azure Active Directory Service window in the Admin Portal.
- Application (client) ID
- Directory (tenant) ID

- Enter the client secret value you saved previously.
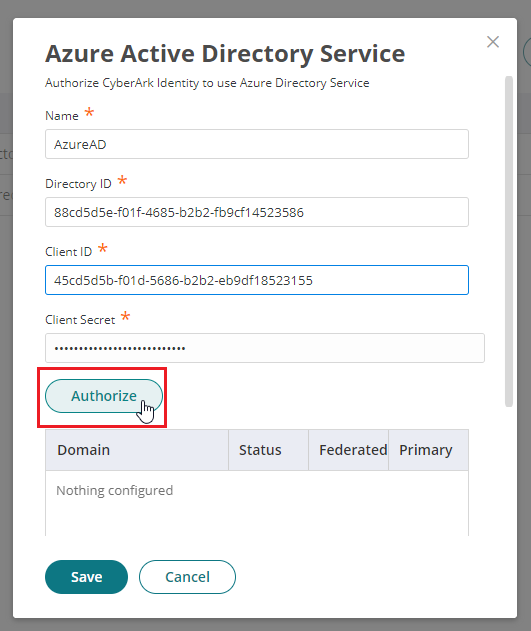
- Click Authorize.
Your available domains appear in the table below the authorize button. Domains not indicated as Federated are considered Managed domains.
If you add additional custom domains in AAD, you have to re-authorize AAD in the Admin Portal before you can query the users and groups.
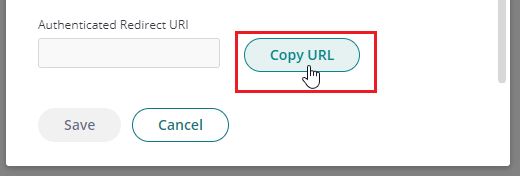
- Below the list of domains, click Copy URL to copy the authenticated redirect URI.
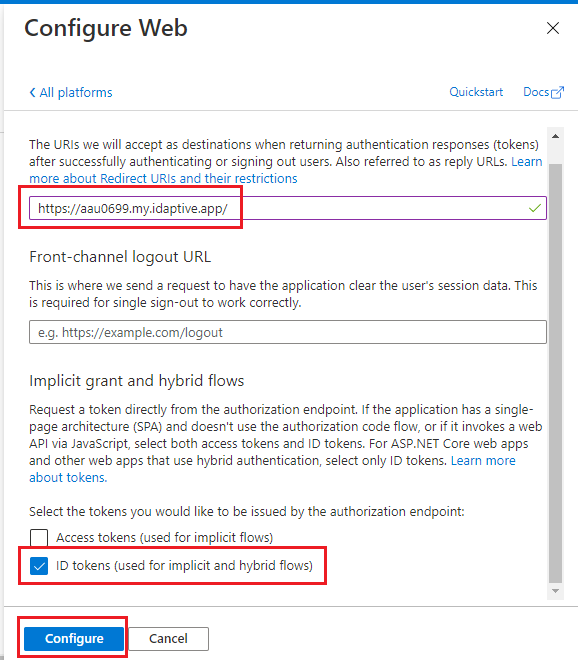
- From the Overview page of your registered app in the Azure portal, click Add a redirect URI.
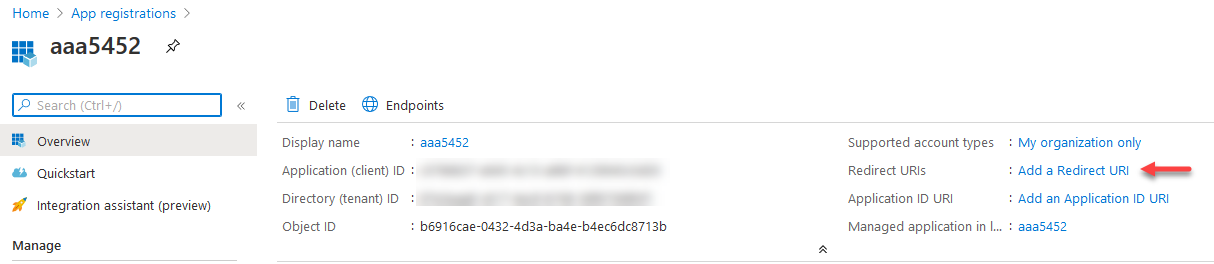
- Click Add a platform, then click Web.

- Paste the redirect URL (Step 8) you copied from the Admin Portal into the Redirect URIs field.
- Select ID tokens in the Implicit grant section, then click Configure.
-
Your Azure Active Directory users can now log in to Practice Protect using their Azure Active Directory credentials. Add them to roles so you can grant permissions to applications, enforce authentication profiles, and more.
-
After entering an accounts Office 365 Username/Email.
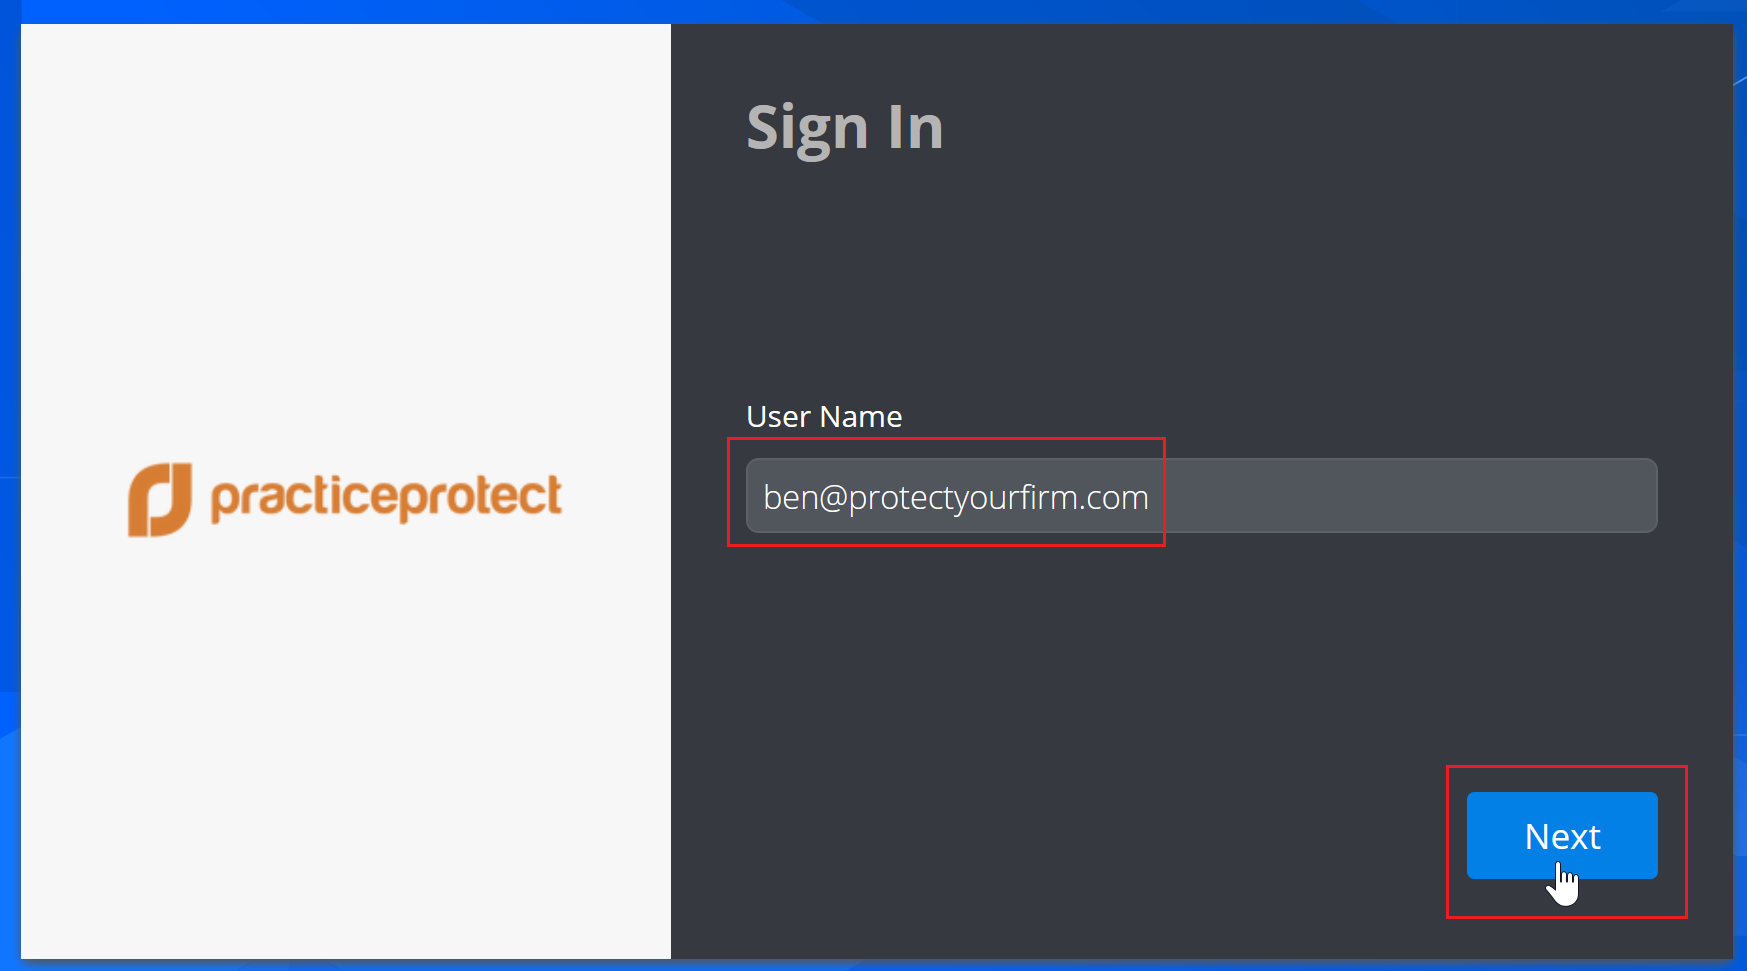 Users are redirected to login.microsoftonline.com for authentication.
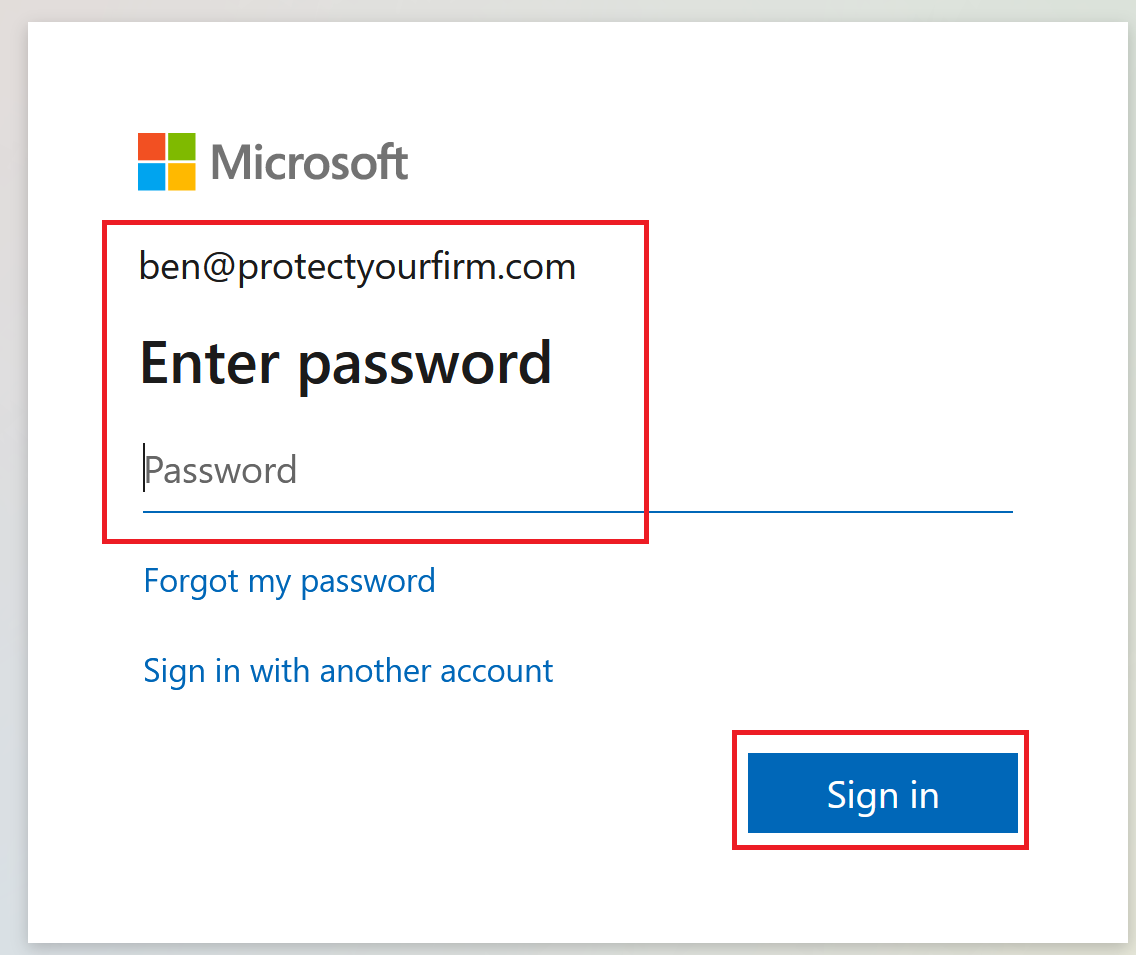 Once authenticated at Office 365 then redirected back to the User Portal after successfully completing authentication mechanisms.