
Purpose
When removing a Microsoft Entra ID (Microsoft 365) sourced account, there are some considerations to take into account. This guide covers all options to consider before removing accounts to suit your company’s requirements.
Before you begin, think about what data must be retained from Microsoft 365.
Giving another staff member access to the deleted user’s email will convert the deleted user’s mailbox to a shared mailbox. The nominated staff member can then access the mailbox monitor for any new emails and retrieve past emails as required.
Removing the Practice Protect account will not remove the Microsoft 365 Account or reduce your Microsoft 365 licensing count. This is the responsibility of the client and the IT Provider, if relevant. If you do need assistance in managing this, we can help, please head here to book a time with our dedicated Cyber Security Consultants to discuss how we can assist.
Options and Considerations
Below is a list of options and considerations to take into account and the processes to complete them.
Once you have reviewed the options and considerations you can incorporate them into the Remove User Process here.
Hide User/Mailbox from Address Book
After the account has been removed in Practice Protect you can choose to hide the account from other users. To do so follow the below steps:
- Log in to the Microsoft 365 Admin Portal Https://portal.office.com
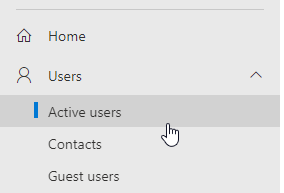
- Go to Active Users
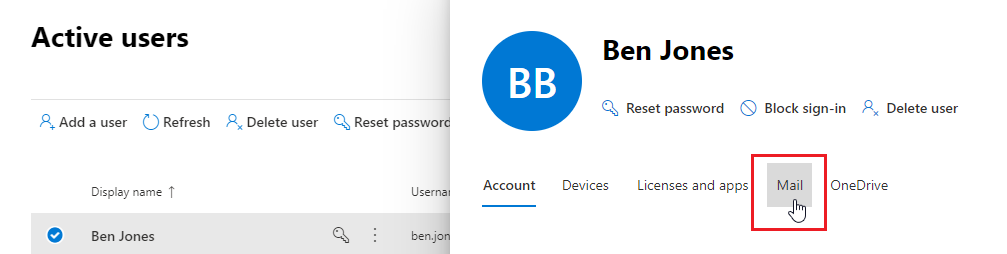
- Find the User Account and open. Go to the Mail tab.
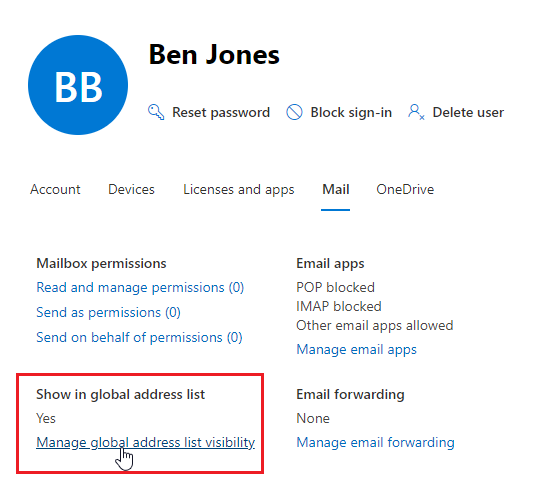
- Click on Manage Global Address List Visibility.
- Untick Show in my organization address list. Click Save Changes.
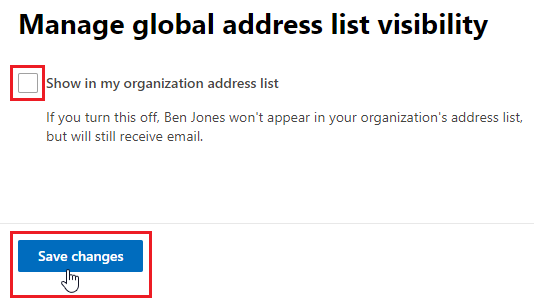
- This can take 72 hrs to update all local Outlooks in the Company.
Keep the contents of a former employee’s mailbox (Convert to Shared)
To convert a user mailbox to a shared mailbox:
1. Go to the Exchange admin center.
2. Select Recipients > Mailboxes.
3. Select the user mailbox > Convert to Shared Mailbox and click confirm.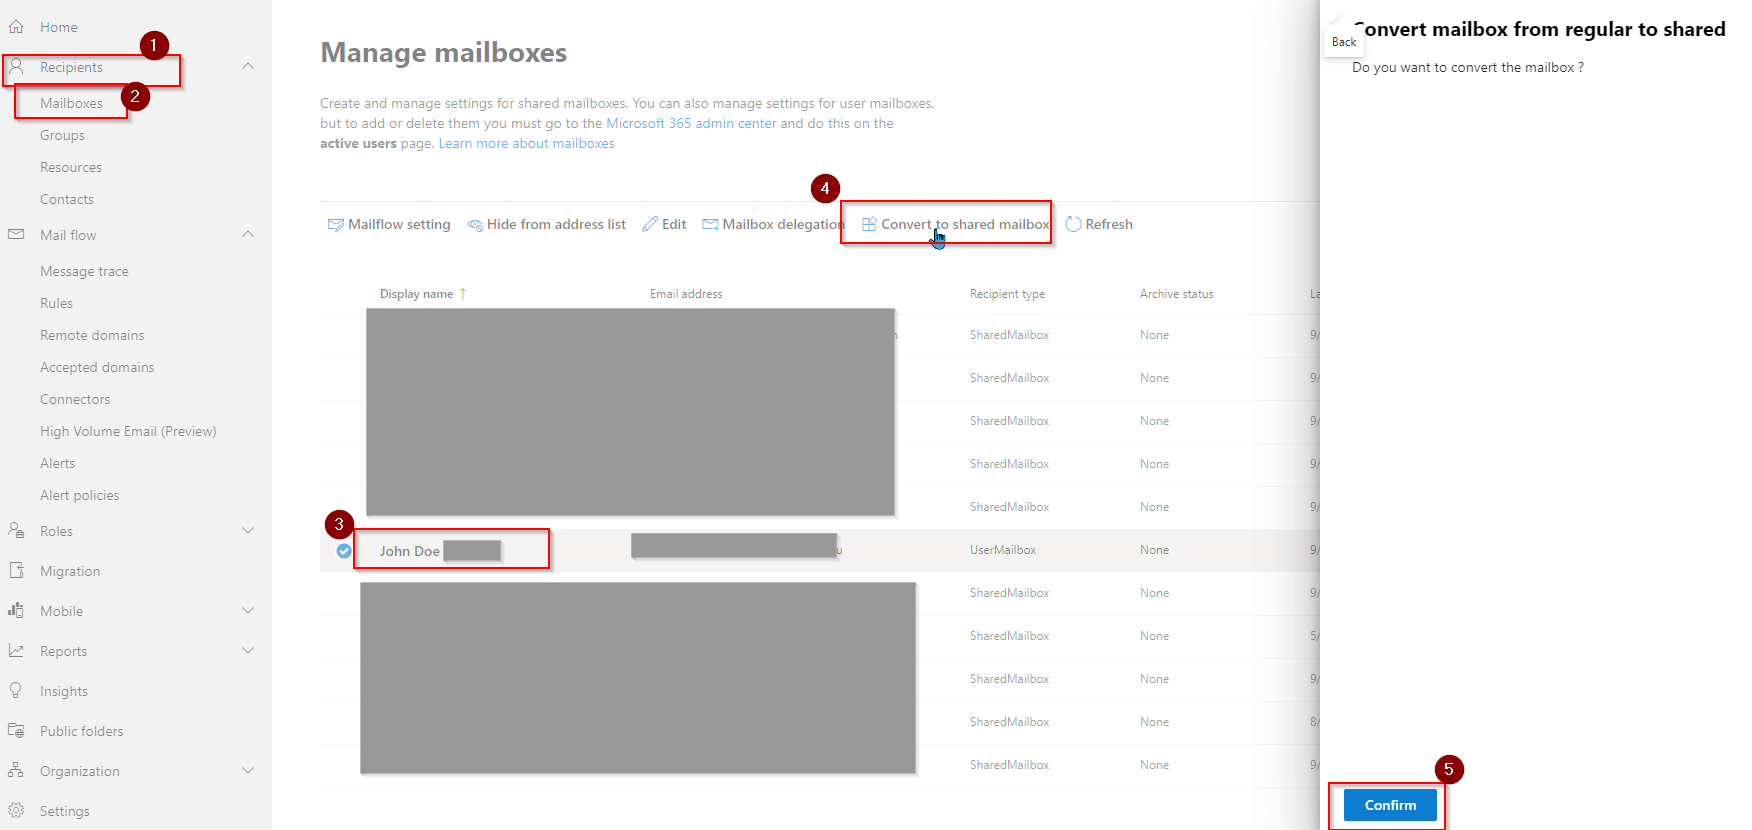
4. Once converted, you can remove the license from the mailbox in Microsoft 365. We would also advise to hide the account from the Address Book in the guide above.
Note: After converting the user mailbox to a shared mailbox and removing the Microsoft 365 license, access to OneDrive will also be removed from the account.
5. Do not delete the user’s old mailbox or account in Microsoft 365. This account is required as an anchor. Removing it will delete the email data.