
Purpose
The Folders feature enables users to efficiently organize Applications and Secured Items. Users can also share folders that contain personal applications or Secured Items.
Instructions
Create a Folder
- In your Practice Protect User Portal, navigate to the right side, click the Add dropdown, and select Folder.
- A new pop-up window will show up. Enter a folder name as required and description as optional.
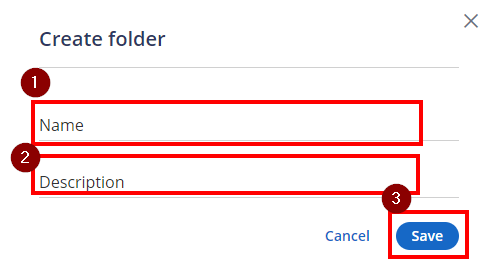
- Click Save. The newly created folder will appear under the appropriate category and section.
 Note: You can create up to 100 folders.
Add Items to Folder
After creating the folder, adding an application or secured item will be as follow:
- Hover your mouse on the application you wish to add to the Folder from your User Portal Application list
- Left click and hold on the app you selected. Then, drag and drop it on the Folder you created

- A green notification should appear at the bottom center of the screen confirming that the application was successfully added to the folder.

- Repeat drag and drop step for each application. This can also be done with Secured Items. Note: You can add up to 100 Secured Items and applications to one folder.
Delete an Item/s from a folder
- In the User Portal, go to your Folder. (ex. My Folder).

- To remove an app from a folder, hover over the app you want to remove, click the three vertical dots, and select Remove from Folder

- The Item is now removed on that folder. The actual app won’t be deleted in your Portal.
Delete a Folder
- In the User Portal, hover your mouse on the folder you want to delete and click the three dots menu.
- Click Delete.

A warning message will appear. - Click Delete again to remove the Folder.
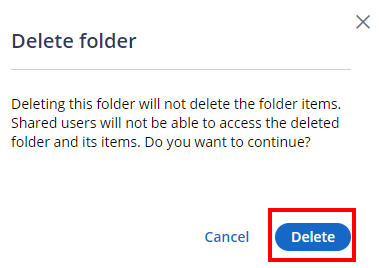
- Folder should now be deleted. Repeat the steps to delete another folder.
Share Folder(s)
Folder sharing allows you to share a folder that contains applications or secured items with other users.
Important!
- Applications or Secured Items that were shared with you cannot be re-shared
- Folders are not available in the CyberArk Identity mobile app. When a folder is shared, the recipient can see the shared applications and Secured Items in the mobile app but cannot see the shared folder.
- Applications in the Folder can only be shared if they were added by the user via Land and Catch. Applications added from the admin portal, cannot be shared directly.
- In the User Portal, hover your mouse on the folder you want to delete and click the three dots menu
- Click on Share.

A new window will open up - Click +Add users, groups, and roles. Search by name or email or users, group or roles existing in the Platform.

- Search for the user or group, check the box next to their name, and click Add.

- Go back to Step 3 to repeat and add another.
Disable Folders
To hide the Folders pane in the User Portal:
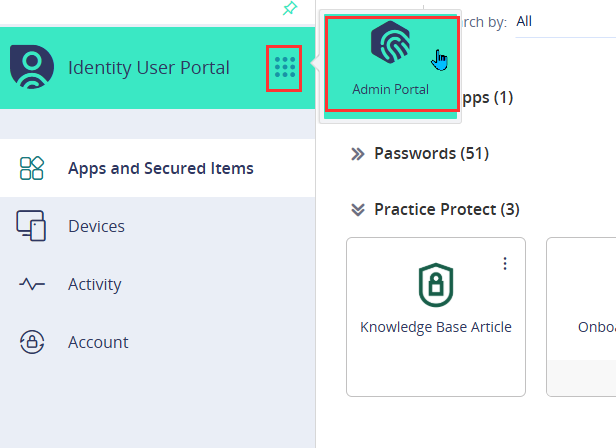
- Login to Practice Protect and switch to the Admin Portal
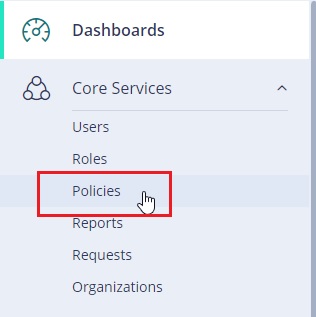
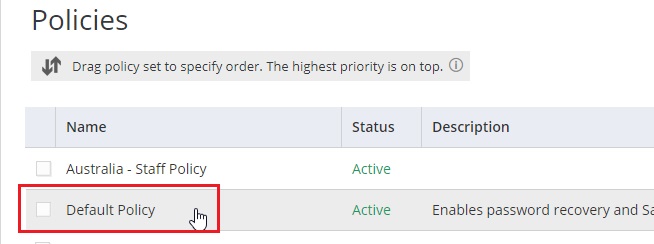
- In the Identity Administration portal, go to Policies and select a policy. (ex. Default Policy). Note: Selecting Default Policy applies the configuration to Everyone.
- Locate the policy assigned to the user group you want to disable the folder for, or use the default policy if no specific one is assigned.
- Go to Workforce Password Management and click on User Settings

- Set Disable Folders to Yes to hide the Secured Items section entirely.

- (OPTIONAL) If you only want to prevent users from adding their own folders while still allowing access to shared folders, set Disable Folders to ‘- -‘ and Allow Users to Add folders to No

- Hit Save.
- Folders section should now be gone in the User Portal Page.