
Purpose
This guide covers the process of adding a new user account when the source directory of Practice Protect is Microsoft Entra ID (formerly Azure Active Directory). Locking, provisioning, and account creation processes differ depending on whether your environment was setup in Practice Protect via Entra ID as Source (Legacy) or Entra ID SAML.
Note: If your Practice Protect deployment does not use Microsoft Entra ID as the source, please refer to the appropriate guide for your setup.
Prerequisites
-
Microsoft 365 Administrator Account – Required to create and manage user accounts in Microsoft 365 / Entra ID.
-
Practice Protect Administrator Account – Required to configure user access and SSO settings in Practice Protect.
-
Mobile Number of New User – Recommended if the user will also be enrolled in Practice Protect MFA for authentication purposes.
Identify the Source of a User Account in Practice Protect
- Entra ID as Source (Legacy)
-
Log in to Practice Protect and switch to the Admin Portal.
-
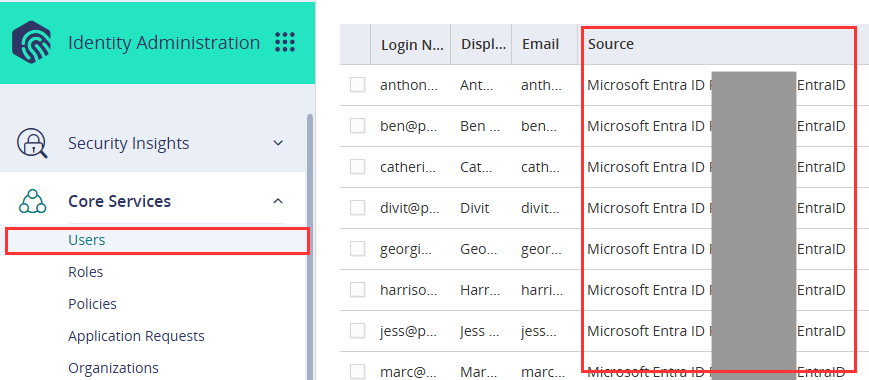
Go to Core Services > Users.
-
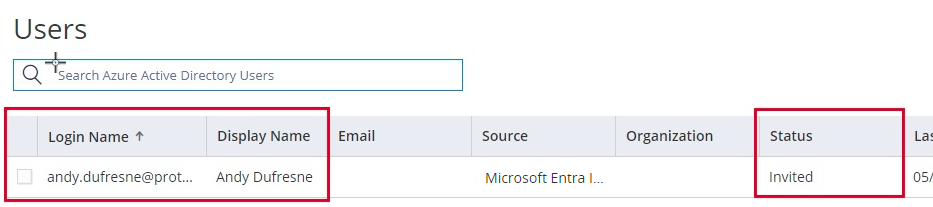
Check the Status column. If the Source shows Microsoft Entra ID or Azure AD, it means the account is set up as Legacy (Entra ID) in Practice Protect.
-
- Entra ID SAML
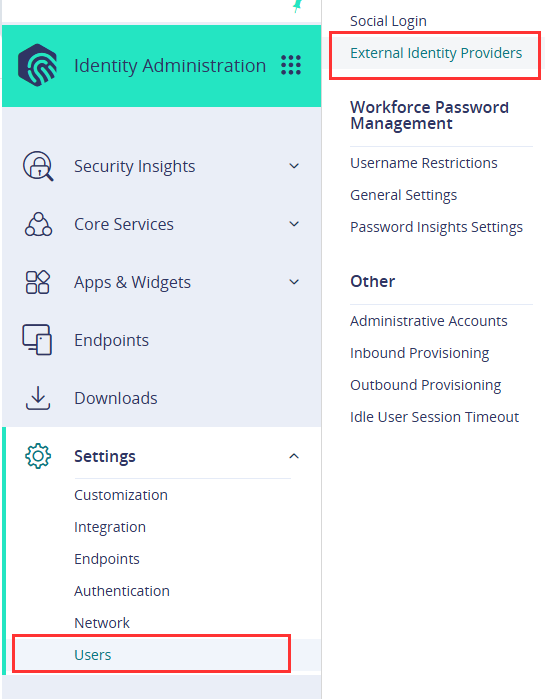
- In Admin Portal, go to Settings > Users
- Under Sources, choose External Identity Providers
-
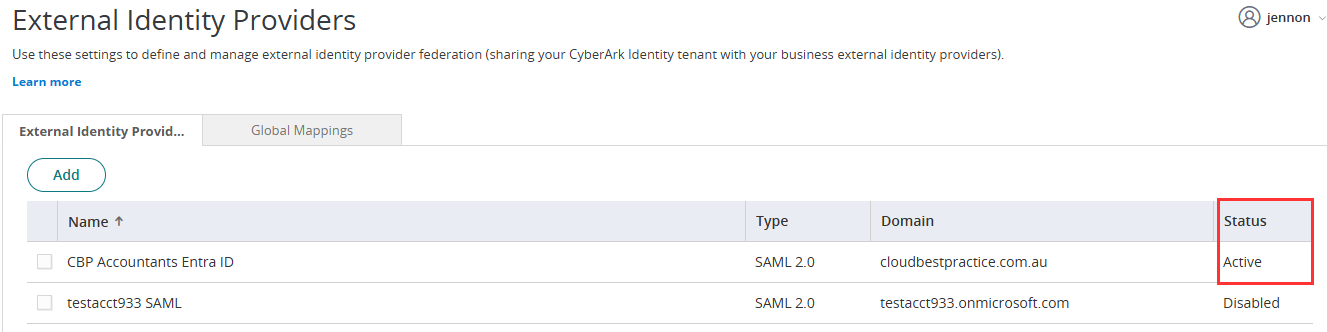
If you see an External Identity Provider configured in the list, check its Status.
-
If the status is Active, this indicates that Entra ID SAML is set up.
-
The SAML configuration name will appear as Practice Protect SAML.
If there is no External Identity Provider listed, this means Entra ID SAML is not configured in your environment.
-
Instructions
Add User in Microsoft 365
This step is typically performed by your IT team or the person who manages the Microsoft 365 Admin account.
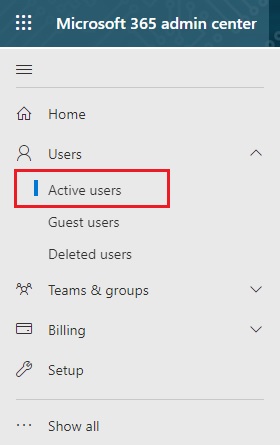
- Login to Microsoft 365 Admin Portal
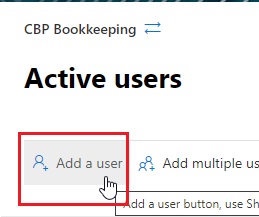
- Go to Active Users.
- Click Add a user.
- : Fill in the user’s details including the username, then click Next.

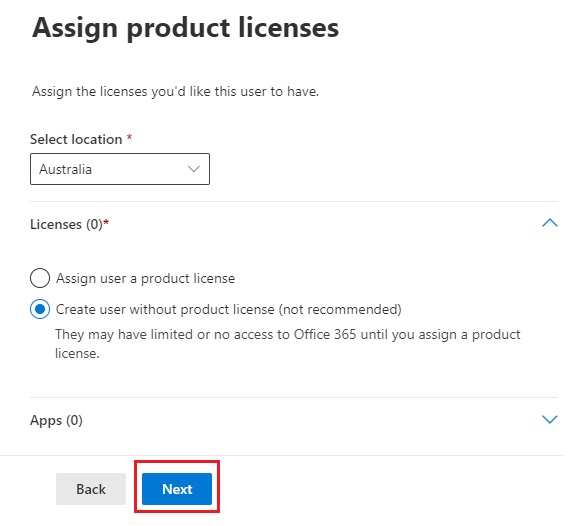
- Choose the Microsoft 365 license required for the new user and click Next.
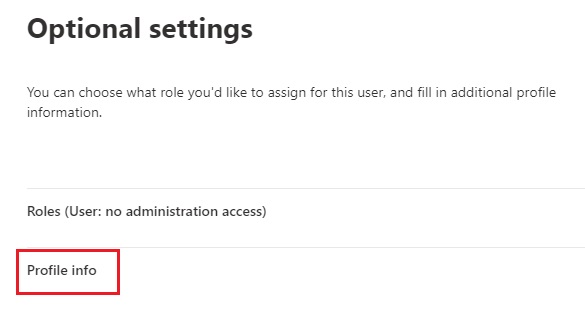
- Under Optional Settings, click on Profile Info.
- Extra fields will appear. Fill in the mobile number of the user in international format. This is recommended as an MFA backup for Practice Protect (SMS OTP).
Note: This step is optional. If you prefer to rely on Microsoft MFA for signing in to Practice Protect or plan to use another authentication method, you can skip adding a mobile number.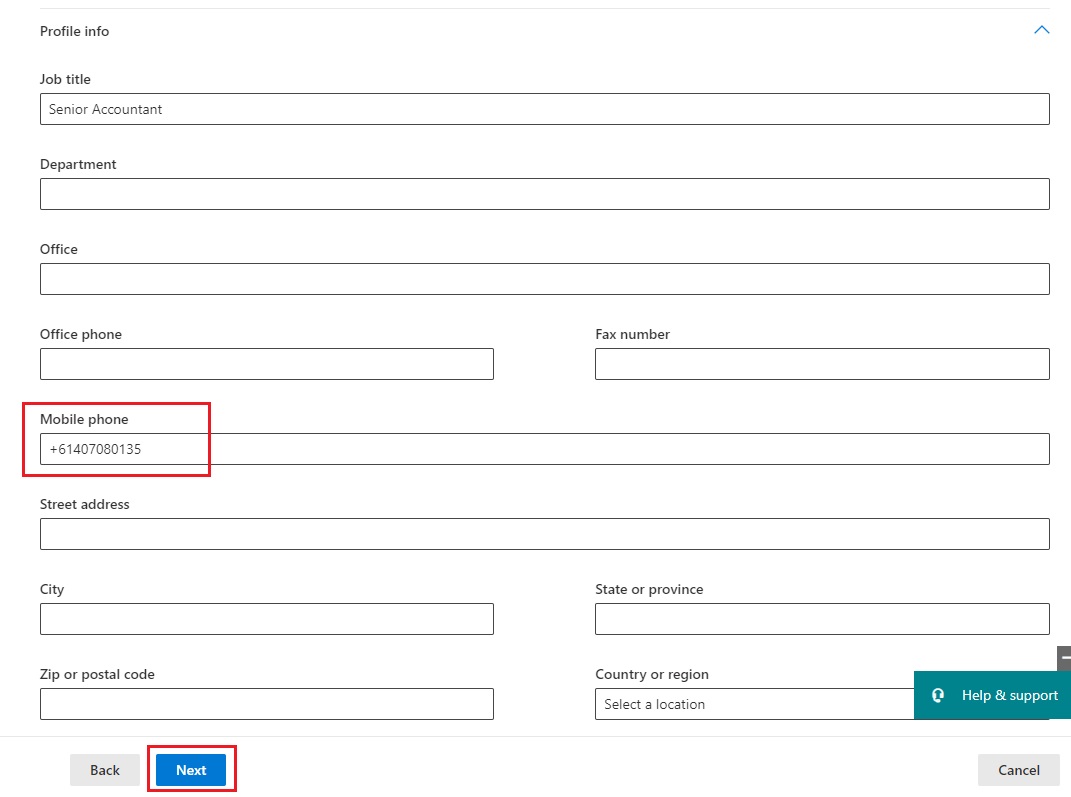
- Click Next to continue.
- Review the account and click Finish adding.
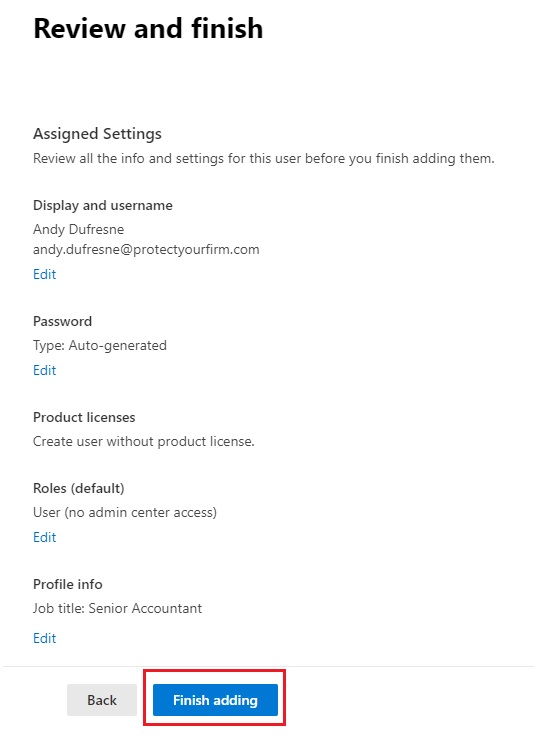
-
The new account is now created in Microsoft 365.
Recommendation: Before inviting the user to Practice Protect, ensure they know their credentials and can successfully sign in to Microsoft 365, including completing any MFA setup. This helps prevent login issues when accessing Practice Protect.
Invite the User to Practice Protect
- Login to Practice Protect and Switch to Admin Portal.

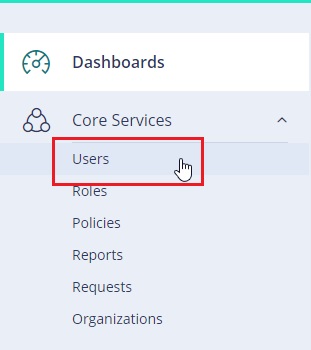
- Go to Users under Core Services
- Click Invite Users.

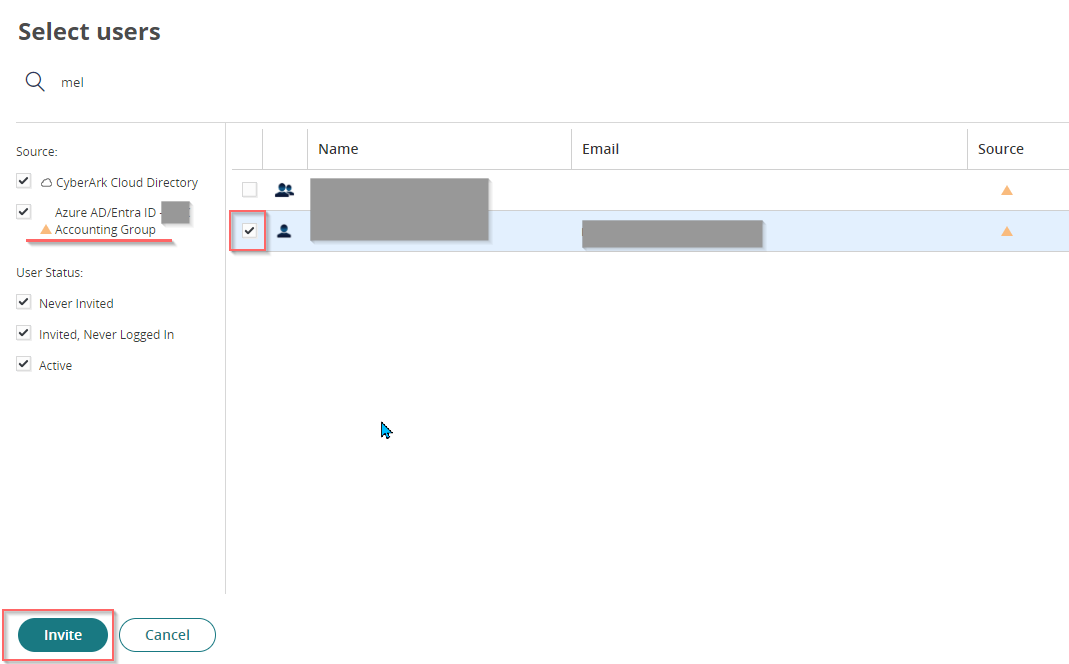
- Search the user account using the Email Address. Select User(s) and click Invite. Note: confirm source directory matches your requirement.
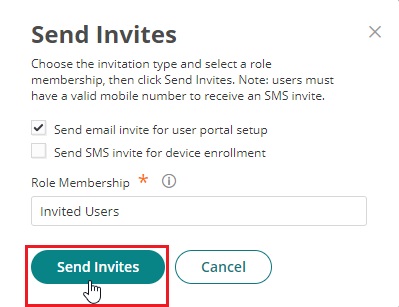
- Click Send Invites. This will send the users an email and also add the accounts to the User List in the Admin Portal.
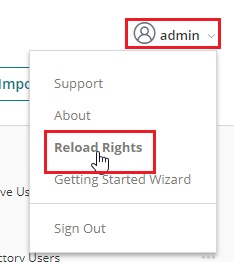
- You can refresh the portal to see the new account by clicking on Reload Rights from your account dropdown option in the top right corner.
- An updated list of Invited accounts will now show in the User List after the page is refreshed/reloaded
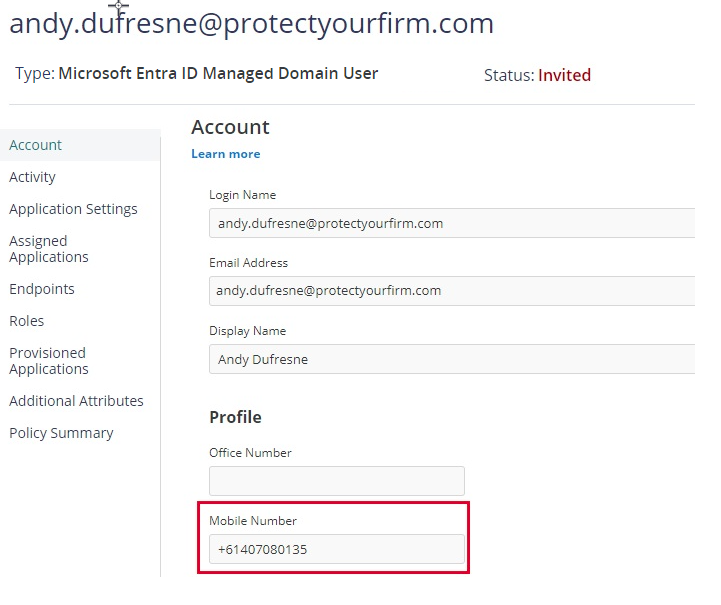
- Click on a user account to check Mobile number is showing. As Practice Protect pulls the account details from Microsoft 365 the mobile number can only be updated from Microsoft 365.
- Continue below to add new users to the required Roles. If users are not added to correct roles they may not be able to login to the portal or access their required apps.
Add User to Practice Protect Role
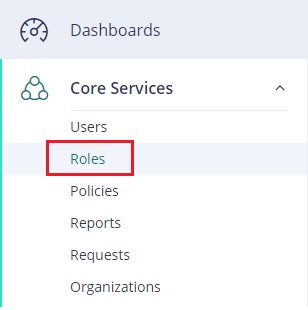
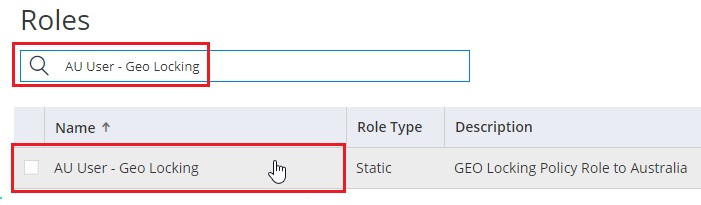
- Go to Roles.
- Search for the required Role and Open it. If unsure which roles are required, find a similar user and view assigned roles. Most firms will have a dedicated role that allows users access to the portal. For Country Restriction, Choose Country Name User – Geo locking, and for IP Restricted, choose Restricted User
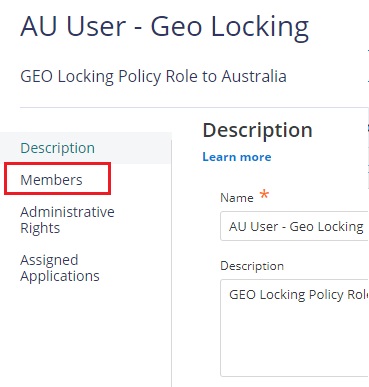
- Go to Members.
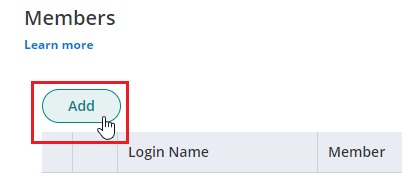
- Click on Add.
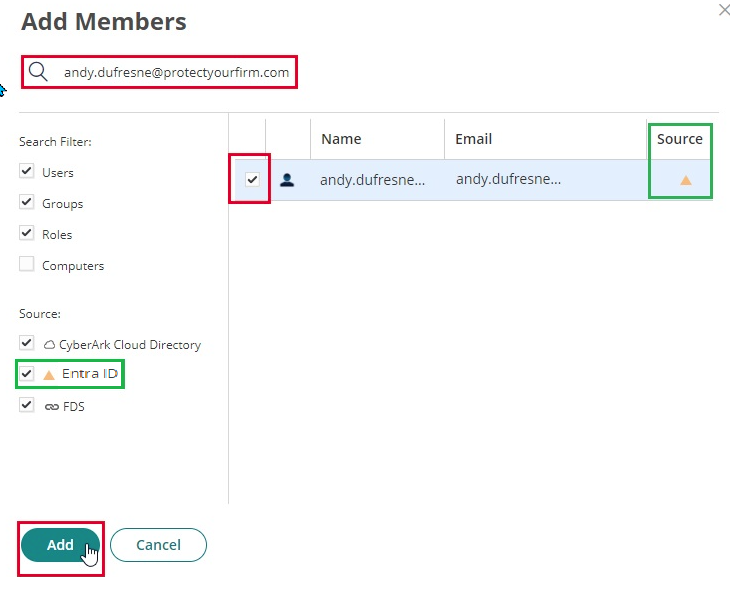
- Search user with full Username/Email from Microsoft 365. Select and Click Add.
- Confirm User account(s) required are listed and click Save.

- Accounts are now added to the Role. Permissions referenced by Role members will now apply.
Add User to the SAML Group (For Provisioning)
If you do not have a Microsoft Entra ID P1 license (or another license that supports custom groups), group-based provisioning will not be available. In this case, users must be provisioned manually by assigning them individually to the Practice Protect SAML application.
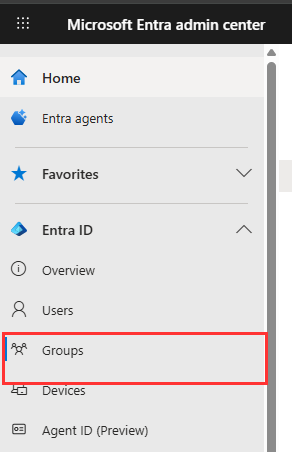
- Login to Microsoft Entra Admin Center
- Go to Entra ID > Groups.
-
In All Groups, locate and open the standard group created by Practice Protect for SAML. This group is typically named Microsoft Entra ID – Practice Protect Users.
Note: The group name may differ if your IT team collaborated on the setup and chose a custom group name.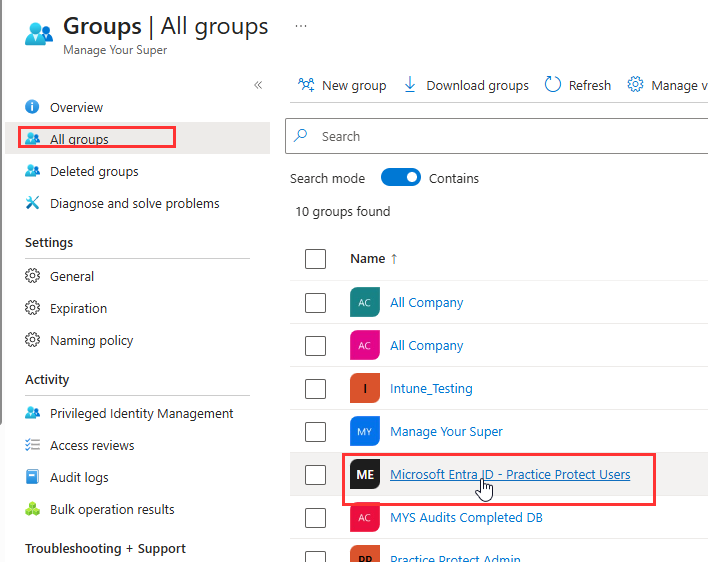
- Click Add Members, select all the users you want to include, and then click Select.
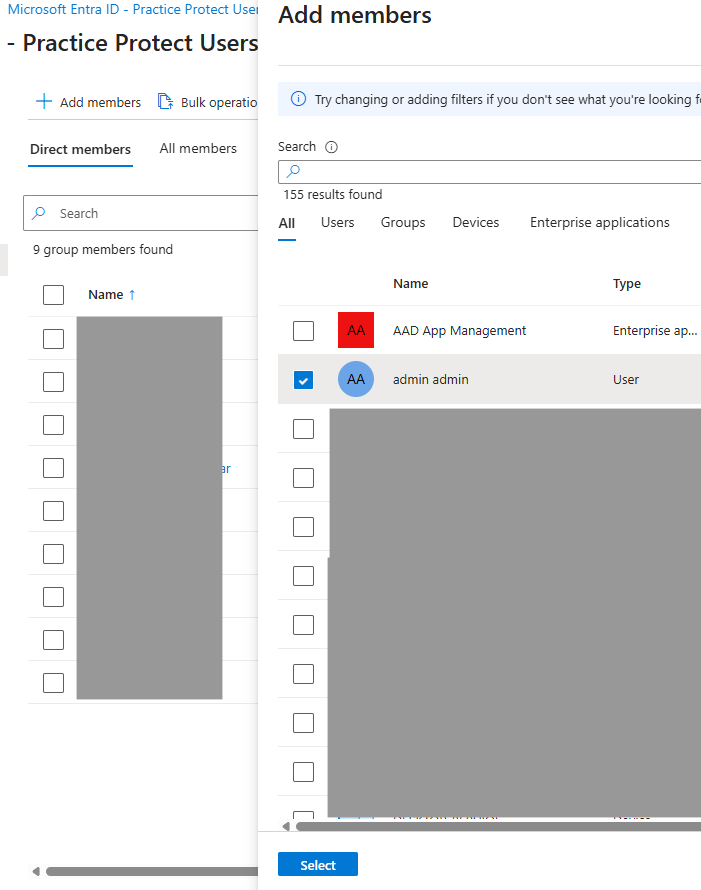
- You will receive a notification in the upper-right corner confirming that the member(s) have been added successfully.
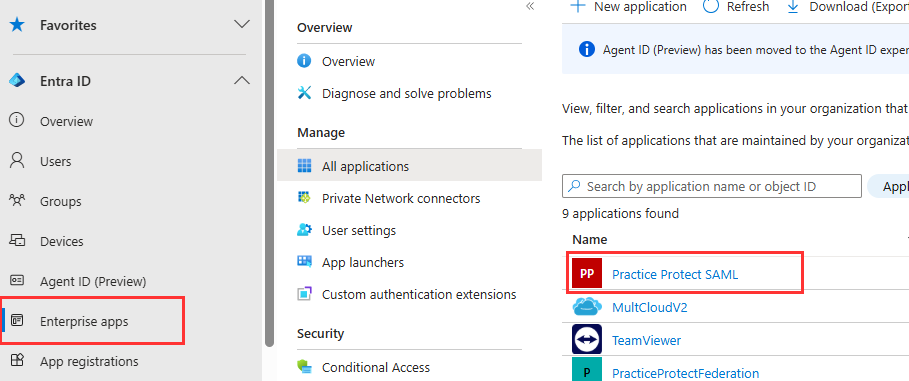
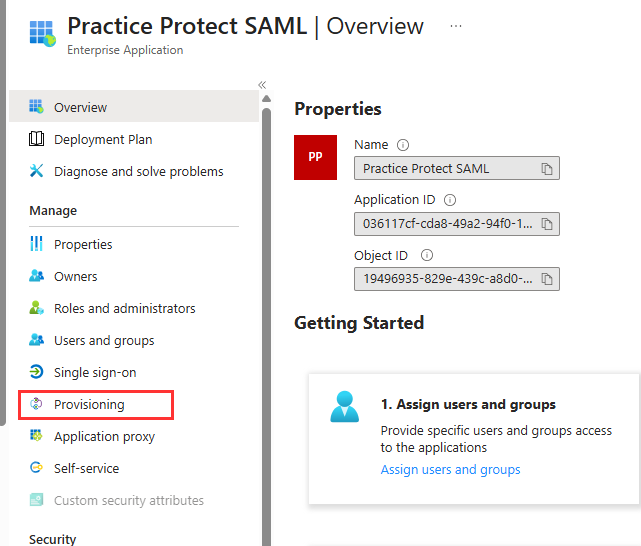
- Now, go to Entra ID > Enterprise Apps > All Applications under Manage.
- Locate and open the Practice Protect SAML application.
-
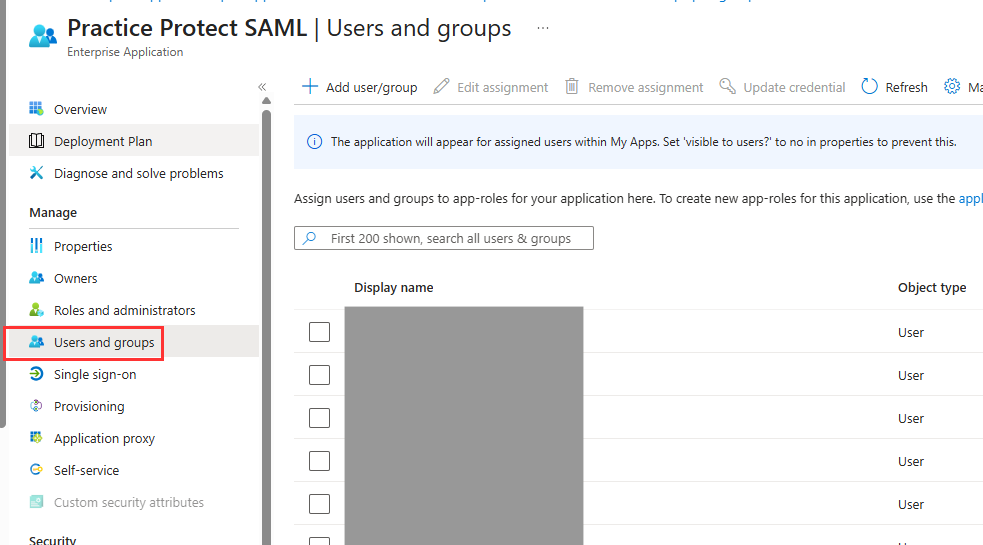
Go to Users and Groups and check if the group Microsoft Entra ID – Practice Protect Users is assigned. If you see individual users instead of the group, it means the group is not being used. In this case, you must add the user manually by clicking Add User/Group.
This step is only to verify whether provisioning is done via groups or individual assignments.
- Go to Provisioning.
-
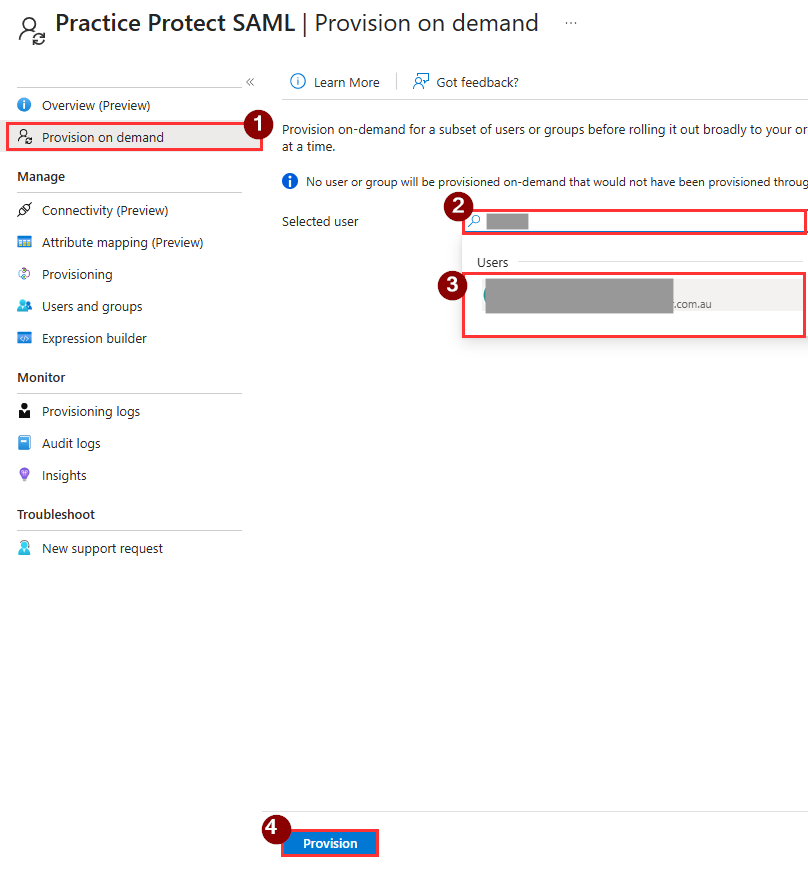
Select Provisioning on Demand. Use the search field to find the user and click Provision.
You can also search for a group and tick the boxes next to each user (up to 5 users per provisioning) to provision them simultaneously. In this example, we are provisioning a single user.
- Once the provisioning sync is complete, click on Provisioning Logs under the Manage section and verify that there are no provisioning failures
- Return to Practice Protect, and the user should now appear as a newly added user.
- Add the user to the relevant role in Practice Protect, such as GeoLocking or assigning specific applications. For further assistance, you may contact Practice Protect Support.