
Purpose
When a user account is removed from Practice Protect, any items from Land & Catch or Secured Items that have not been shared with another team member will be deleted. Items that have been shared with another team member can be transferred to a specific staff member in the firm (we recommend the System Admin). The guide below provides two methods for handling this.
Option 1: Setup a policy to automatically transfer shared items to a specific staff member in the firm when the original owner is removed.
Option 2: Manually transfer ownership of shared applications, Secured Items, and folders to a specific user or manager.
If you are unsure how to configure this policy before sharing a secured item, please reach out to us here to complete this for you.
For a guide on how to share Secured Items you can click here.
For a guide on how to share Land & Catch applications you can click here.
Instructions
1. Configure Policy Settings to transfer ownership of secured items
- In the Admin Portal select Core Services and then Policies (ex. Default Policy) > User Security Policies > User Account Settings > User Shared Apps.
- Tick the check box next to Transfer Ownership of Shared Items.
- Select the Owner Type (Manager or Specified User) and click Add to enter priority list to transfer ownership.
- If you select Specified user, click Add and search for a user to add.
- Hit Save to apply configuration.
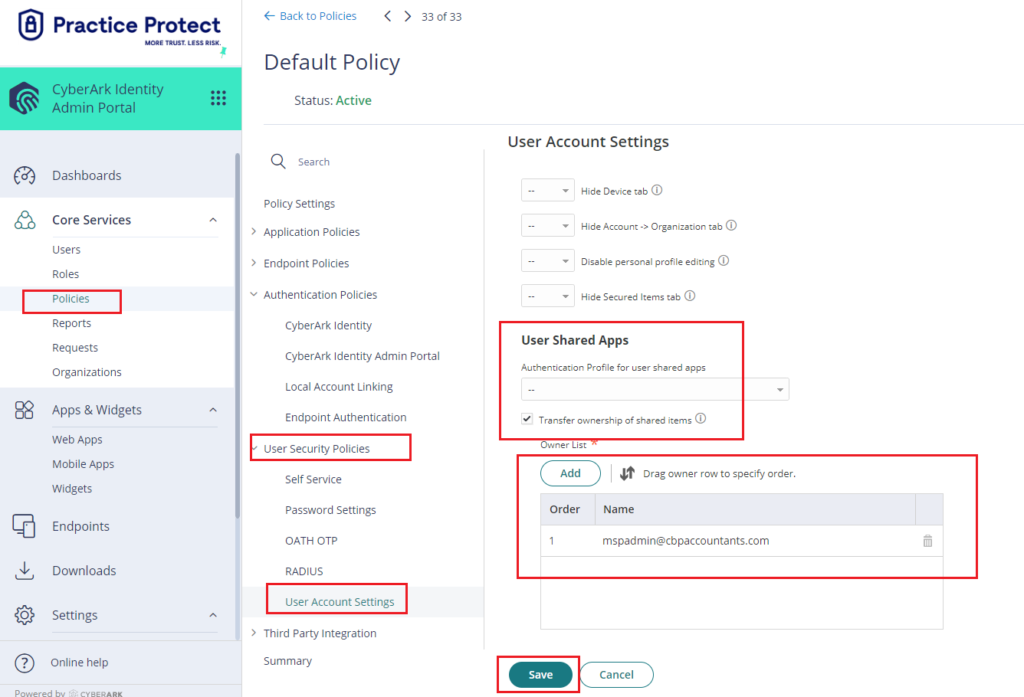
- When the owner of a shared item is deleted, it will now be transferred to the user you have specified.
Note: Enable the transfer of ownership policy for the user whose items are being transferred. Refer to “Configure a policy to transfer ownership of shared items” for guidance.
We recommend suspending the user before starting the transfer to prevent the user from adding items that won’t be transferred.
- In the Admin Portal, go to Core Services > Users. Select a user, then go to Account.
- Click Actions > Transfer ownership.
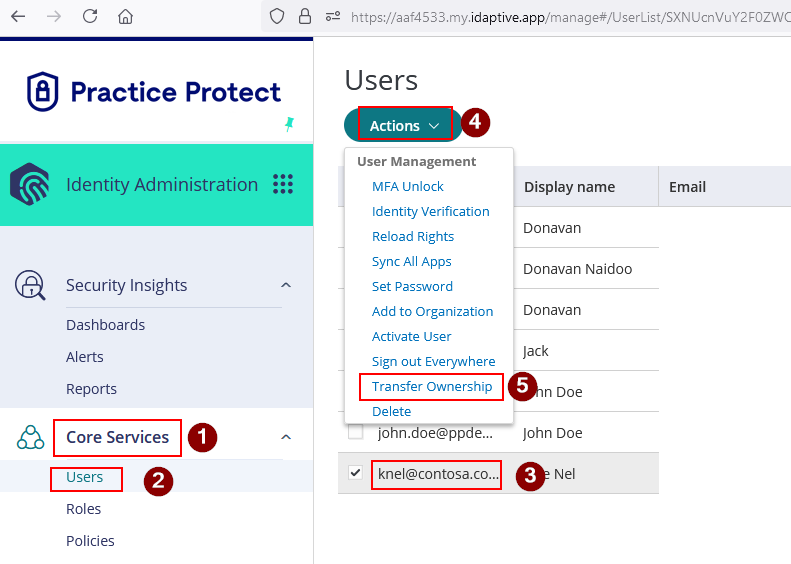
- Select Manager or Specific user, then enter or select the person’s name.
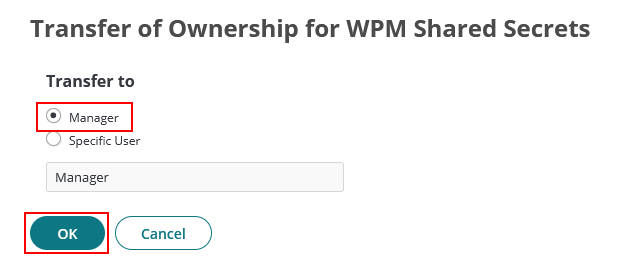 Note: The transfer completes within several minutes, depending on the number of items being transferred.
 - Click Transfer.